
Stained Glass Heart Cookie How To
Hello, welcome back! This week I’m mixing it up, veering off the cake course and dabbling in the cookie realm. I recently started following a ton of cookie people on Instagram and found myself seriously inspired to try my hand once again as these cuties.

Not only are they super cute this week but they have a little personal meaning too. At the start of this year my sister did what I imagine most people have done lately, even though she was in wild pain for months she put off going to the hospital because she didn’t want to be a burden on the already overwhelmed NHS. Eventually, after endless cajoling from the family, she turned up at A&E and was told she’d need surgery asap. Thankfully, the nurses and doctors took the most amazing care of her and got her home quickly to make a full recovery. She is absolutely fine now and asked me if I could dedicate my next post here to the wonderful NHS and all the people who have kept it running in the face of the worst crisis in modern times. They truly are the best of us, and we would all be worse off without their care, time, and sheer selflessness. Thank you, you are astounding.
P.s. if you love the NHS too (and you should), please don’t vote tory.

Ingredients
Makes 14-16
1 batch of gingerbread (recipe here)
2 egg whites
450g icing sugar
1 tsp lemon juice
Gel food colouring (all rainbow colours + black)
Vegetarian piping gel (recipe here)
Method
1. Pre-heat the oven to 180° Fan (200°C) and mix your batch of gingerbread. Roll the dough flat to the thickness of a £1 coin and cut out in squares of 9cm x 9cm. You can either mark these using a tape measure or make a template from an old, clean cereal box. Lay the cut dough flat on parchment lined trays and bake for 9-11 minutes. Remove from the oven and leave to cool for 5 minutes on the tray before transferring to a cookie rack to cool completely.
2. While the cookies are cooling, we will make the icing. Whisk 1 egg white until fluffy and then gradually add 250g of icing sugar and 1tsp of lemon juice until fully combined. At this stage we’re looking for the icing to be the same consistency as toothpaste, if it needs to be looser add more lemon juice, if it needs to be stiffer slowly add more icing sugar.
3. Once the cookies are cool, use a small off-set palette knife to cover the tops in icing. Don’t worry about getting it entirely smooth on top, a little bit of texture works great for the ‘glass’. Do use your palette knife to clean off the edges though, we want clean straight lines all around. Leave to dry.
4. Now all the cookies are covered, add a drop of black food colouring to the remaining icing and mix until you have a dark grey. For this part, we want the icing to be at a 15 second consistency, meaning that when you draw a line through the middle with a butter knife, it takes 15 seconds to disappear. If your icing needs to be a little looser, slowly add lemon juice until you reach the right consistency. Transfer to a piping bag and move to the fridge until later.
5. Time to outline. Now, your cookies are completely dry lightly sketch the outlines of your different panes. You can use an edible marker for this but just be careful the colour doesn’t bleed when we add the paint. I use a food safe pencil that I keep away from my other craft supplies and has its own little sharpener to keep it nice and clean.

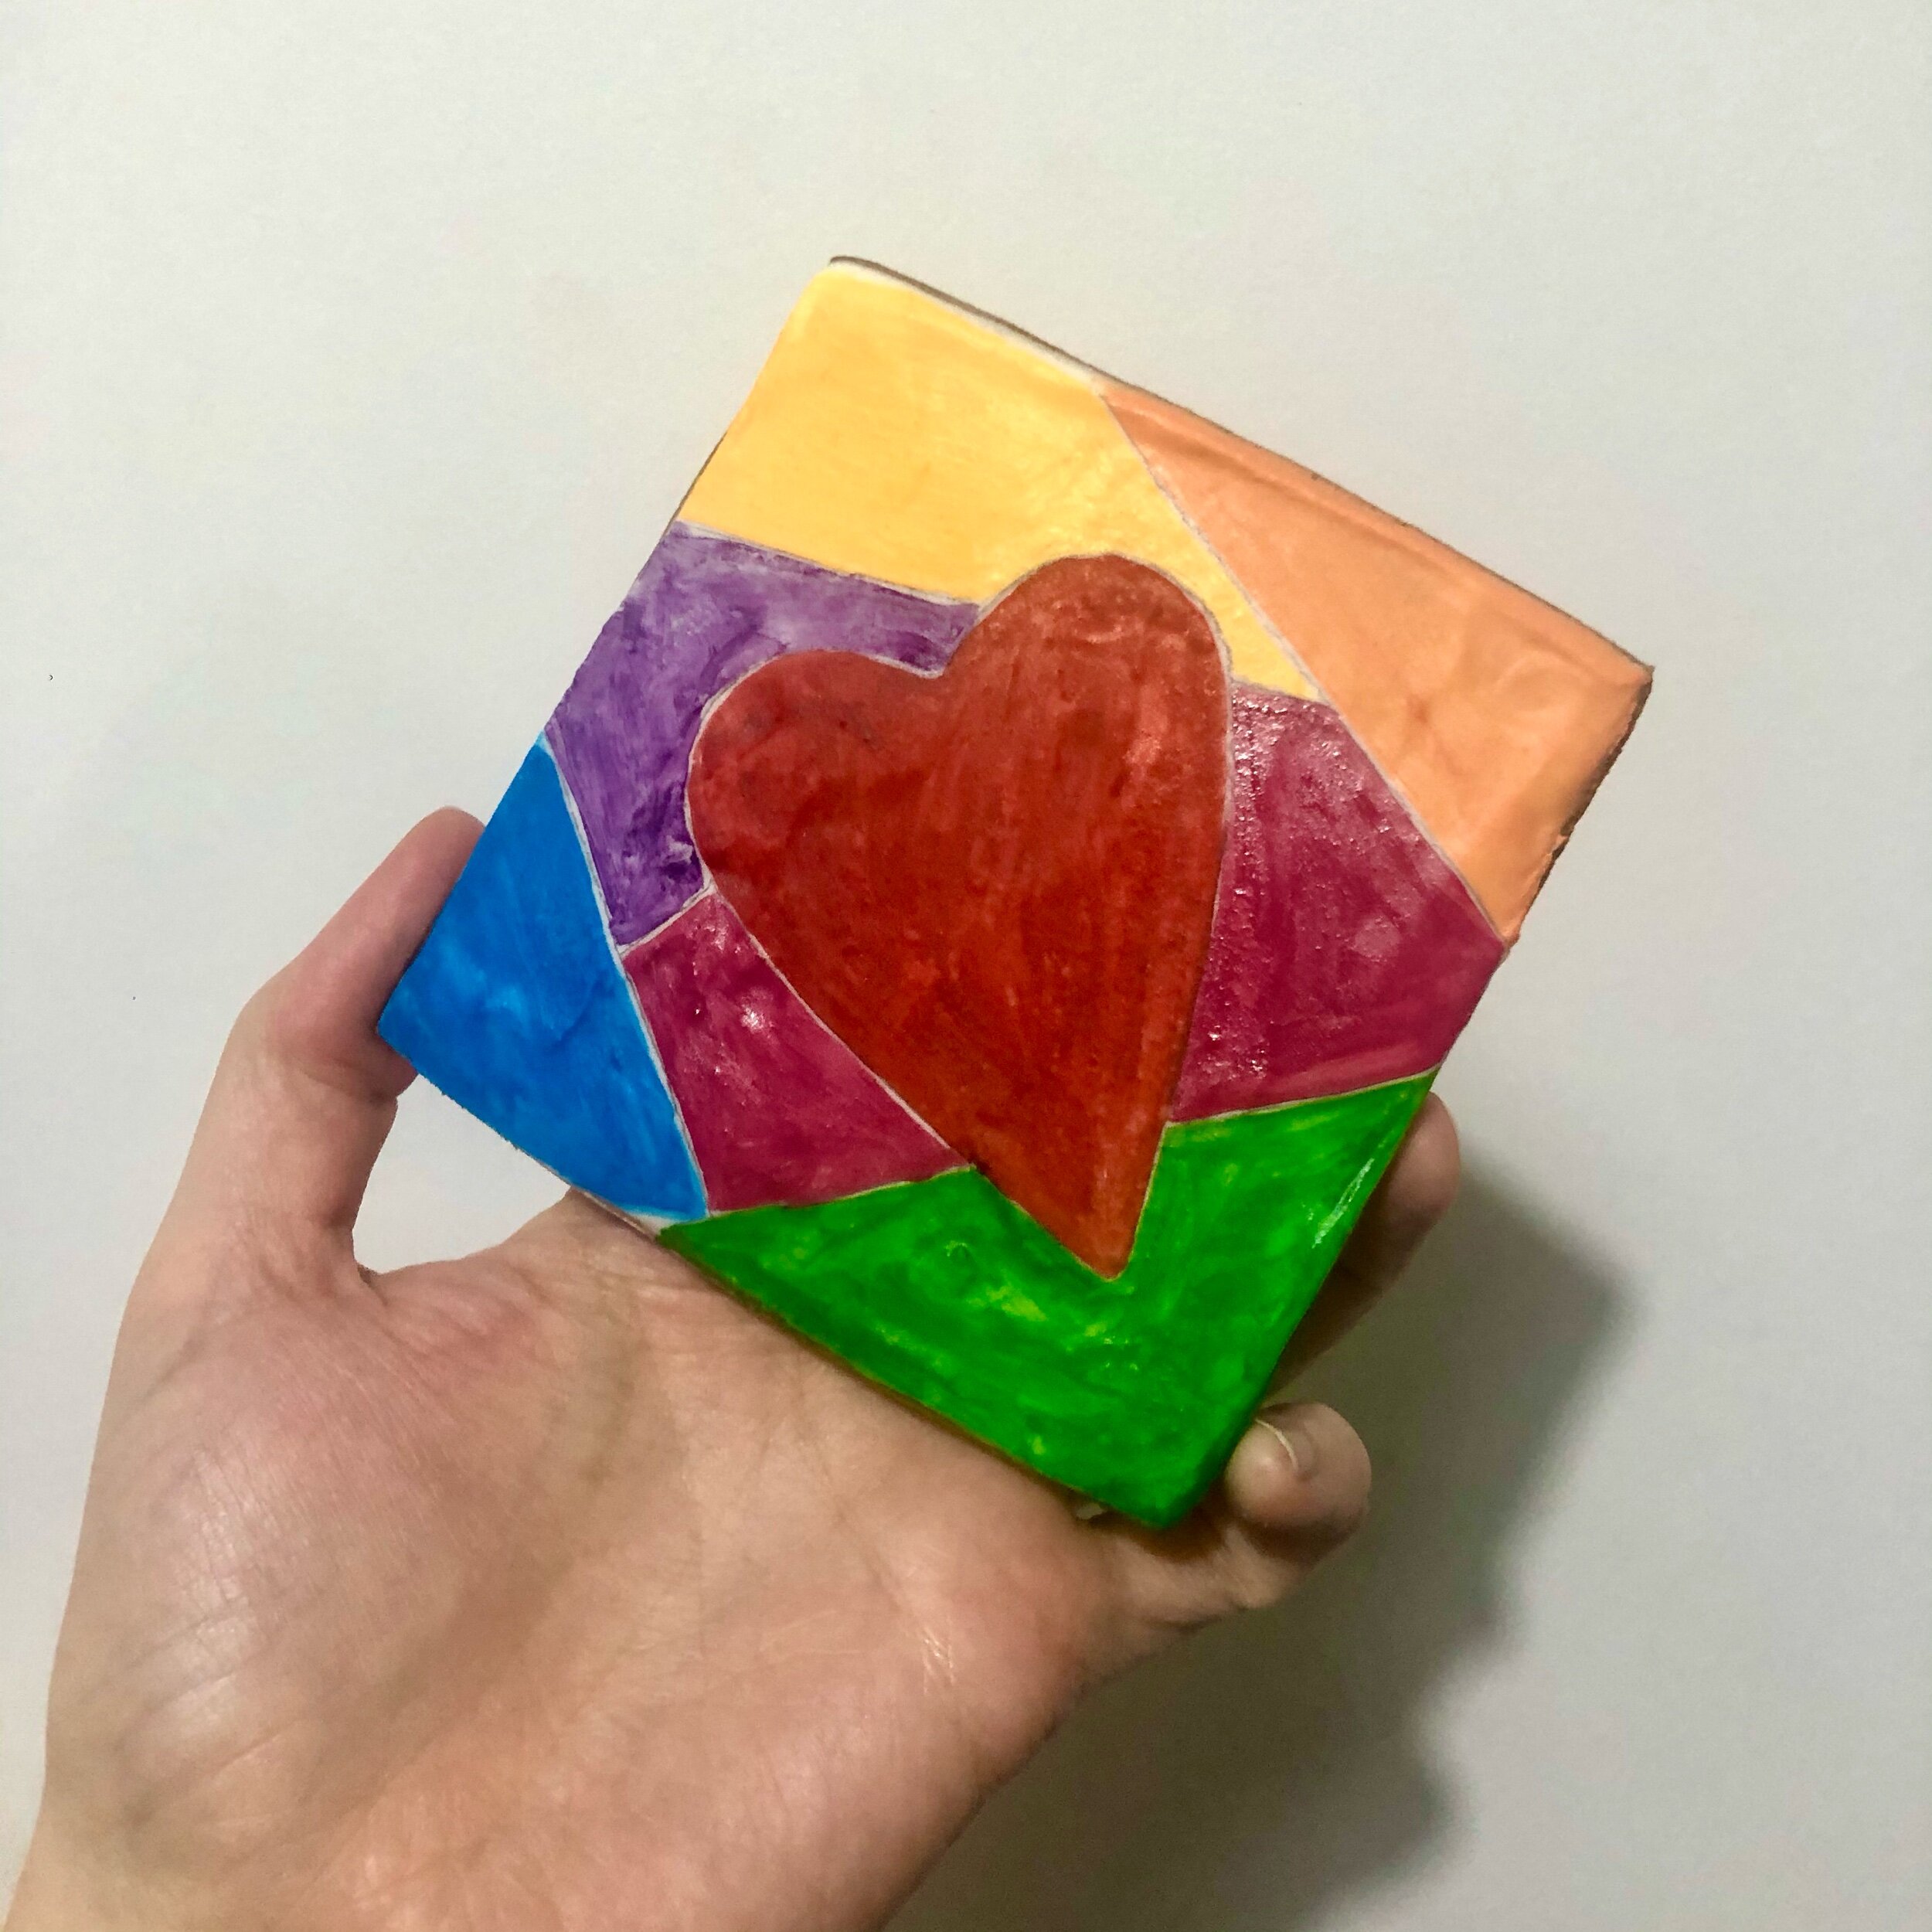
6. Okay, lets paint. Ordinarily I use powder food colour to mix my edible paints but for this one I wanted that almost shiny, transparent look so instead, take a little bit of gel food colouring and mix it with a tiny drop of lemon juice until its spreadable but still tacky. Using a food only paint brush, paint the individual panes on your cookies. Its easiest if you tackle all the pink, all the red, all the orange and so on. Leave to dry.
7. When the paint has dried, mix up a batch of piping gel. We won’t use the whole batch but it’s great for cakes as edible glue and can be stored in the fridge for a later date. When the piping gel is ready, use a pastry brush to apply a thin layer over the top of each cookie. Try to work fast, as the piping gel cools it will start to set thicker. Leave to dry.


8. Once the piping gel is dry, cut a small hole in the bottom of your piping bag with the grey icing we put in the fridge earlier. Pipe a grey outline around each pane and around the outer edge of each cookie. Leave to dry.
And you’re done! I gotta be honest, I really enjoyed this foray back into the cookie world, I think I might have to start slotting them in more often, what d’you think?
Lastly, I’d like to give a shout out to the amazing cookie makers who have been giving me life recently, please do go check them out;
Painted Ladies Pastry – big thank you to Maya whose posts introduced me to toothpaste consistency icing and all the wonderful things you can do with it
See you next month!


