How To Make Art Nouveau Stained Glass Cookies
Stained glass cookies with a Charles Rennie Mackintosh twist this week. Mackintosh and his wife Margaret McDonald are quite literally my favourite couple of all time. For anyone who doesn’t know them, you’re in for a treat. The pair were designers working in the late 1800’s early 1900’s and together they produced not only awe-inspiring art and design but they had a huge influence on the Glasgow Style and Art Nouveau. Charles was also an architect so he designed several buildings outside and in, the care he took in every detail is simply astounding. *Wikipedia
My two favourite places in the world are thanks to him; The Glasgow School of Art and Kelvingrove Art Gallery. If you’re in the area, please get on a bus and go visit them. Kelvingrove has a really cool exhibit where they re-create the rooms he and Margaret designed with the original furniture and two ridiculously wonderful complimentary pieces he and Margaret made. Two giant mixed media works that should tower over everything else in the room but instead seem to shine their magic on everything in sight. In the School of Art his library is just astounding; dark wood and green, stained-glass windows because he wanted the students to feel the tranquillity of a forest surrounding them rather than the drudgery of study.
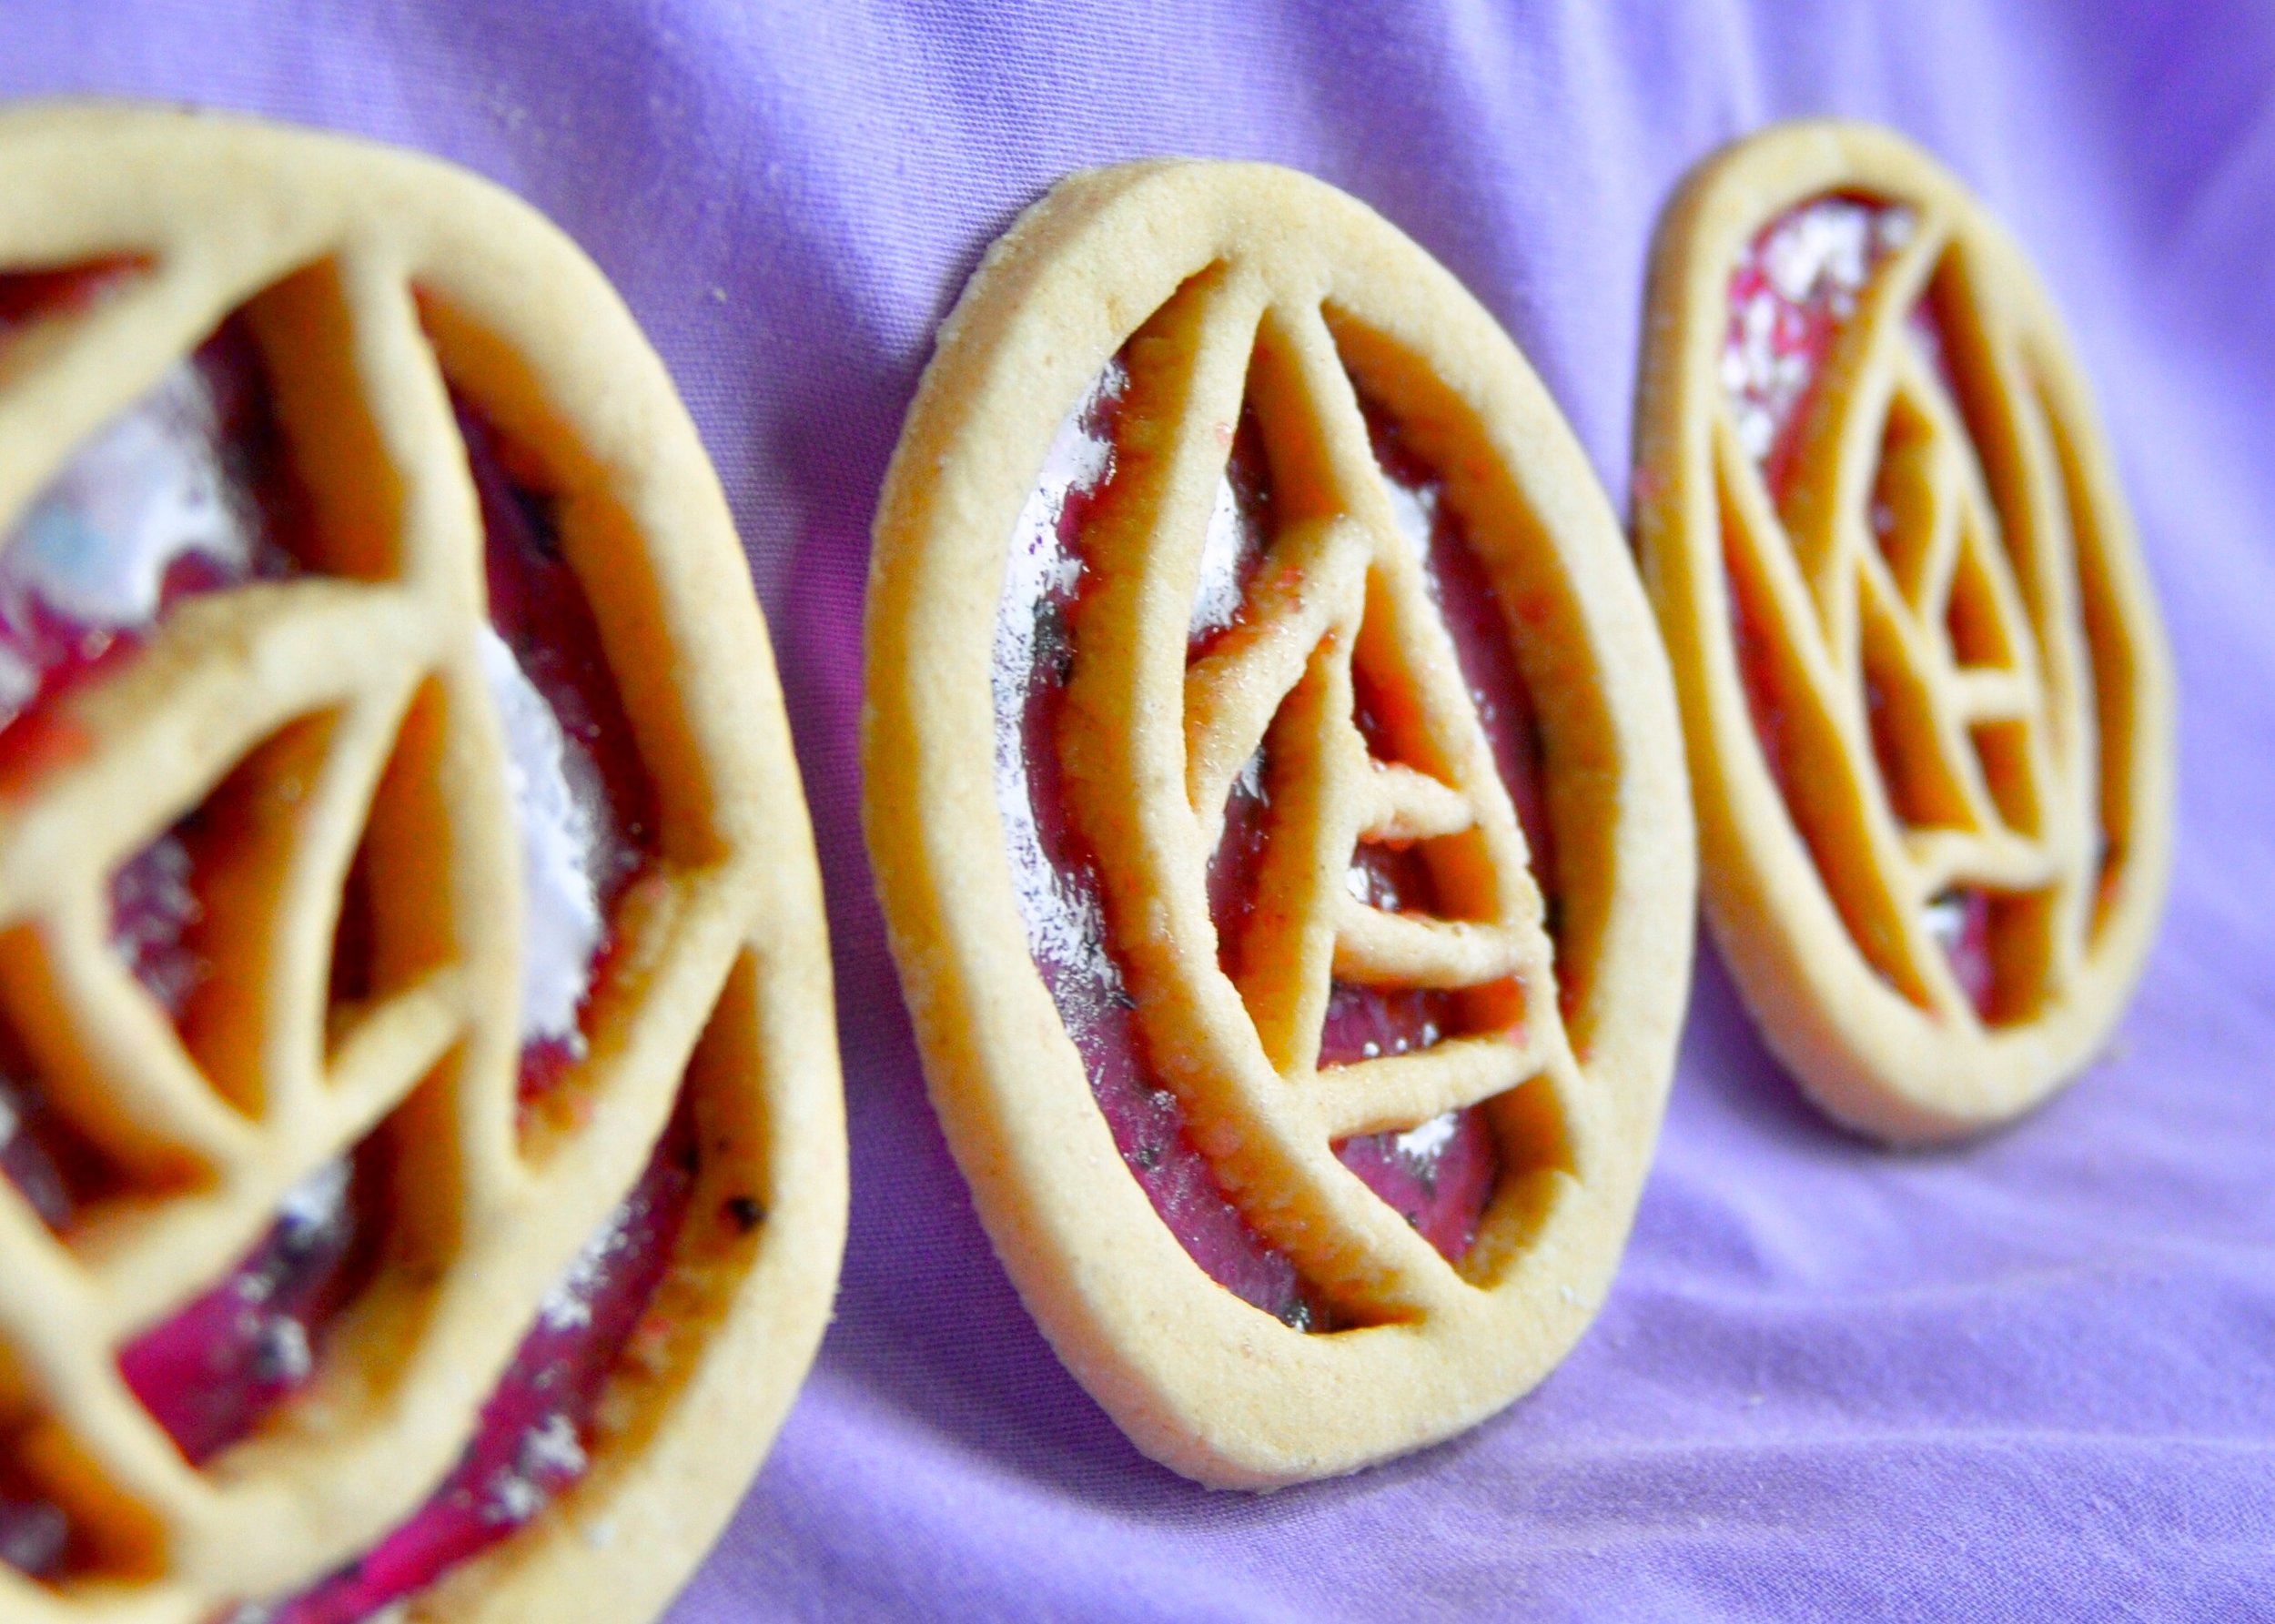
Which is why I opted for stained glass cookies, mixing my love for his stained-glass library and his most iconic design, the Mackintosh rose. The keen-eyes amongst you may have spotted two designs, I chose one of his and one of Margearts because together they created my most loved piece of art.
What You'll Need
- 1 egg, lightly beaten
- 100g butter/spread
- 275g plain flour
- 100g sugar
- 300g hard candy
- Edible gold paint (optional)
Method
Line a baking tray with parchment paper
Cream together the sugar and butter
While still whisking gradually mix in the egg
Add the flour and combine with a wooden spoon, be careful no to overwork
Roll out to a thickness of ½ cm
Using a round cookie cutter, cut out circles, placing them onto the lined tray until the dough is finished
Put the tray in the fridge for 30-60 mins
While waiting for the dough to cool make a rose stencil from spare, clean cardboard. Use the cookie cutter to size it and then cut out your design inside
When the dough has cooled, place the stencil on top and carefully use a knife to trace around it. Don’t fully cut through the dough at this stage because it will be too messy
Remove the stencil and cut through your guidelines, removing the spare dough inside. Continue for all the cookies
Pre-heat the oven to 190C
Place the hard candy in a freezer bag and seal
Using a wooden rolling pin crush the candy inside the bag. Be careful not to pound too much, we don’t want a fine powder
Bake the cookies for 10-12 mins in the pre-heated oven
Remove from the oven and fill the holes with the crushed candy, be careful not to let any fall in the dough as it will discolour it
Return to the oven for a few mins until the candy has completely melted. At the expense of sounding crazy, I would advise you just park your butt at the oven door and watch through the window, you don’t want to risk burning the sugar
Remove from the oven and leave to cool fully on the tray
- When cool, carefully peel off the parchment paper and take a picture. What’s the point of all that hard work if no one gets to see it?


