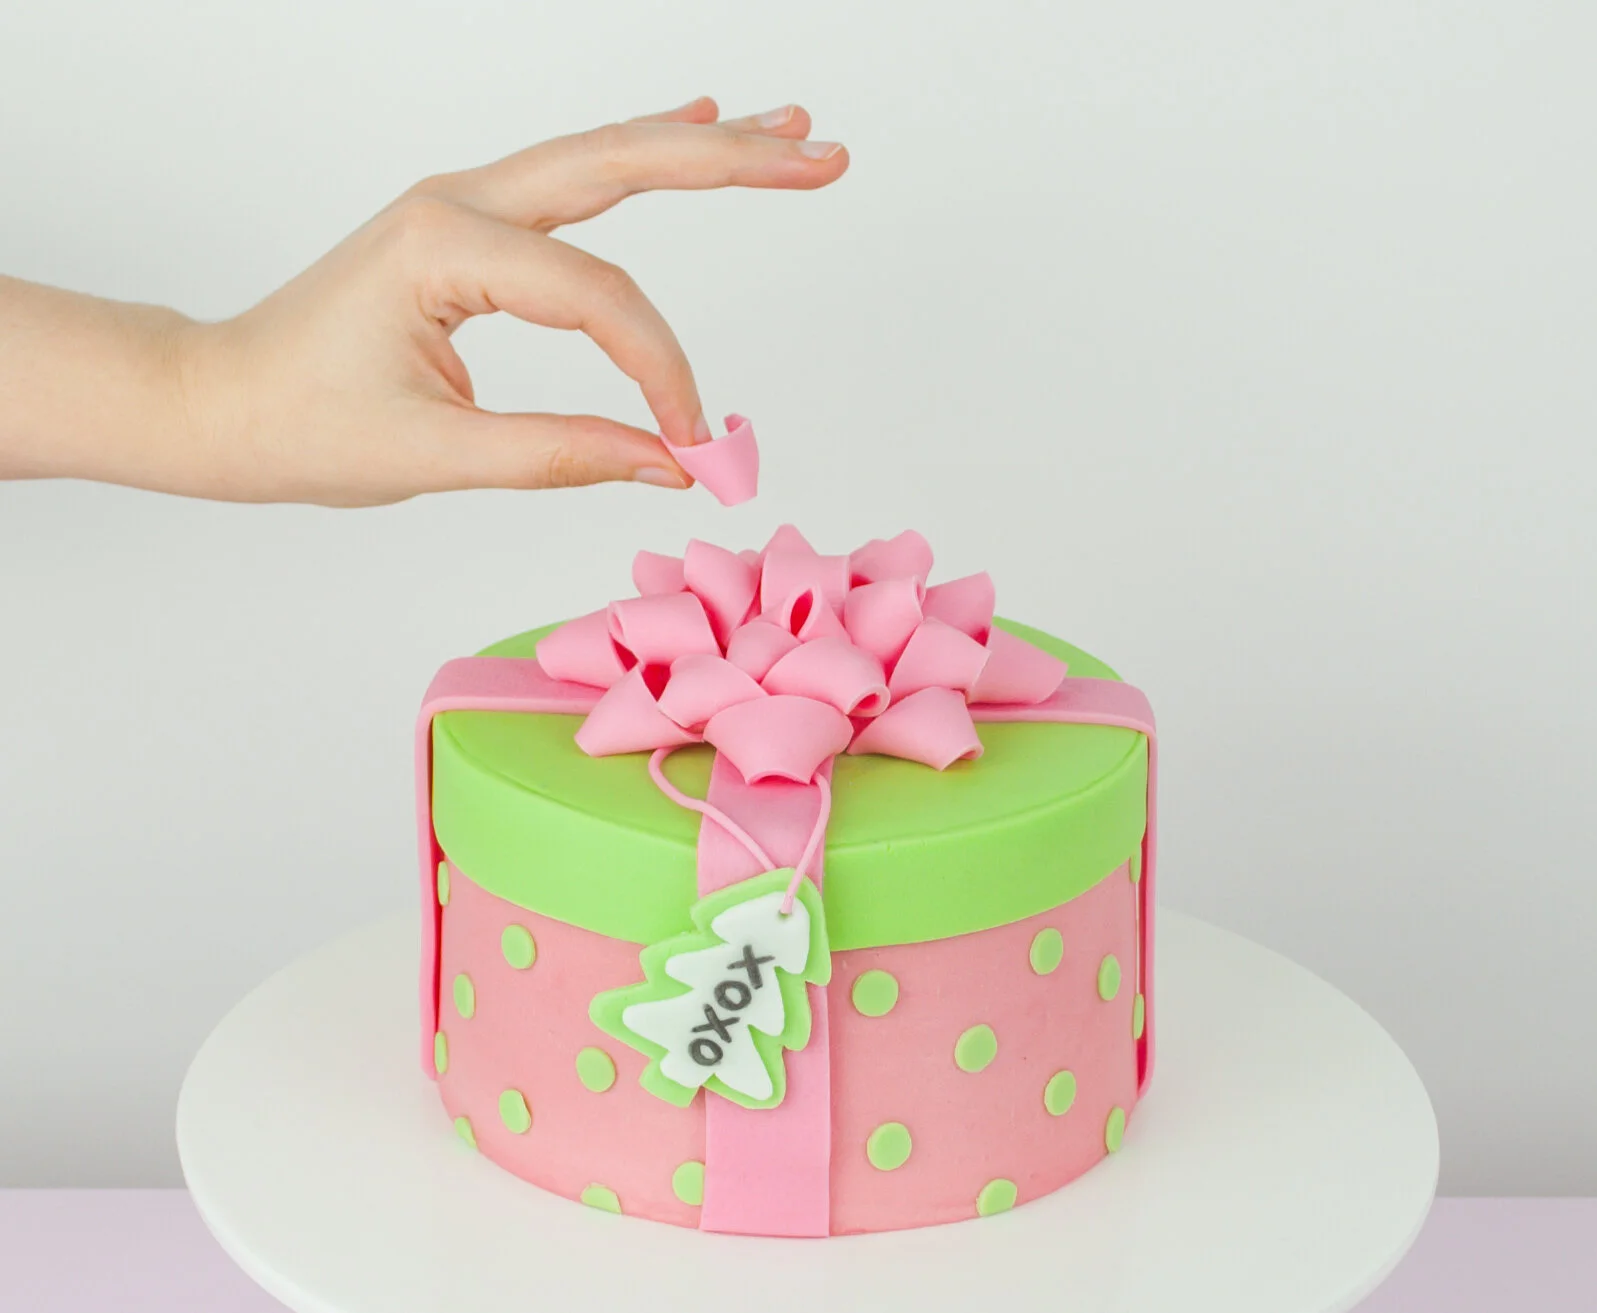
Super Easy Christmas Wrapping Cake - Step By Step
Finally, it’s Christmas! At last, something to look forward to in this god awful year. I know it won’t be the Christmas we’re used and some of us might not get to see all the loved ones we want but I hope everyone manages to find some cheer at the end of this absolute ball-ache we call 2020. And in honour of one of my favourite Crimbo tunes (Christmas Wrapping by The Waitresses, obvs!) I thought I would knock up this little cutie. The best part is that although she might look a little tricky, especially her fabulous bow on top she was actually a doddle to make.
So shall we get cracking?
Ingredients
serves 12-14, beginner, 4-6 hours
Cake
225g butter, room temp
225g sugar
4 eggs, lightly beaten
225g self-raising flour
30g plain flour
4 tbsp boiling water
Decoration
375g butter, room temp
650g of icing sugar, plus 1tsp for sprinkling
Pink gel food colouring
260g pink fondant
200g green fondant
30 grams white fondant
25ml lemon juice (optional)
Edible black pen (optional)

Method
Let’s start with the bow and gift tag as we will need to give them some time to harden. Tear off a small piece of green fondant and knead for a minute. Roll out to 1-2mm thick and cut out a small Christmas tree shape. You can either freehand it or make a template from a cereal box like I did. Once cut, move to rest on parchment paper. Repeat with a small piece of white fondant but this time cut the Christmas tree roughly a 1/4cm smaller on all sides. Using a food only, clean paintbrush, rub a little sterilised water or lemon juice over the top and centre of the green Crimbo tree. Place the white tree on top, settle into place and gently pat to secure with a fondant smoother. With the end of your paintbrush, pierce a small hole in the top, for the string to pass through. Leave to dry, ideally overnight.


Lightly dust 15-20 piping tips with icing sugar, not too heavy. If you don’t have piping tips, no problem you can scrunch a little tin foil to prop up the ribbons instead. Tear off 1/3 off the remaining pink fondant and knead for a few minutes. Roll out flat to 1-2mm depth and then cut into strips roughly 1cm x 6cm. Holding the middle of one ribbon with your thumbs under the centre, use your forefingers to flip the edges underneath. Trim the excess and place on one of the dusted piping tips to dry. Repeat until you have 15-20 folded ribbons. Lastly, dust a clean cylinder shape with icing sugar and lay a last strip over the top, this will be our centrepiece in the bow. I used the holder for my thermometer, but you could use a bottleneck, a knife handle, anything you have laying around that is round. Leave all these pieces to dry, ideally overnight.


Preheat the oven to 180°C or 160°Fan and line two 6-inch cake pans with parchment paper. Beat together, 225g of butter and 225g of sugar until pale and fluffy. While still beating, gradually add in the eggs until fully combined. Sift together 225g of self-raising flour and 30g of plain flour into the bowl with 4 tbsp of boiling water and mix until smooth. Pour into the lined tins and bake for 25-30 minutes or until a skewer comes out clean.
Leave the cakes to cool for 5 minutes in the pan before turning out to cool completely. While cooling, beat together 375g of butter and 650g of icing sugar until fluffy and smooth. If it’s a little stiff, feel free to add a few drops of milk or even water to get a nice spreadable consistency. Slowly add tiny drops of pink gel food colouring until you get that pop we’re looking for.
Once the cakes are completely cool, level off the tops and stack one on top of the other with a generous spread of our pink buttercream. After they are securely stacked, cover the whole cake in a thin layer of buttercream to pick up the crumbs and place in the fridge for 20-30 minutes. When the icing has hardened, cover the entire cake, this time in a thick layer and smooth with a palette knife or bench scraper, return to the fridge for another 30 minutes. Save any leftover buttercream for later.
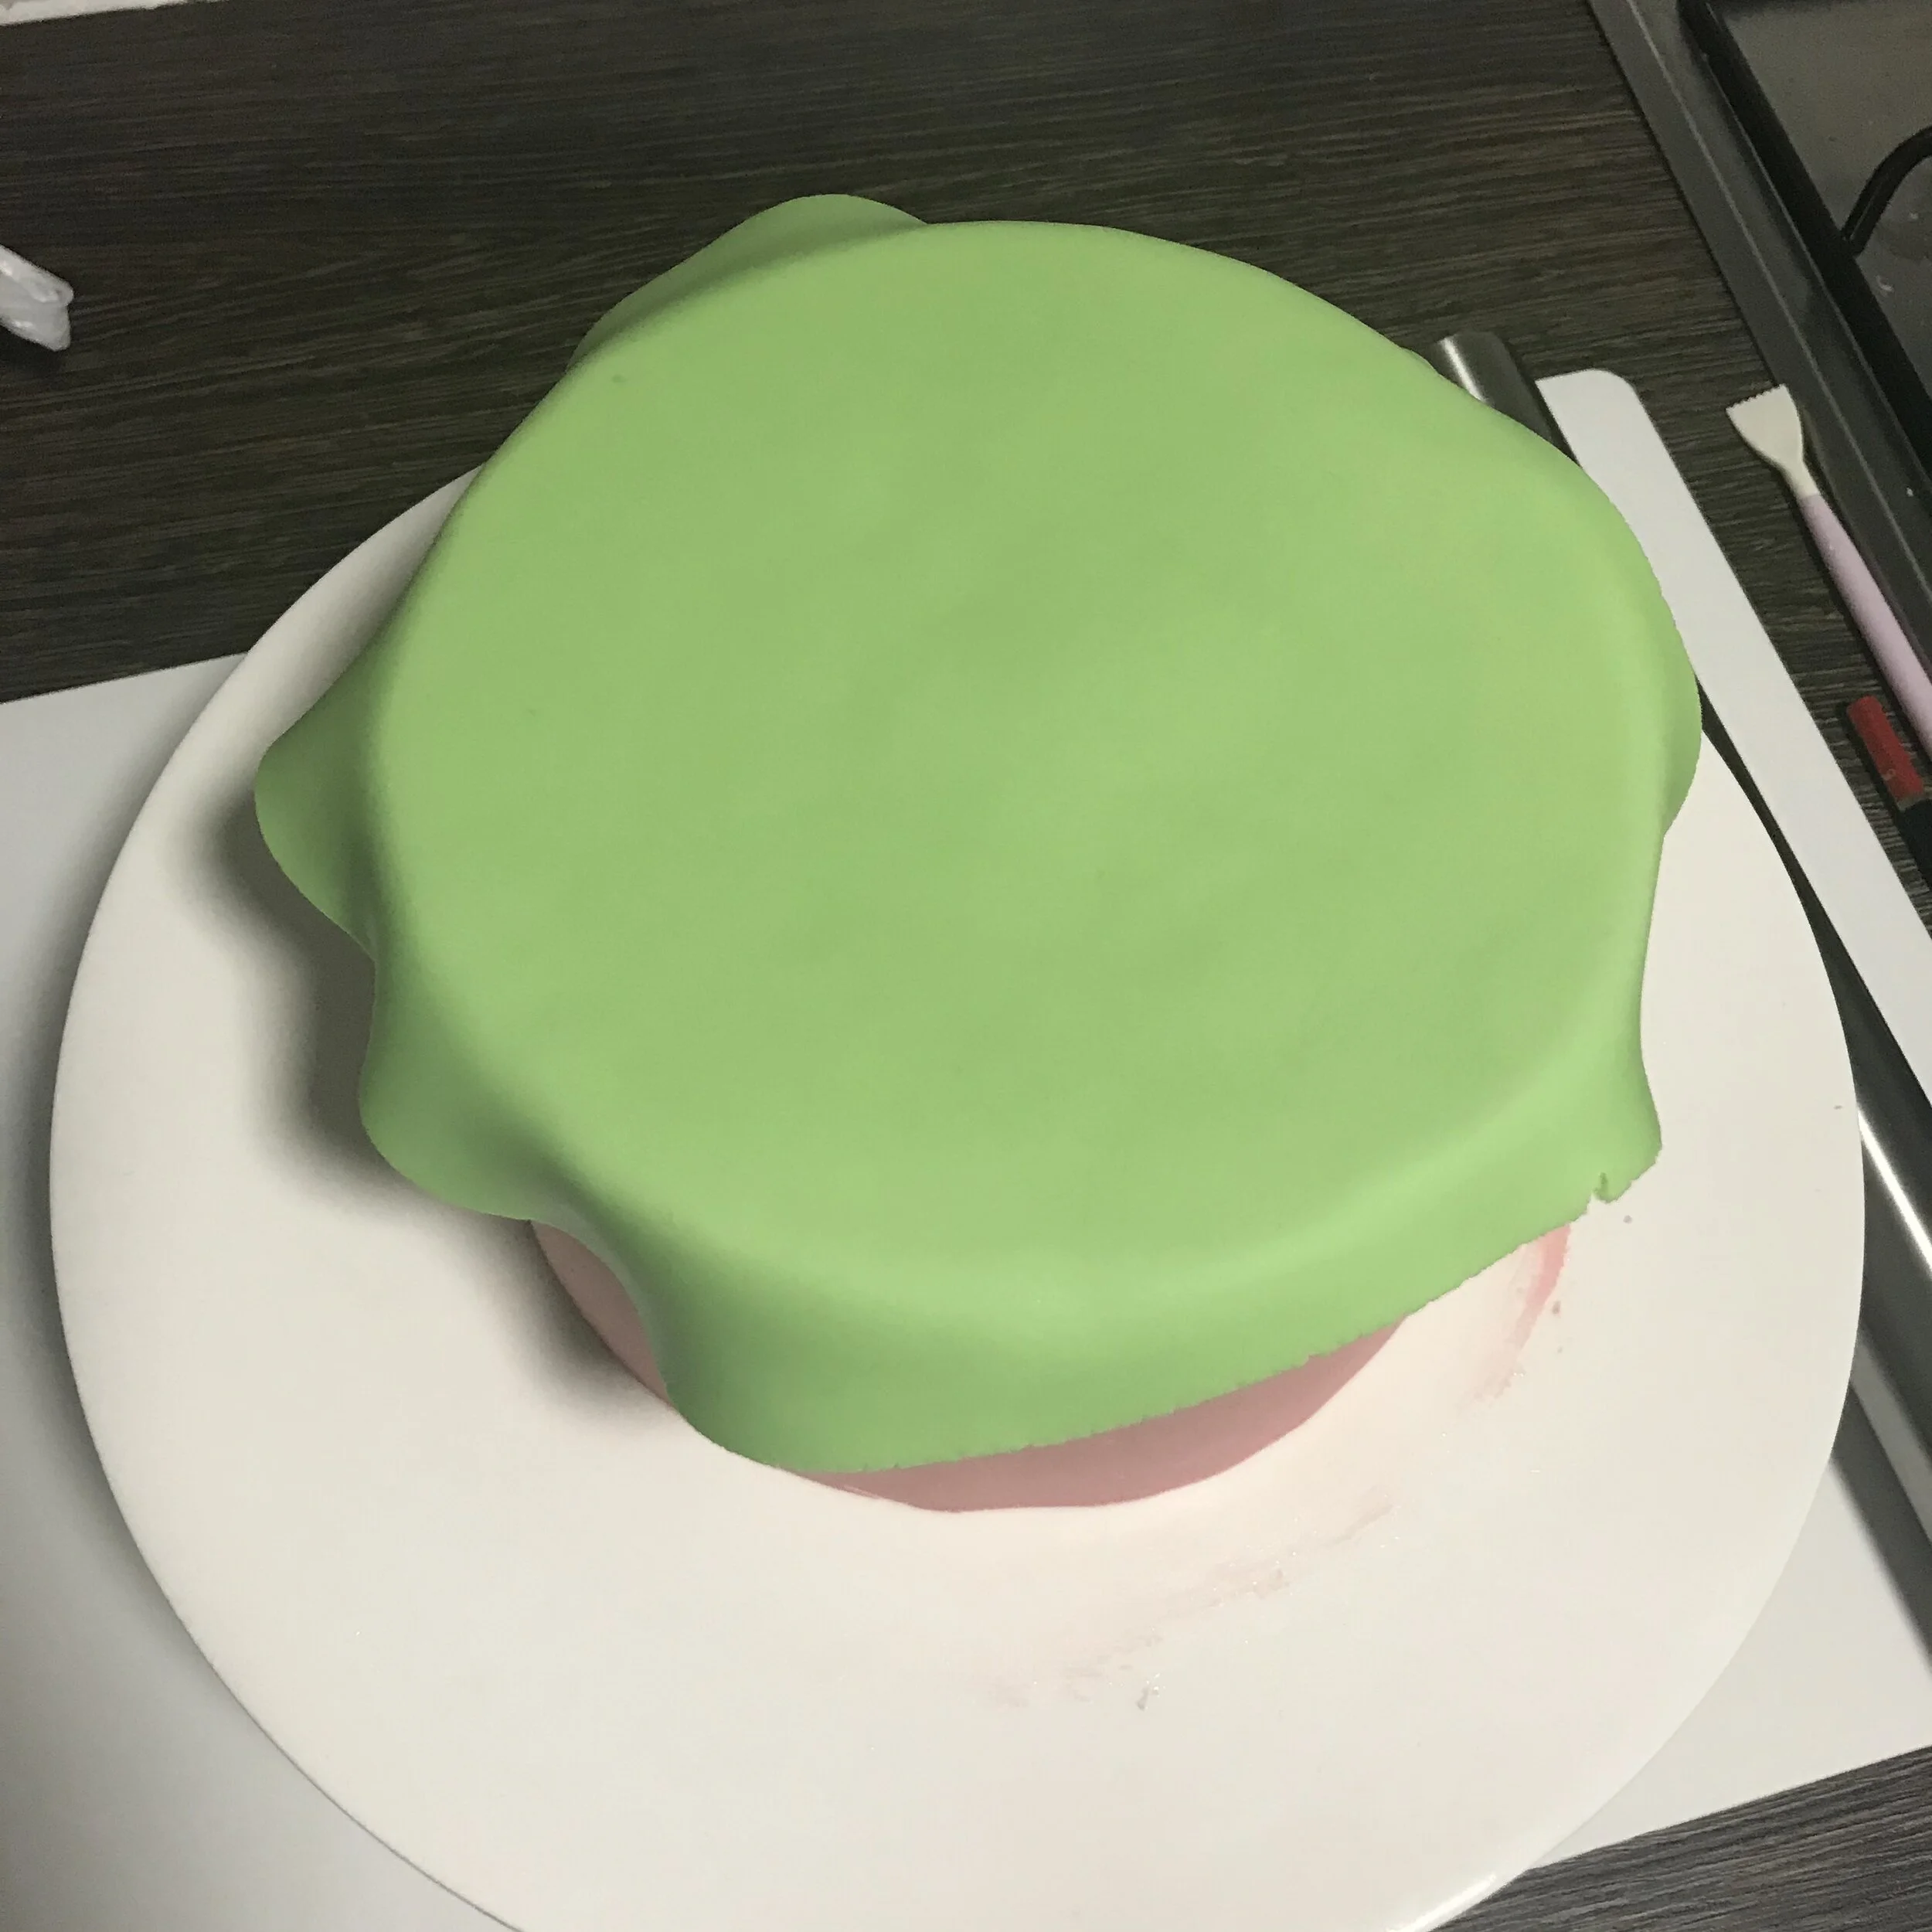

While the cake is chilling, knead the green fondant for a few minutes. Teat off 2/3 and roll flat to 2mm thick and at least 20cm diameter. Once cool, remove the cake from the fridge and spritz the top with sterilised water. Lay the green fondant over the top and gently run over a fondant smoother. Trim the excess so the edge of the fondant is flush to the cake. Roll out the remaining green fondant into two strips, 25cm long, 2.5cm wide and 2mm thick each. Using your paintbrush from earlier, dampen along the top edge of the cake and attach the green strips around the circumference. I split the strips into two as its easier to handle and the pink ribbon will hide the join. Once you are happy with the placing do a quick run over with the fondant smoother to fix any lumps or bumps. Re-roll the remaining green fondant and cut out 40-50 small circles for the polka dots. Attach them to the cake using a little sterilised water in a polka dot pattern.


Knead the remaining pink fondant for a few minutes and roll out to 2mm thick. Cut four strips 25cm long, 2.5cm wide and 2mm thick. This next part is optional as it doesn’t really show up on the photos but I promise it looked great in real life. Once the strips are cut, place a clean tea towel over the top and gently press down with a fondant smoother to imprint the fondant with the texture from the cloth. Attach them to the cake with sterile water, trim the excess and wrap up for later. I tried to be careful not to press the ribbons into the buttercream as with real presents there is usually a gap caused by the lid. Use the blunt edge of a knife to gently ‘tuck’ the bottom edges under.
Once the gift tag and ribbon pieces have dried, we are ready to assemble. Using an edible pen, write your chosen Xmas message along the front of your gift tag. Roll out a small piece of the remaining pink fondant to a skinny rope roughly 18cm long. Place on top of the cake, securing at the centre with sterile water and the ends hanging down over the edge. Place a small dot of buttercream where the gift tag should lay and attach the gift tag to the front with one piece of string behind and one in front. Hold in place for a few seconds until secure. With the end of your paintbrush, gently push the end of the string in front into the hole in the gift tag.

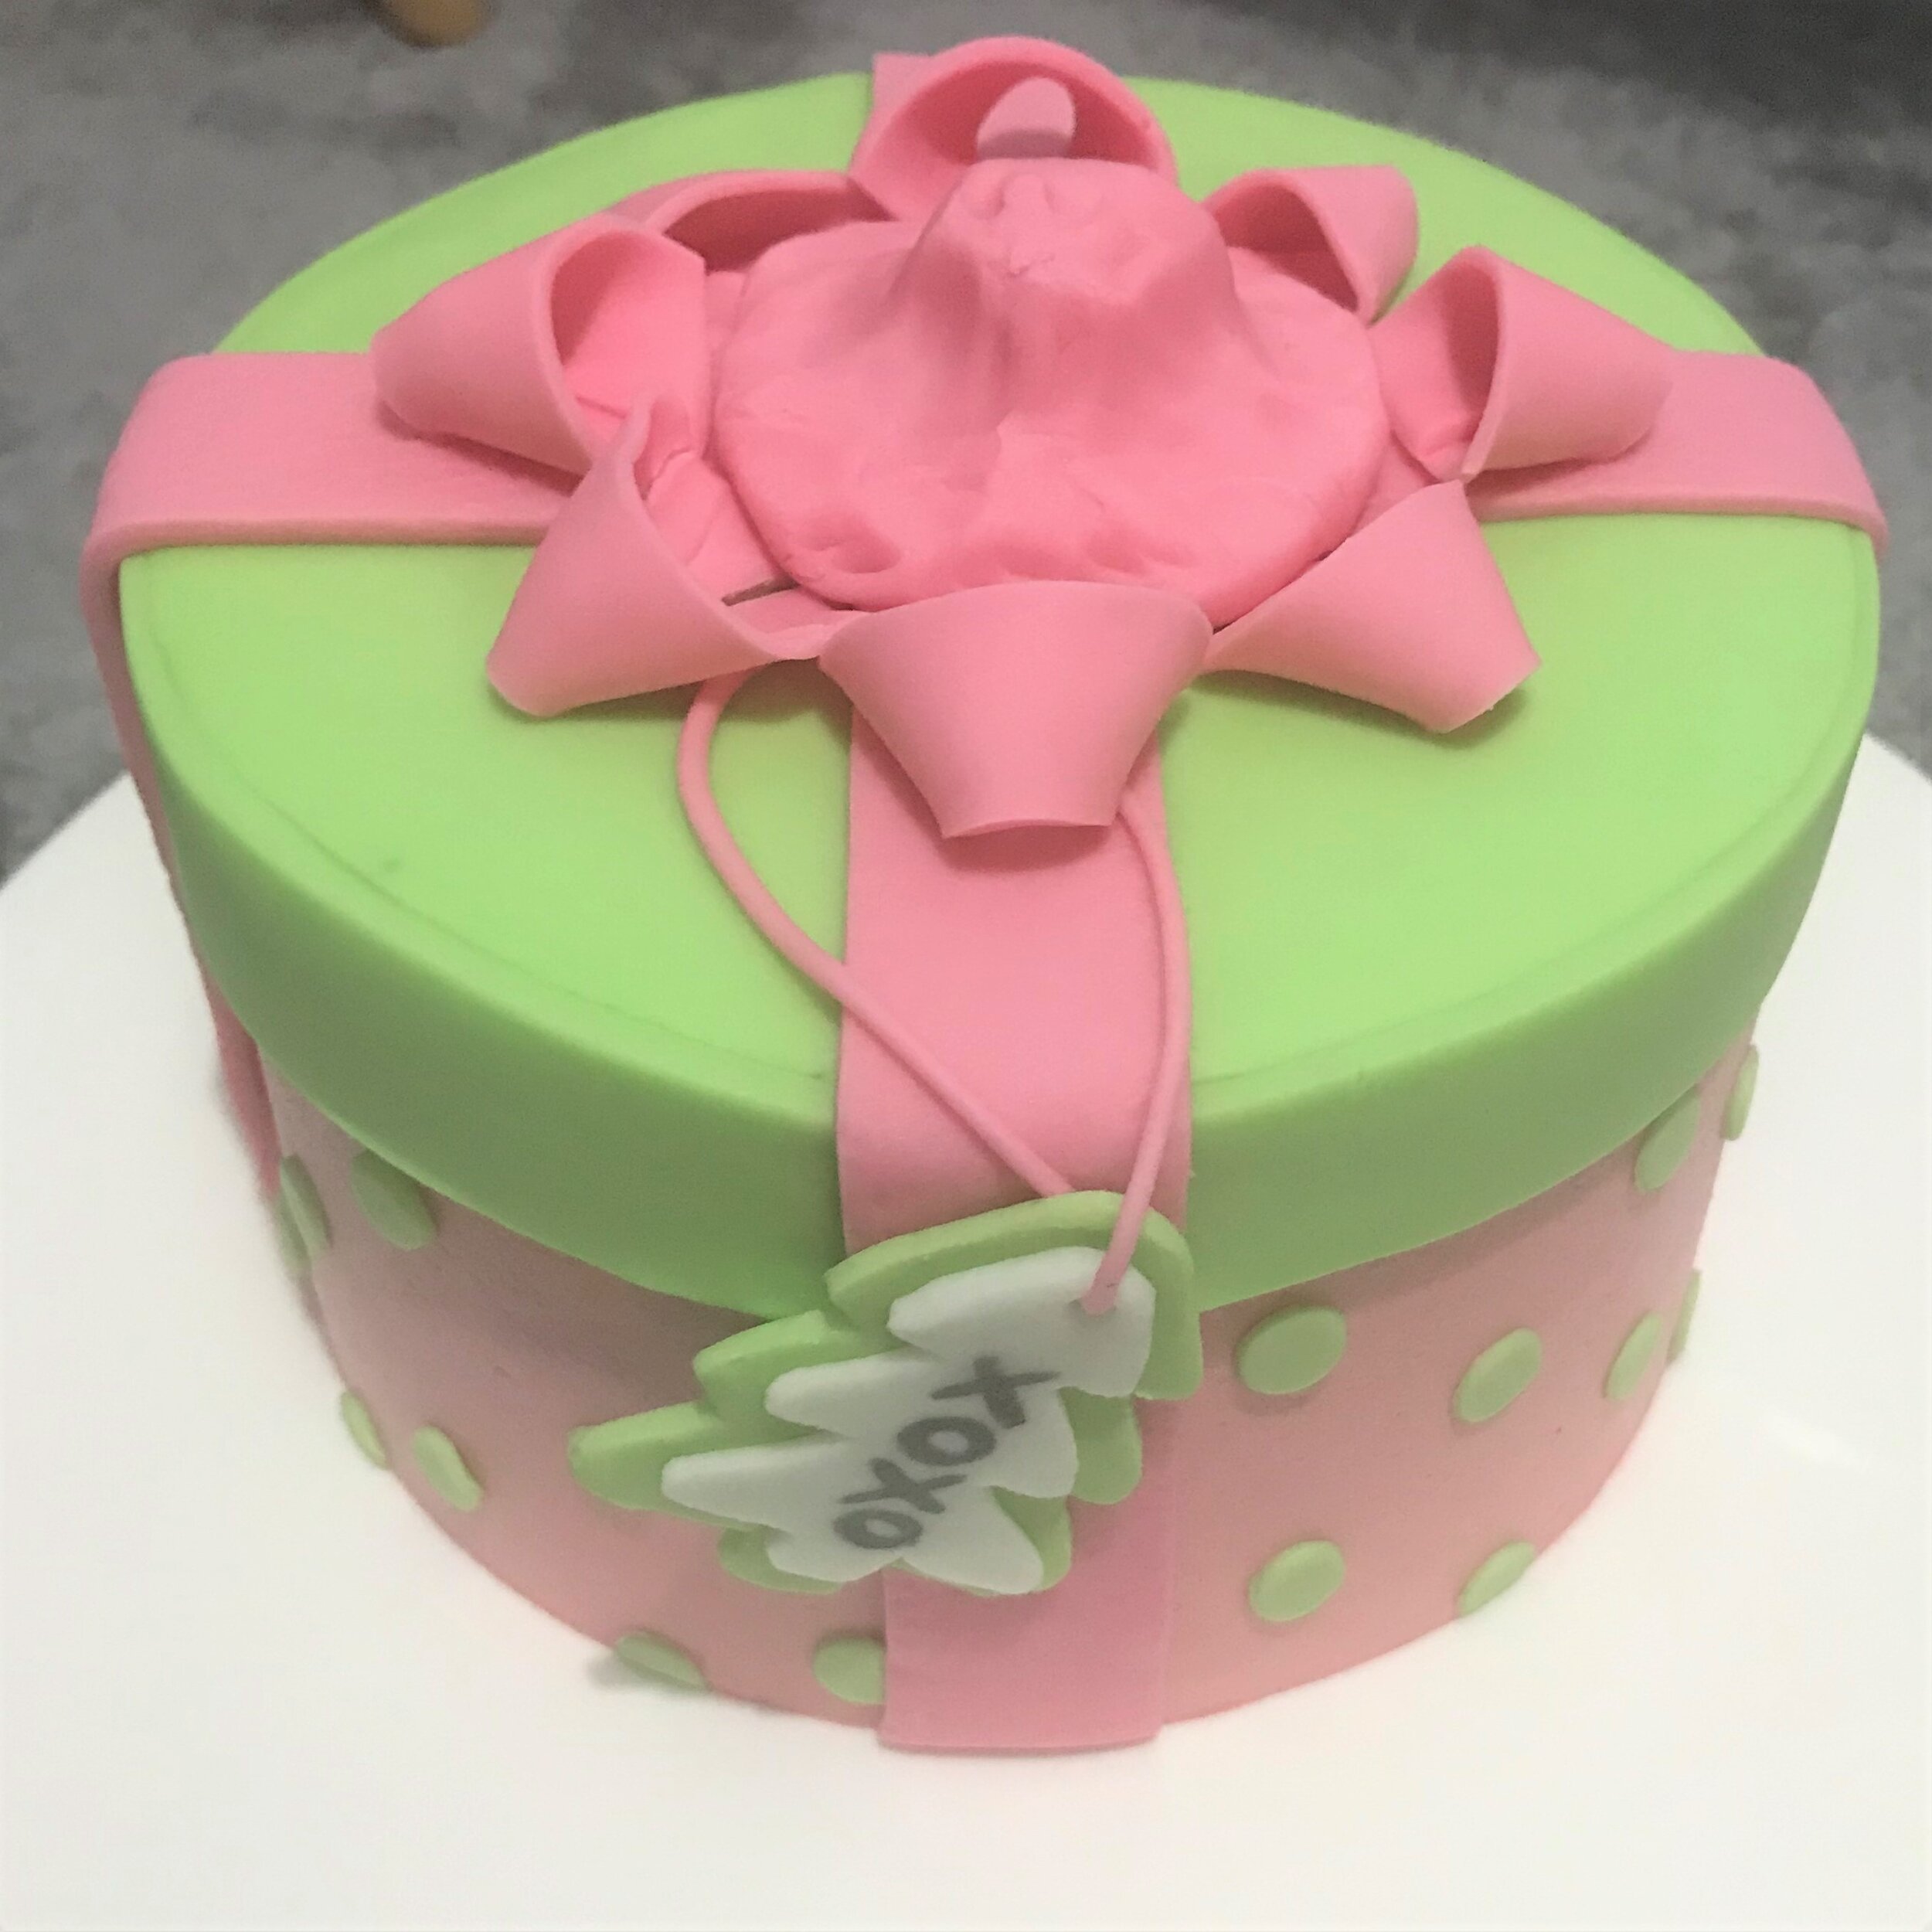
Finally, its time to assemble the bow. Release your ribbon pieces gently from the piping tips and arrange loosely by size. Attach the larger ones in a circle on top of the cake with a little sterilised water. Next, take the remaining pink fondant and shape it into what can only be described as a pretty big nipple. Place in the centre, securing with water. At the top of the peak (?) place the piece of ribbon that we made round rather than tucked under. If your peak is too large, pinch it in little. Arrange the remaining ribbon pieces starting from the outside and working your way in, attaching with sterile water. And we are done, congrats love, she looks fab!