How To Make A Giant Pink Wafer Cake
Welcome to the pink wafer cake of your childhood dreams! I thought I might dip a toe back into the old giant biscuit pool and what better biscuit could I have chosen than the absolute legend, the pink wafer.
Not only did this cake let me get all nostalgic, it was a great cake for these less than practiced hands. The normal panic of fondant cracking or heaven forbid tearing went totally out the window because all the cracks and tears added to the wafer effect. I got to have loads of fun and remind myself why I started this in the first place.

I’ve used a madeira-based sponge so it’s a little sturdier and easier to cut and stack but if you’d rather a good old fluffy sponge feel free to sub in your own recipe. Or if you’re happy with the madeira but would like it a little more moist, you can easily add a little sugar syrup shower before you stack.

Happy caking!
Serves 10-12, beginner
Ingredients
Cake
480g butter or spread (room temperature)
390g sugar
6 eggs (lightly beaten)
420g self-raising flour
180g plain flour
6 tbsps milk
1 1/2 tsp vanilla extract
Gel food colouring – pink and purple
Decoration
400g butter (room temperature)
650g icing sugar
Gel food colouring – pink and purple
2-4 tbsp water or milk
500g peach pink fondant (‘wafer’)
200g bright pink fondant (‘filling’)
Method
1. Line two 30cm x 20cm baking trays with parchment paper and preheat the oven to 170°C/150° Fan. Cream together 480g butter (or spread) and 390g of sugar until pale and fluffy. While still whisking, slowly add in the 6 beaten eggs and 1 tbsp from the self-raising flour. When the eggs are thoroughly mixed in, add the remainder of the self-raising flour and 180g of plain flour and mix until smooth. Add 6 tbsp of milk, 1 1/2 tsp of vanilla extract and small drops of pink and purple food colouring. Mix through, gradually adding pink food colouring until it matches the biscuit wafer. Split the mix evenly between the two trays and bake for 25-30 minutes or until a skewer comes out clean. Once baked, remove from the oven and leave in the trays to cool for 5 minutes before transferring to a wire rack.

2. While the cake is cooling, whisk together 400g of butter and 650g of icing sugar until pale and fluffy. Gradually add small amounts of pink and purple food colouring until you are matching the wafer. We want the icing to have a spreadable consistency but still holding its shape, if yours needs to be any looser, slowly add water or milk until its right.


3. Once the cake is cool, cut one-third off each cake, lengthways as above. Attach one sponge to your cake board with a little buttercream and then stack the remainder between layers of buttercream. Apply a thin layer of buttercream all over and place in the fridge for 30 minutes. Once the cake has chilled, apply a further layer of buttercream, a little thicker this time and smooth using an offset palette knife, return to the fridge. Transfer the remaining buttercream to a piping bag and cut a small hole in the end, roughly 3mm in diameter. Once the cake has chilled for 15 minutes, remove from the fridge and gently score the waffle pattern on top with a knife as a guide. Using these guidelines, pipe the buttercream on top and return to the fridge for 30 minutes.

4. While the cake is chilling, knead 500g of the wafer colour fondant. If you’re colouring this yourself, I used a mixture of pink colouring and a tiny spot of yellow. Once its kneaded and pliable, roll half into a rectangle measuring 35cm x 20cm. Remove the cake from the fridge and spritz the top with sterilised water. Cover the top of the cake with fondant, trim the bulk of the excess leaving at least 3cm on all sides hanging over the edge. Very gently, start to push the fondant into the holes made by the buttercream, careful not to press too hard. Next, use a pinching motion with your thumb and forefinger to define the ridges. Don’t worry too much about the fondant tearing and cracking because it adds to the wafer effect. Once your happy with the definition, trim the excess fondant until only 1cm falls down over the edges.

5. Using the handle end of a teaspoon, gently press against the fondant which comes over the sides to give it a mottled effect. Using the remaining wafer fondant, roll out 6 ropes roughly 3mm in diameter and 30cm long and 6 ropes 3mm in diameter and 15cm long. Flatten the top side a little using your forefinger and attach to the cake as below using a little sterilised water to help them stick. Repeat the mottling effect on all sides. To add a little more texture, allow the fondant to dry slightly for 5 minutes and using the tip of a paring knife, scratch the surface gently in short sharp motions until it resembles wafer.


6. Knead the filling-coloured fondant for 5-10 minutes and then roll out 6 ropes 4mm in diameter and 30cm long and 6 ropes 4mm in diameter and 15cm long. Flatten these using a rolling pin until they are wide enough to fill the gaps left in the cake. Attach to the cake using a littler sterilised water and press gently into any gaps. Leave to dry slightly for 5-10 minutes. Carefully using a knife, slide between the wafer and the filling layers to accentuate the gap slightly in places.

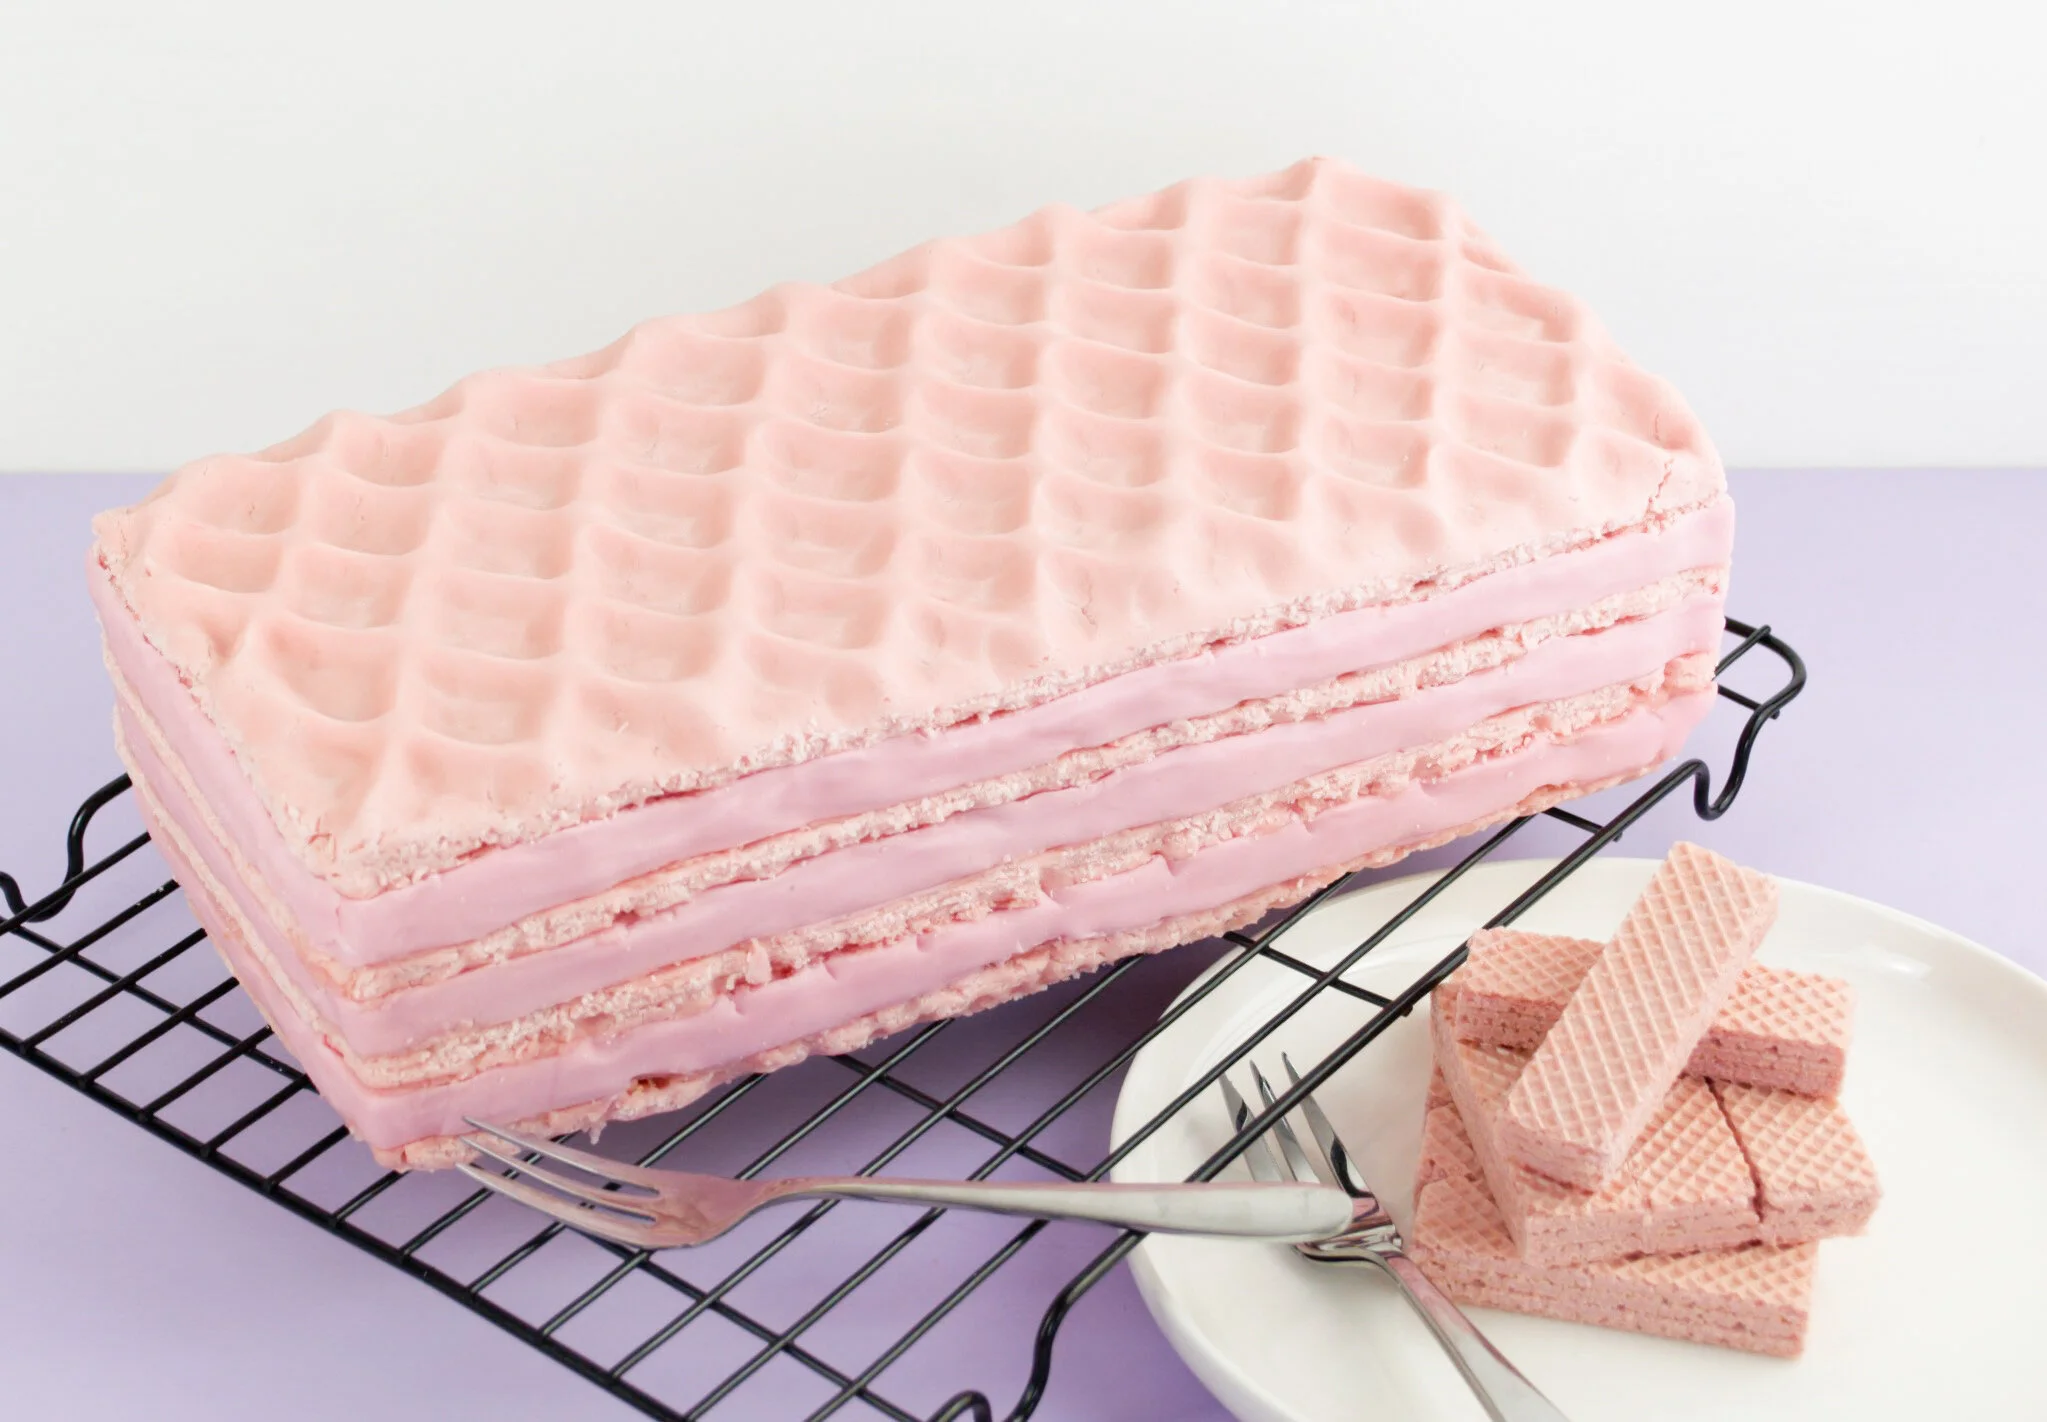
Voila, we’re done! Go wow the crowds with your fantastic cake skills.