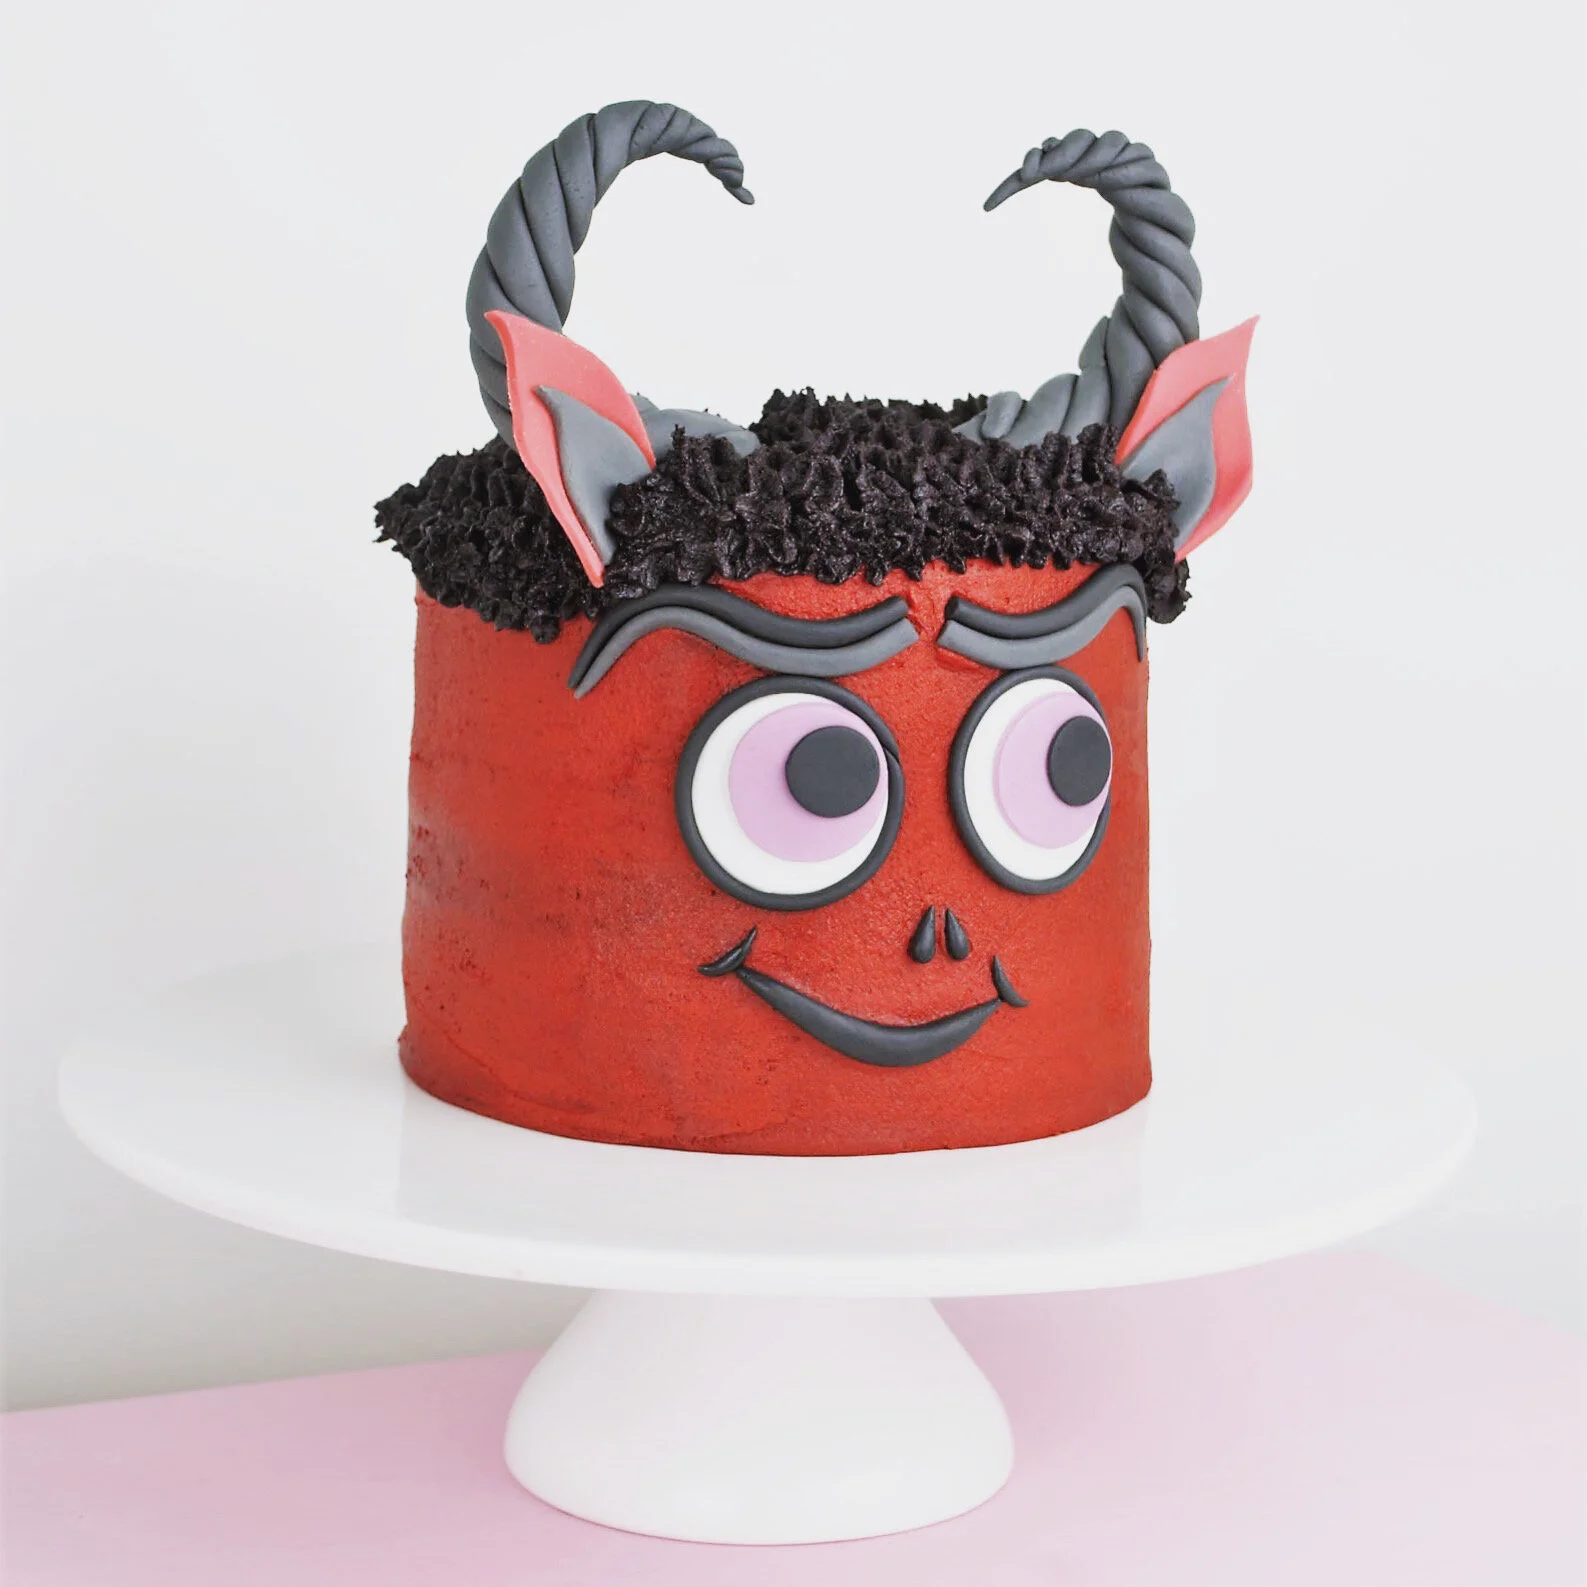
Delicious Devil Cake Tutorial For Halloween
Hello! I know it’s been a while but I couldn’t let Halloween pass without a cake. Say hi to my new bud, the most delicious devil you ever did see. And there’s even more good news, thanks to this little fella I have yet again caught the cake bug. I’m not sure what happened last year but safe to say I’d lost a bit of the joy. Not any more though, I’m back and cracking on full steam ahead. Stay tuned for more cute ass cakes next month.
Ps. please forgive the pictures, I’m gonna work on them for next time, I promise!
But for now, let’s get on with this beautiful boy…

Ingredients - serves 12-14
time: 4-6 hours work (plus 2 days waiting for fondant to dry if you don’t trust the oven)
Cake
12oz self-raising flour
12oz sugar
12oz butter
6 eggs (lightly beaten)
Decoration
350g butter
700g icing sugar
2tbsp cocoa powder
100g grey fondant
30g black fondant
20 grams white fondant
20g red fondant
20g white fondant
20g purple fondant
Red gel food colouring
Black gel food colouring
Toothpicks

Method
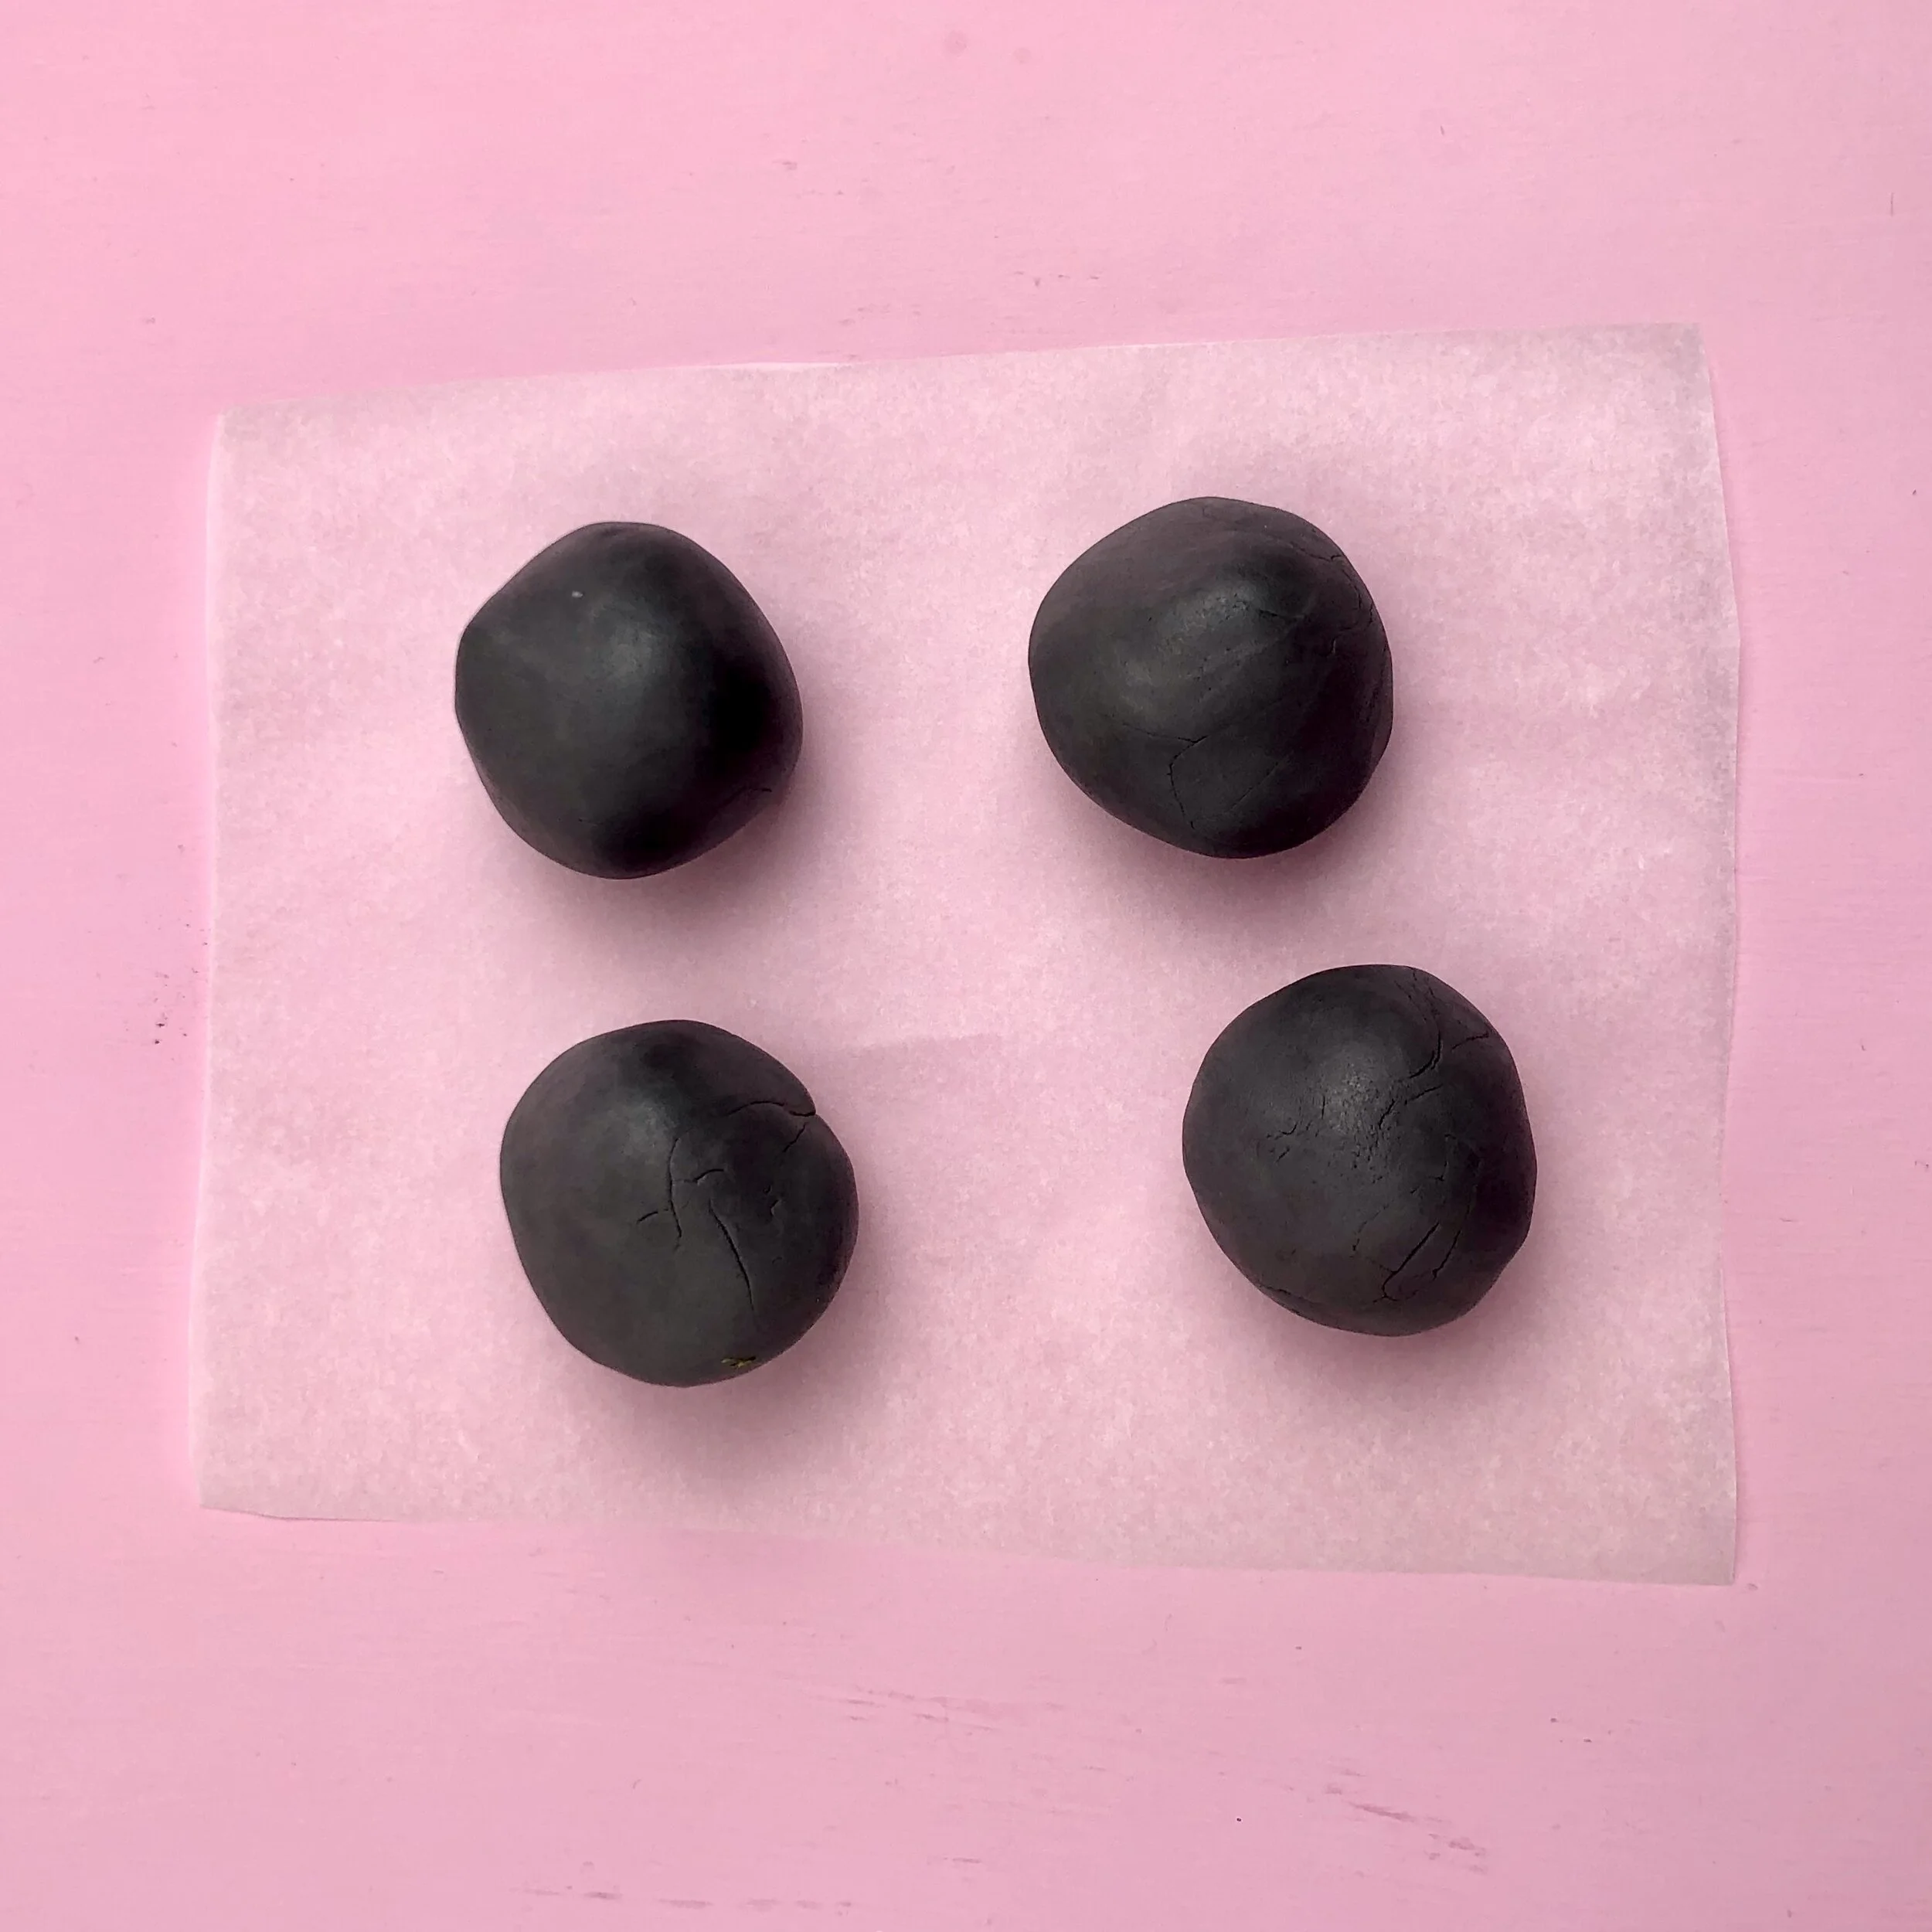
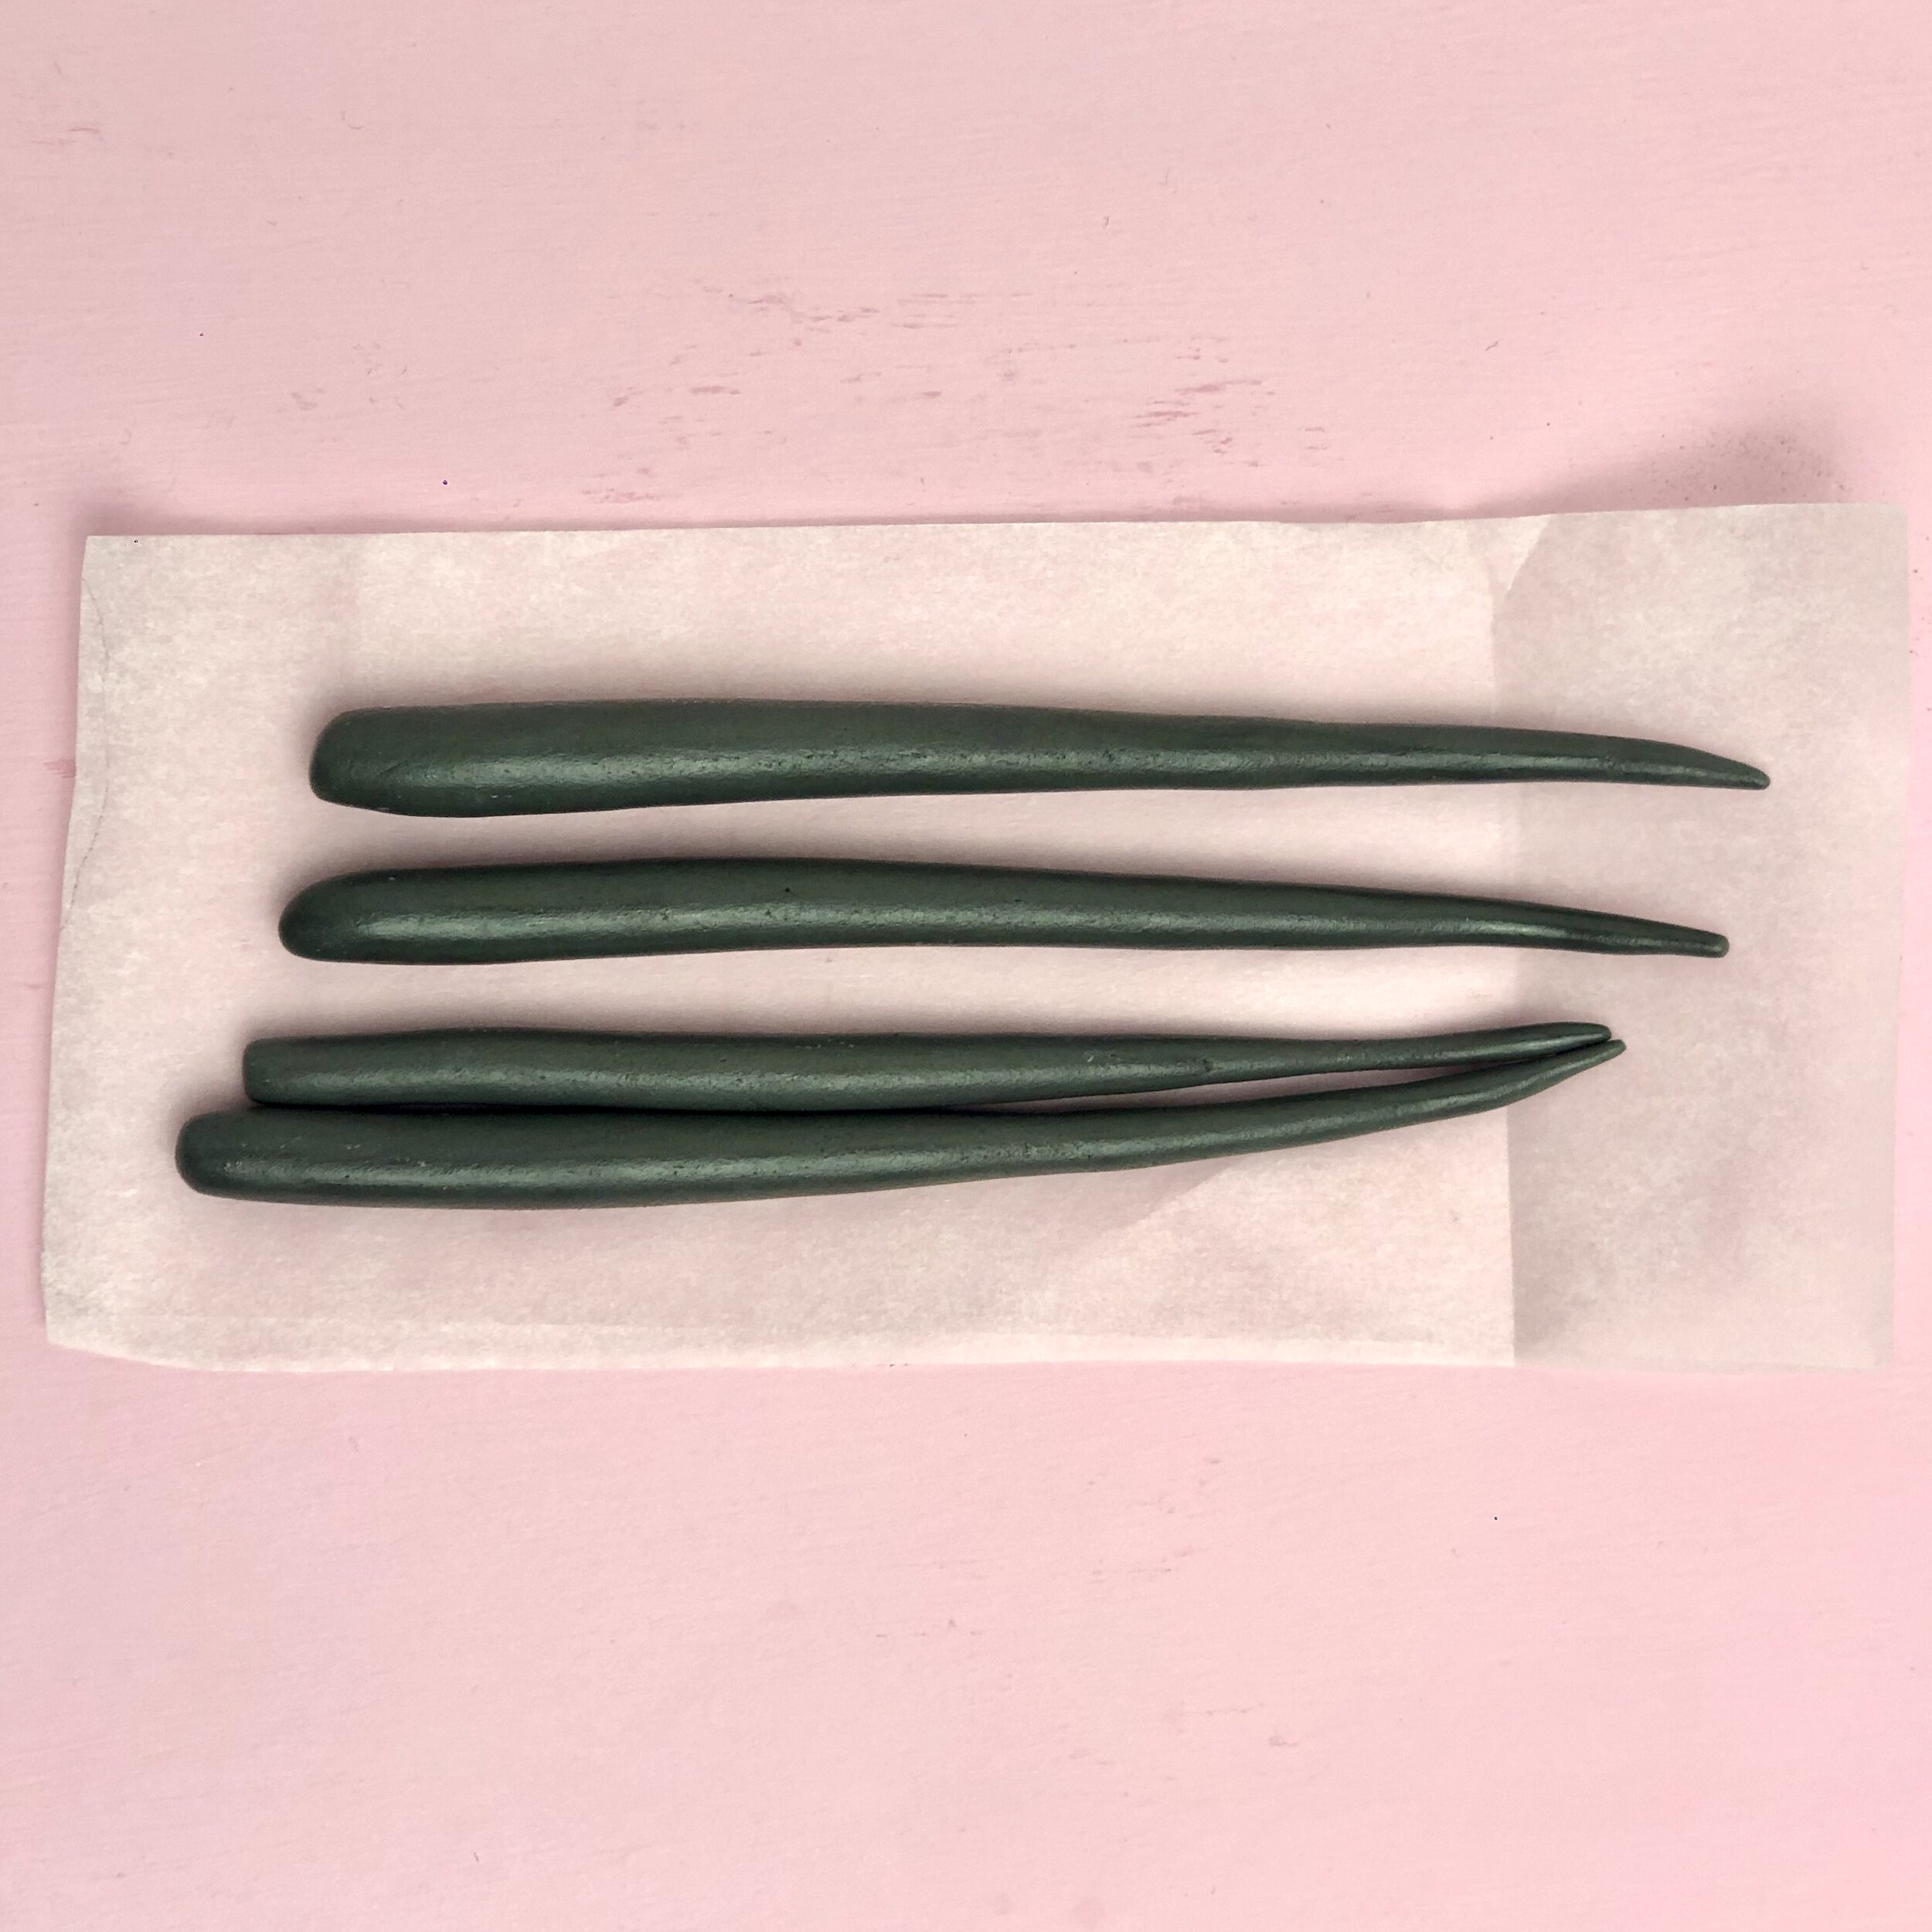
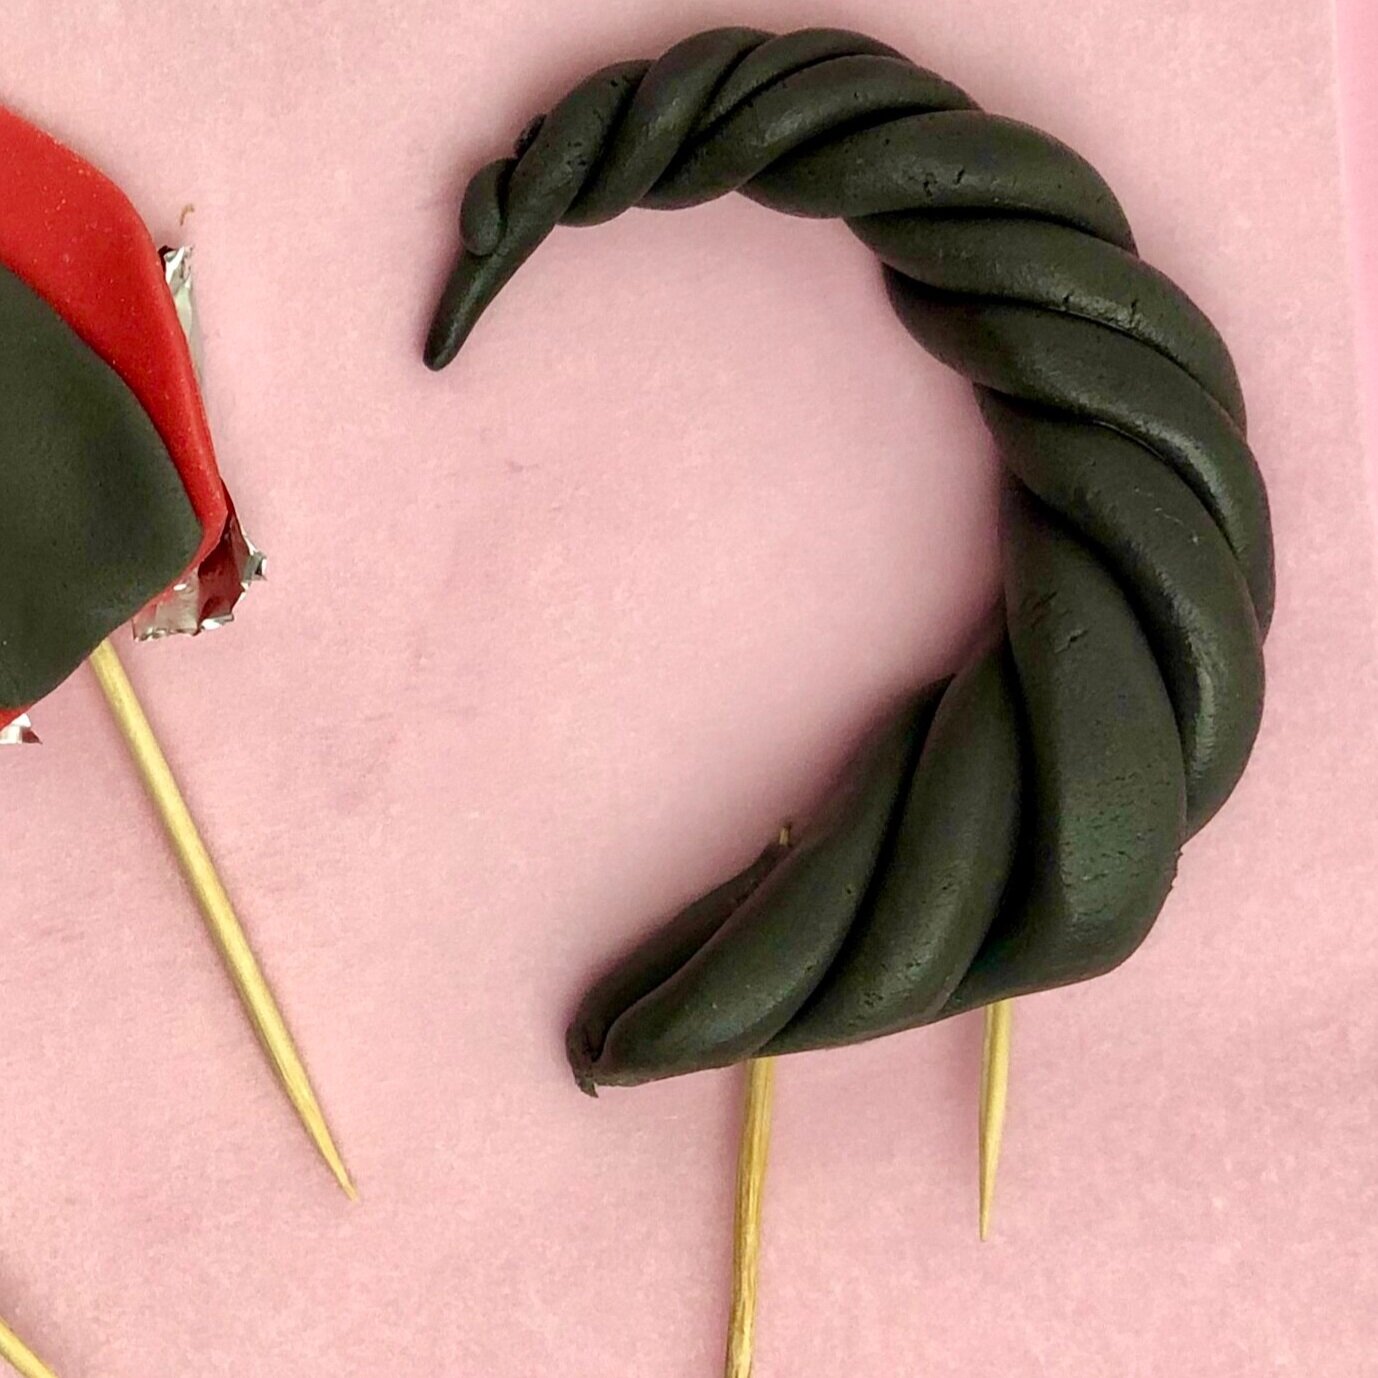
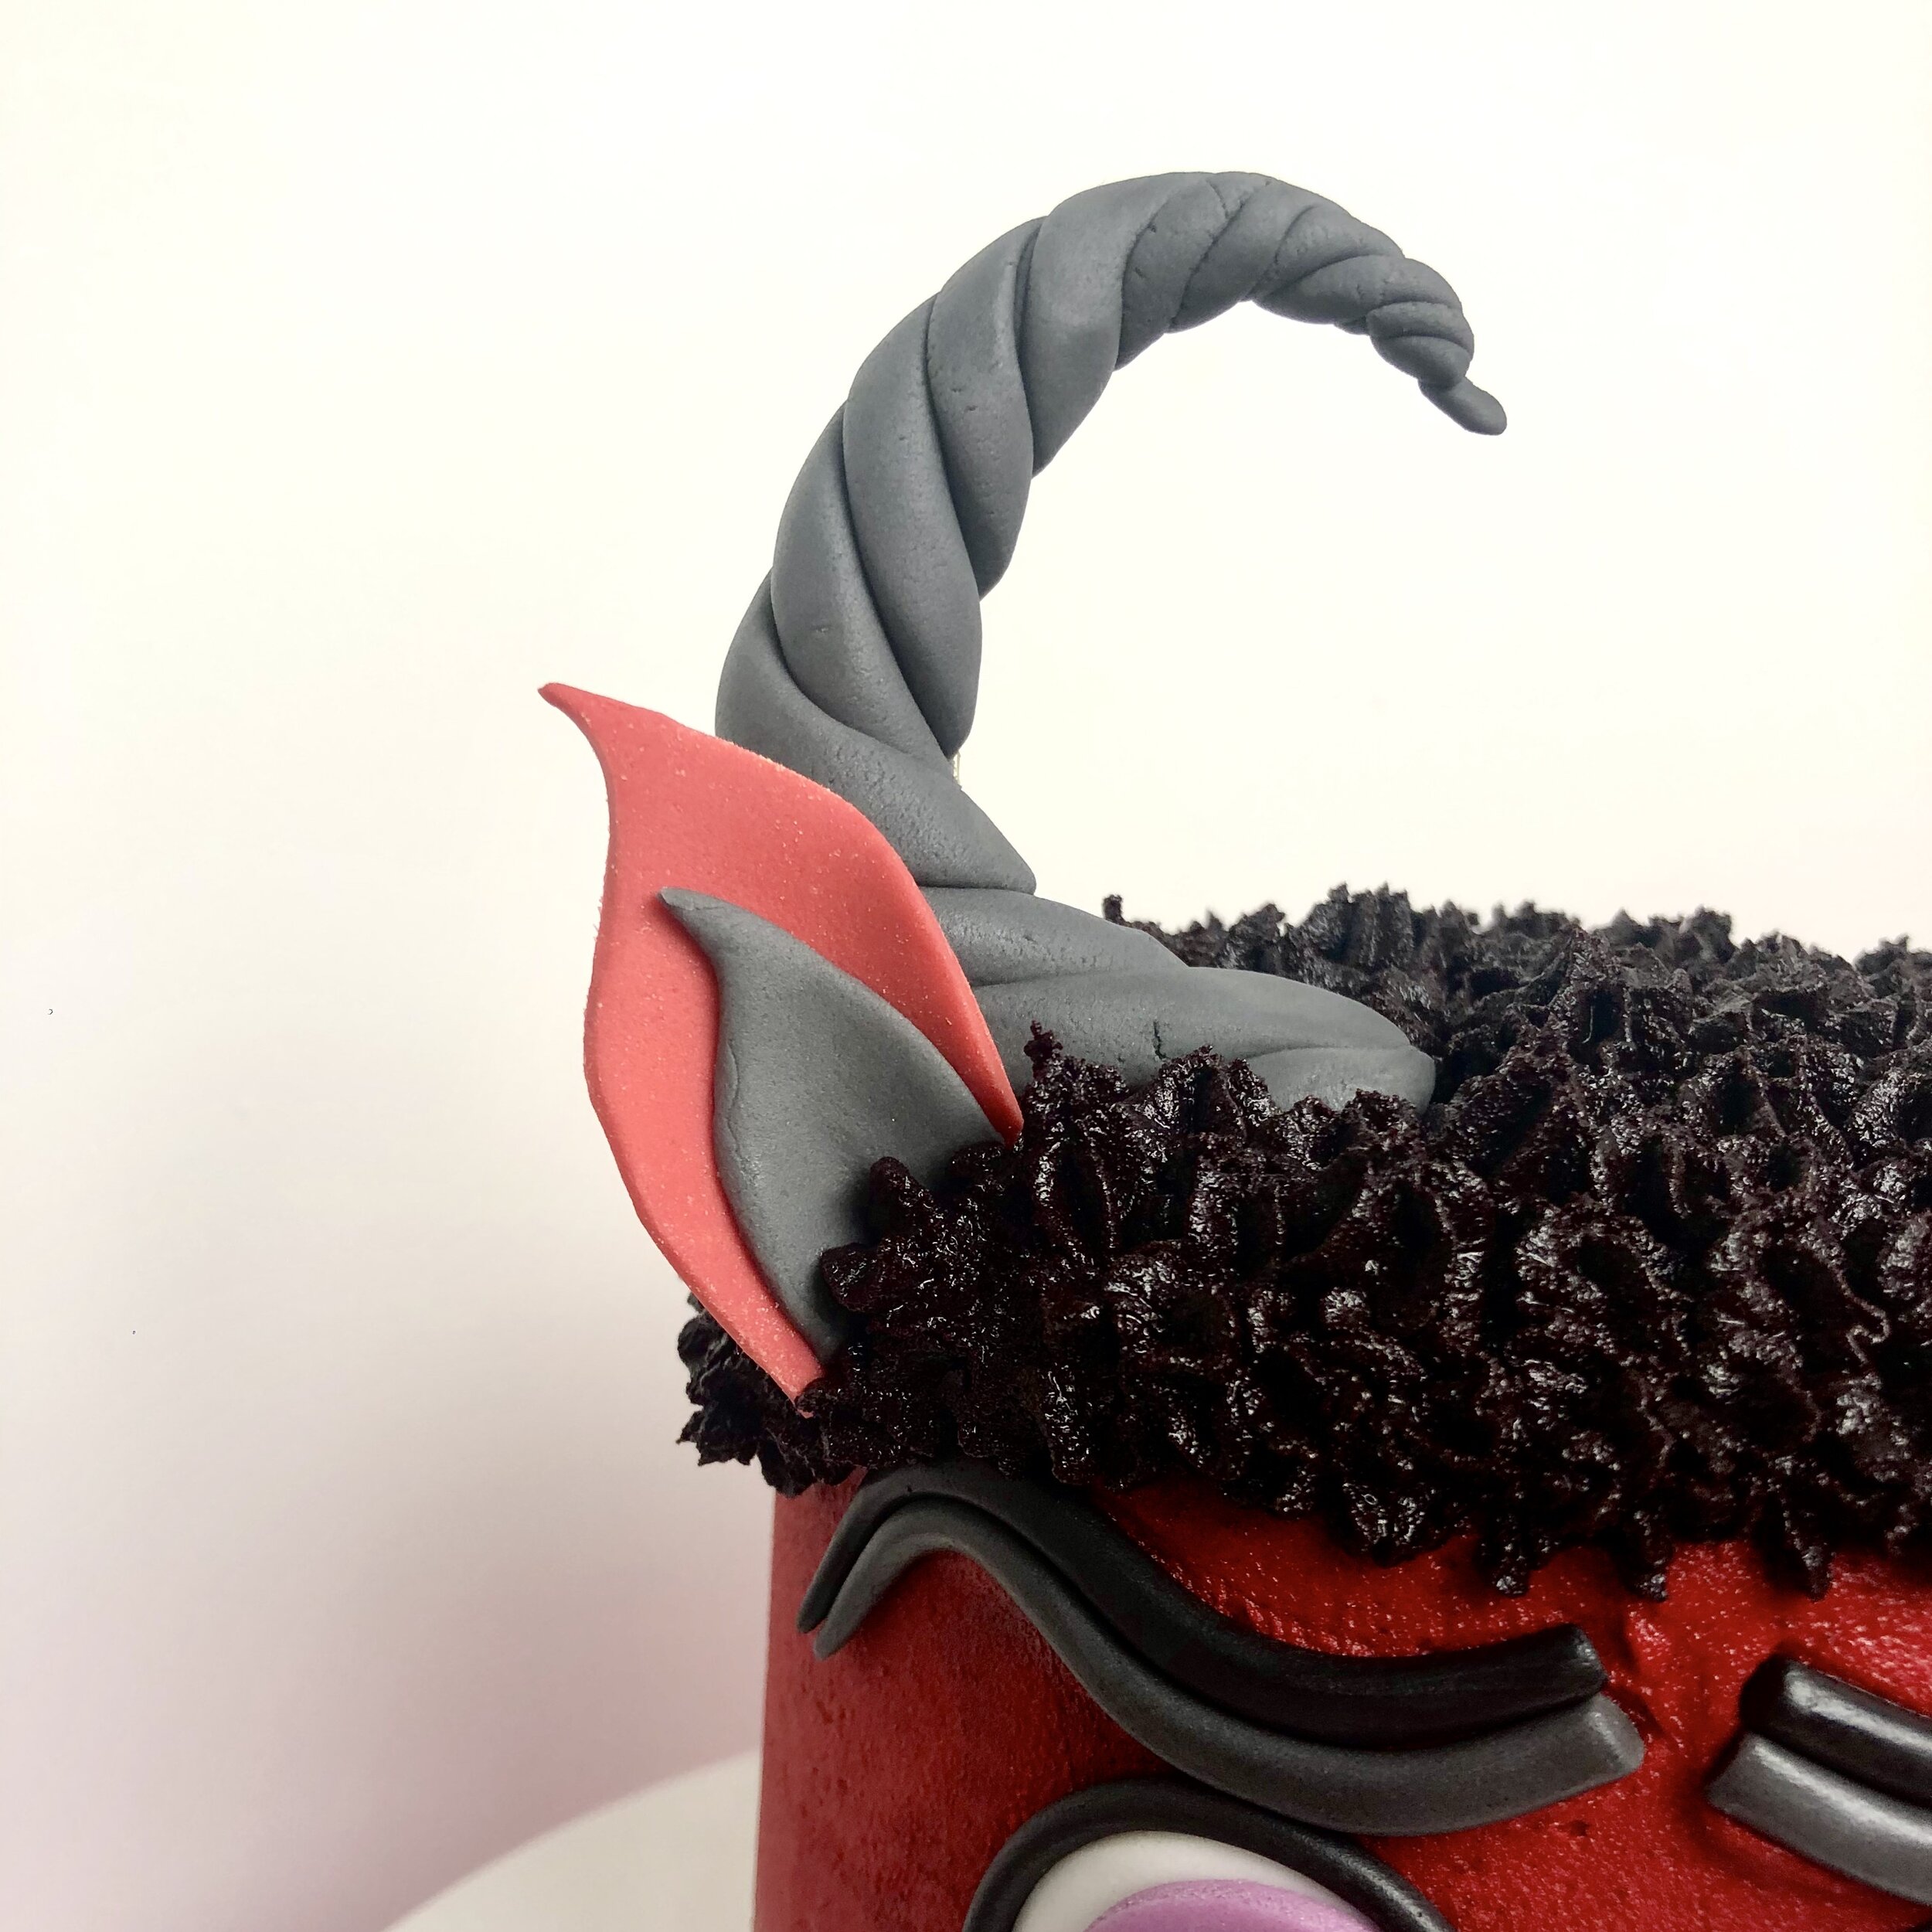
1. We’ll do the horns first as they take a while to dry. Measure out two balls of grey fondant, 30g each. Split each ball into 4 equal pieces and and roll them out like a rope that tapers to a skinny point, roughly 15cm long
2. Lay two of the ropes beside each other lengthways and brush with water. Then lay another two on top. Gently twist them together in a corkscrew motion being careful to secure the ends. If they’re not quite sticking, use a little more water.
3. Place on a small piece of parchment paper and bend into a curve. Once you’re happy with the shape, insert two toothpicks into the bottom, careful not to push them in so far that they pop out the other side. You can see below I did just this. It’s totally fine if you do too, just make a little rope from spare grey fondant and patch it over, no one will ever know, I swear!
4. Repeat with the remaining four ropes and leave to dry. Mine took a full day next to a radiator (on low) but if you’re short on time, you can pop them in the oven (on very low) in short bursts but be very careful not to melt them.
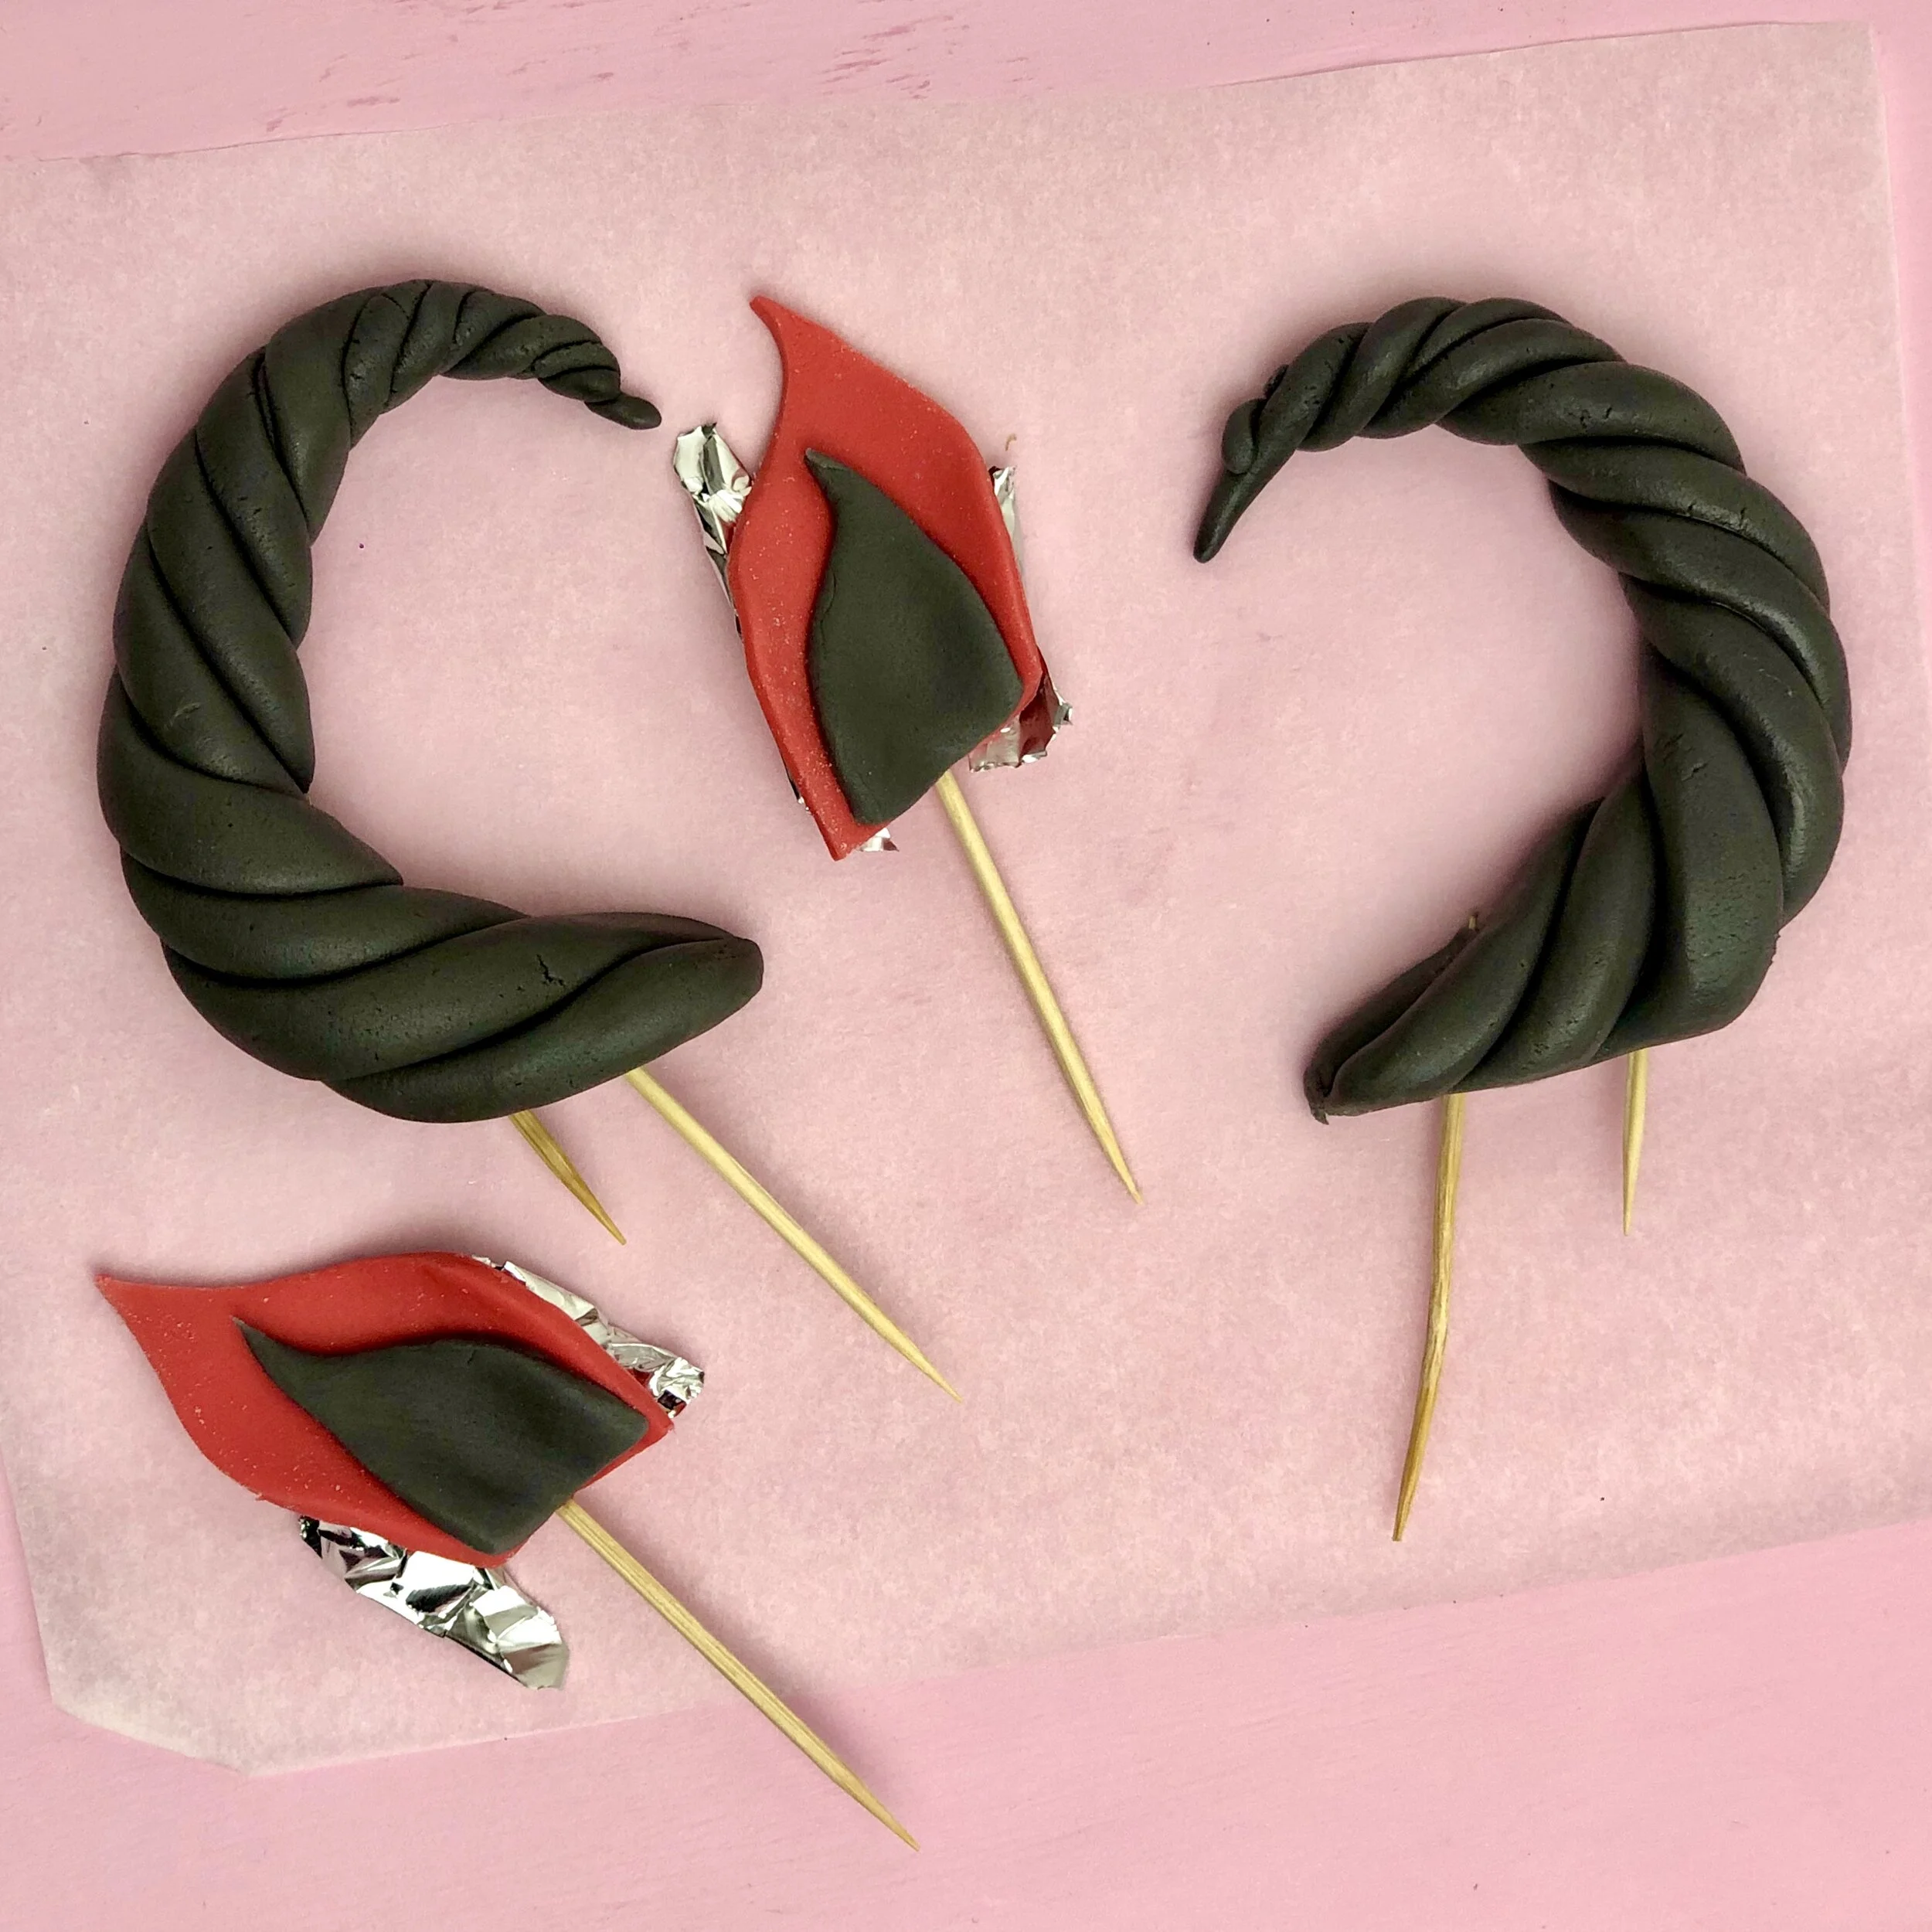
5. Now to the ears. I made two templates out of an old margarine lid, one large and one small to keep them consistent on both sides. First roll out the red fondant to 1mm thick and use the large template to cut around. Next roll the grey fondant to 1mm and use the small template to cut around.
6. Rub a small drop of water into the centre of each red ear and then lay a grey one on top. Pressing lightly to secure it. While your fondant is still soft, use your ring finger to very gently rub around all sides to remove the sharp edges.
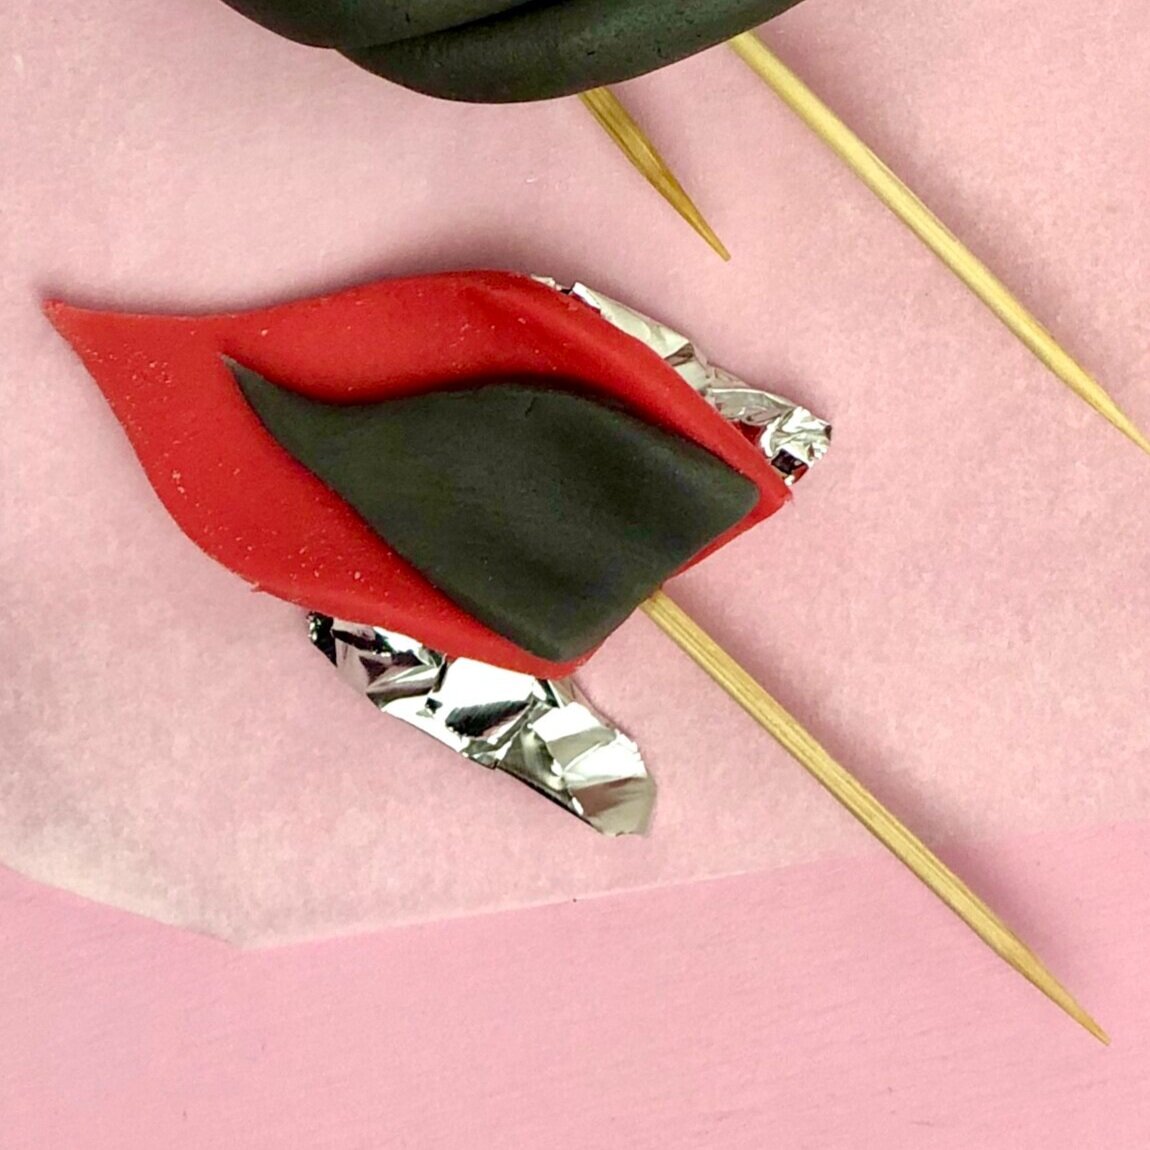
7. Gently insert a toothpick into the bottom centre of each ear and move to parchment paper to dry. Once on the parchment (while still soft), place a small piece of folded tin foil under the ears on each side of the toothpicks to give them a slight curve.
8. Now to the baking. Line two 6-inch cake pans with greaseproof paper and preheat the oven to 160°C Fan (180°C Regular).
9. Beat together 12oz of butter and 12oz of sugar until pale and fluffy. Continue beating and gradually add the 6 beaten eggs alongside 1 tbsp of the flour (this should stop the mixture splitting). Once the eggs are fully incorporated add in the remaining flour and beat until smooth. Be careful not to over mix.
10. Transfer the mix to the lined cake pan and bake for 30-35 minutes until a skewer comes out the centre clean. Once baked leave to cool in the pan for 5 minutes before transferring to a wire rack.
11. While the cake is cooling, beat together 350g of butter with 700g of icing sugar and 2 tbsp of cocoa powder until fluffy. Add in a generous dollop of red gel food colouring and beat until the colour is fully incorporated. Most food colouring tends to develop over time so can be much more vibrant in a few hours than it is to begin with.
12. Once the cake has cooled fully, trim the domed tops so you have two completely flat cakes. Next, cut them half so each cake has two layers. Stack your cakes on a cake stand or plate with a layer of buttercream between layer. Once they are all stacked, cover the entire cake in a thin layer of buttercream and transfer to the fridge for 30 minutes
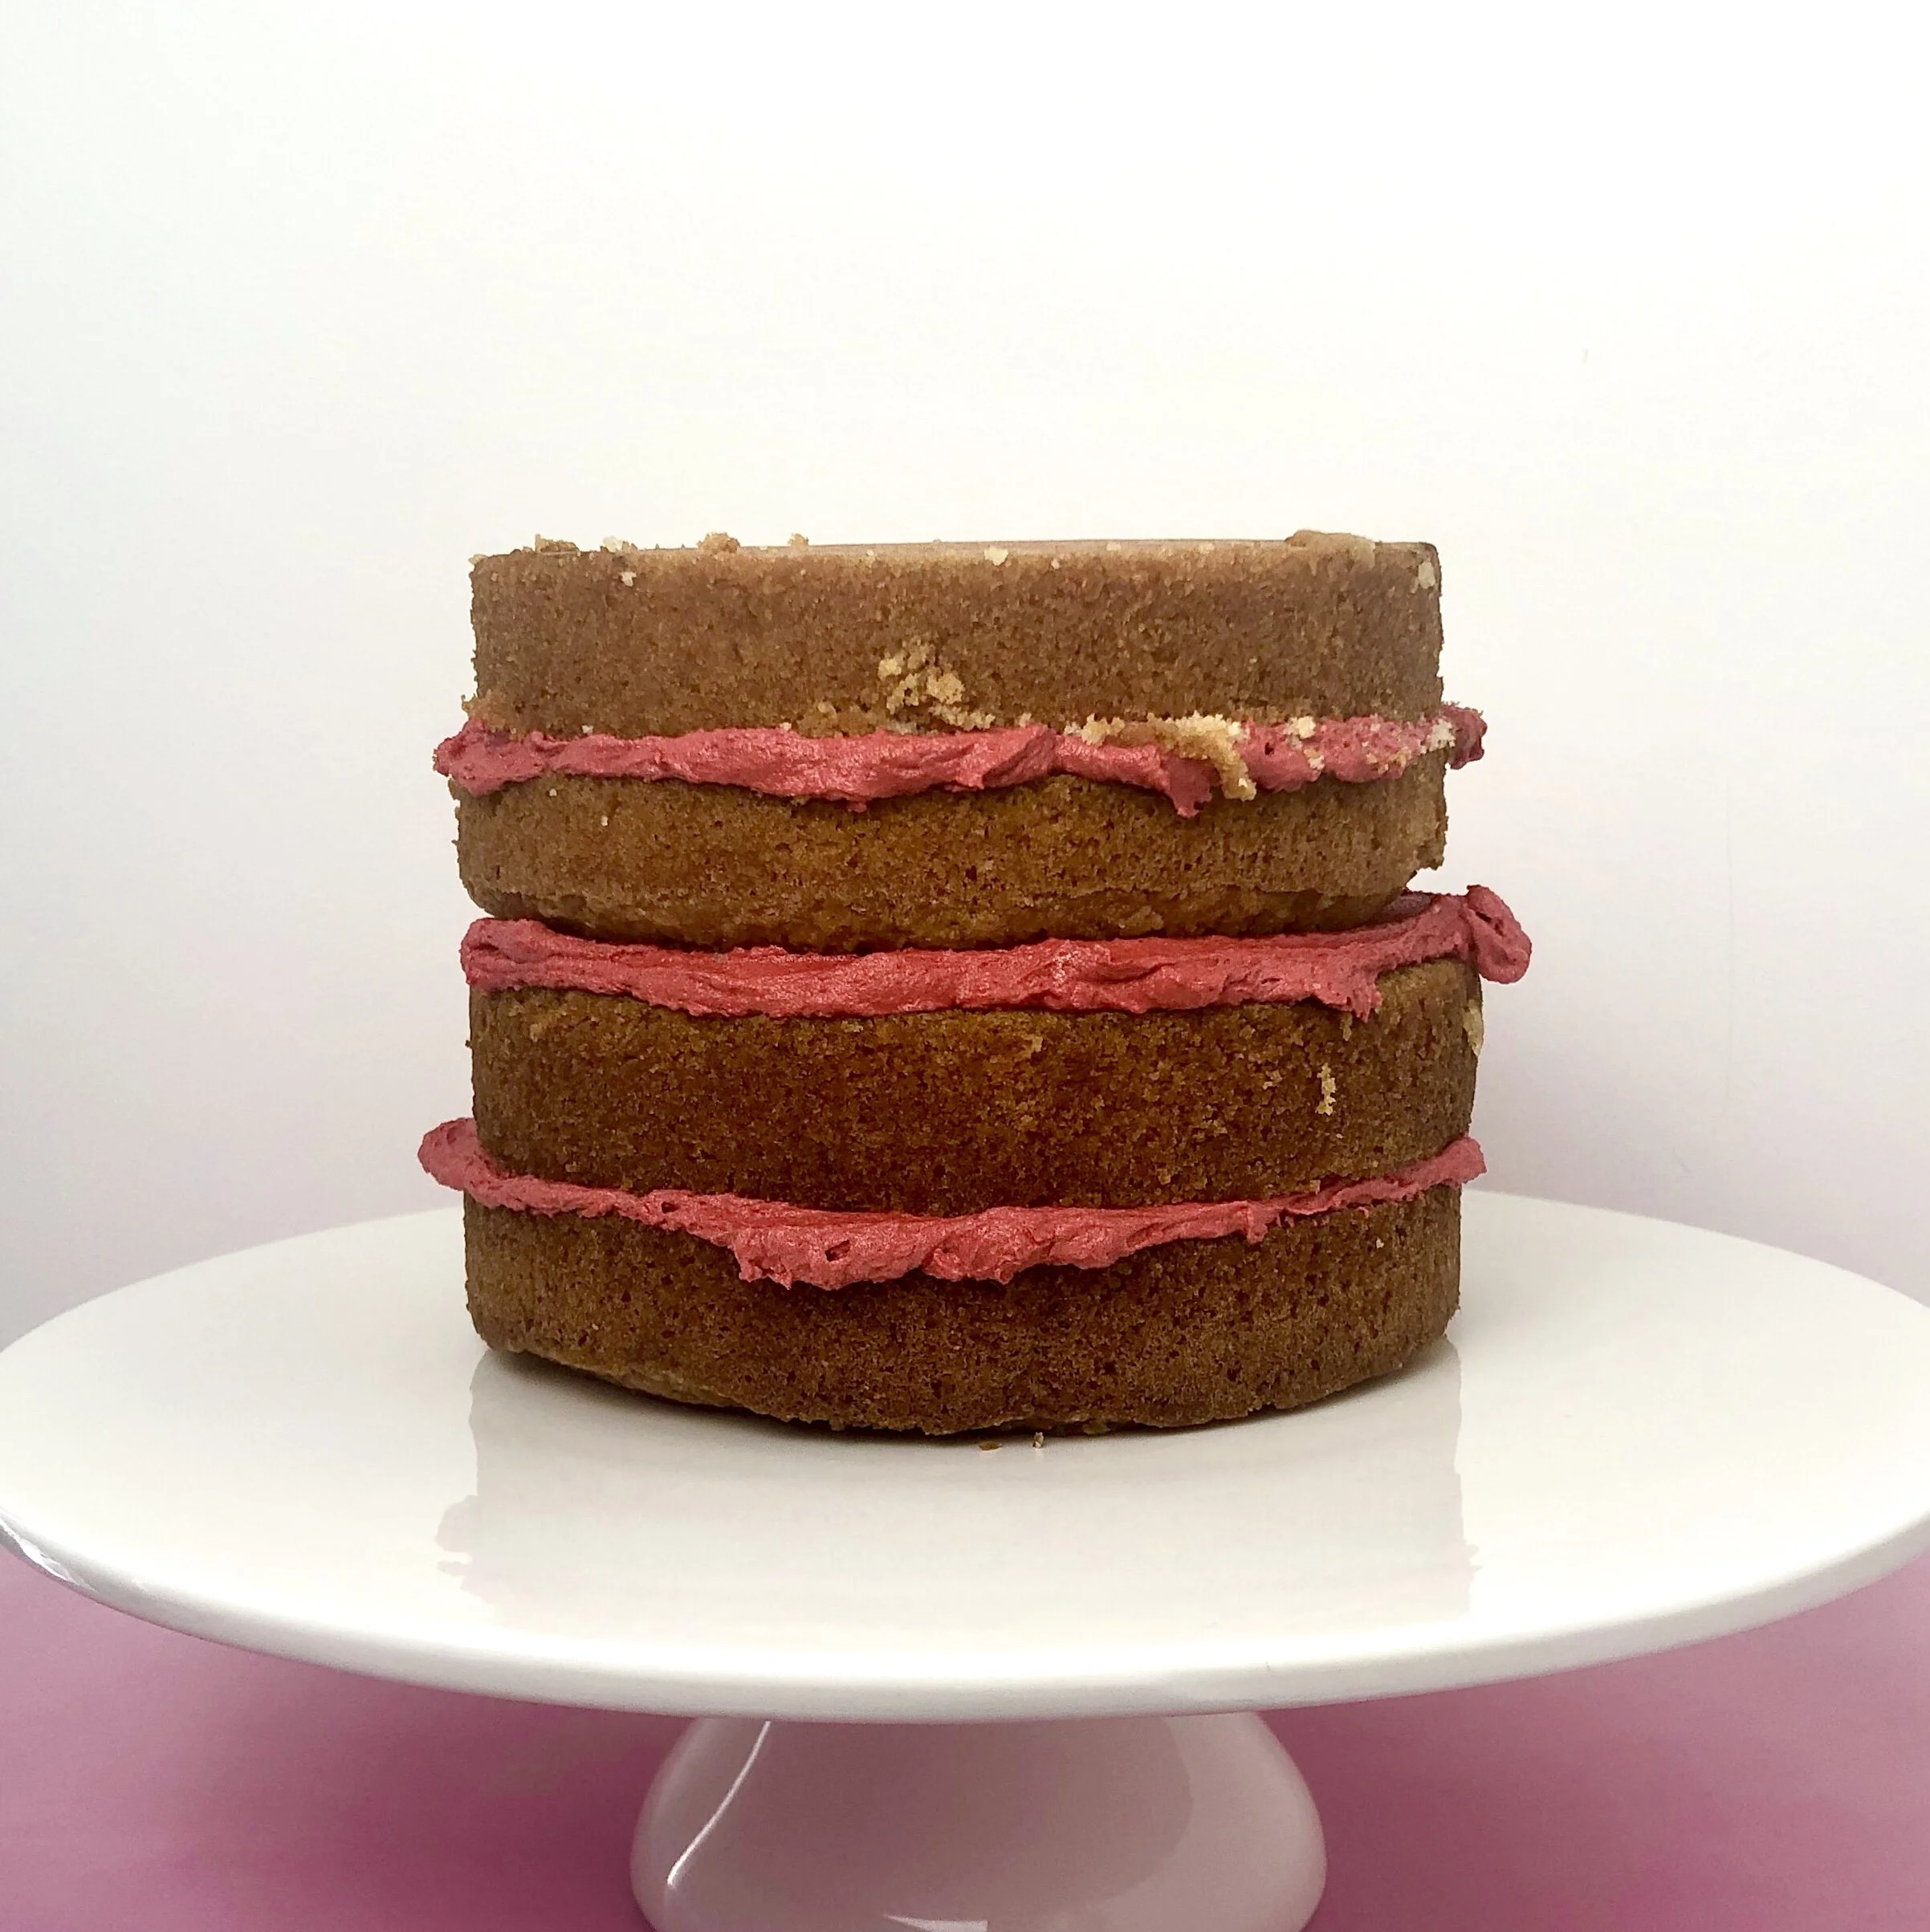

13. Once the cake has cooled and the buttercream is firm. Cover the entire cake in a further layer of buttercream. Leave about one cups worth of buttercream in the bowl as we will use this for his hair. Smooth down the buttercream with a palette knife or bench scraper and return to the fridge for at least 30 minutes.
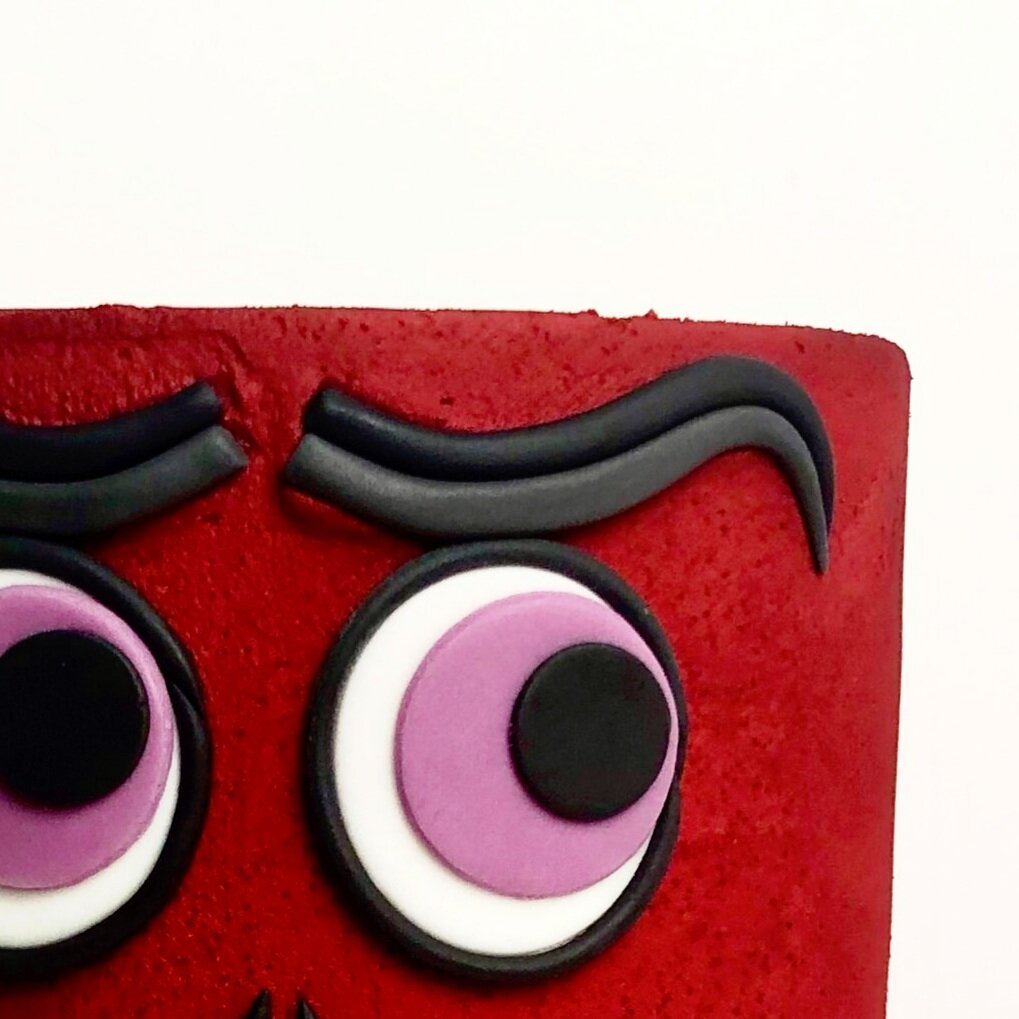
14. While the cake is chilling we can start to assemble his features. Lets start on the eyes. Roll out the white icing to 1mm and cut out two circles, roughly the size of a 50p piece and lay on parchment paper. Roll out the purple fondant to 1mm and cut out two circles roughly the size of a 10p piece. Lastly roll out the black fondant to 1mm thick and cut out two circles roughly the size of a 5p piece.


15. Rub a small drop of water onto the two white circles and then lay the purple fondant on top, aligned to the right. Rub a small drop of water onto the purple circles and then lay the black circles on top, aligned to the right. Roll out two small pieces of black fondant to ropes roughly 3mm in diameter. Rub a small drop of water around the edges of each eye. and attach the black ropes around them. Trim the excess and secure the ends. Use your ring finger to gently trace around all the edges and take the sharpness down.


16. Once the cake is cooled, attach the eyes to the front by lightly wetting the backs and gently pressing onto the cake. By attaching the eyes before the fondant has dried, they should easily curve to the shape of the cake.
17. His nose is super simple, pinch off two tiny pieces of black fondant and roll gently into tear drops. Place them centre, under the eyes, skinny side pointing up.

18. For his mouth roll out another rope of black fondant, tapered at both ends. Once you’re happy with the size, use your index finger to gently flatten down the front. Curve it into an asymmetric smile and attach to the cake below the nostrils. Add another tiny rope at each end, vertically to get that cute cartoon effect.
19. Lastly, lets tackle his eyebrows. I’m partial to a full brow so we’ve gone with two layers, one black and one grey here. Roll the grey fondant into two ropes, roughly 6cm long and tapered at the end. Repeat with the black fondant. Lay the grey one first over the left eye, with the skinny side pointing away. Carefully curve the fondant for the classic villain brow shape. Repeat with the black fondant, laid above the grey. Repeat for the right eye.

20. Return to the leftover buttercream and this time add a generous helping of black gel food colouring until you’re happy with the colour and its fully blended out. Transfer to a piping bag with a small star tip. Cover the entire top of the cake with black buttercream pulling the piping bag directly upwards, away from the cake to make his spiky hair. Keep a little bit leftover at the end to patch him up after his horns are in.
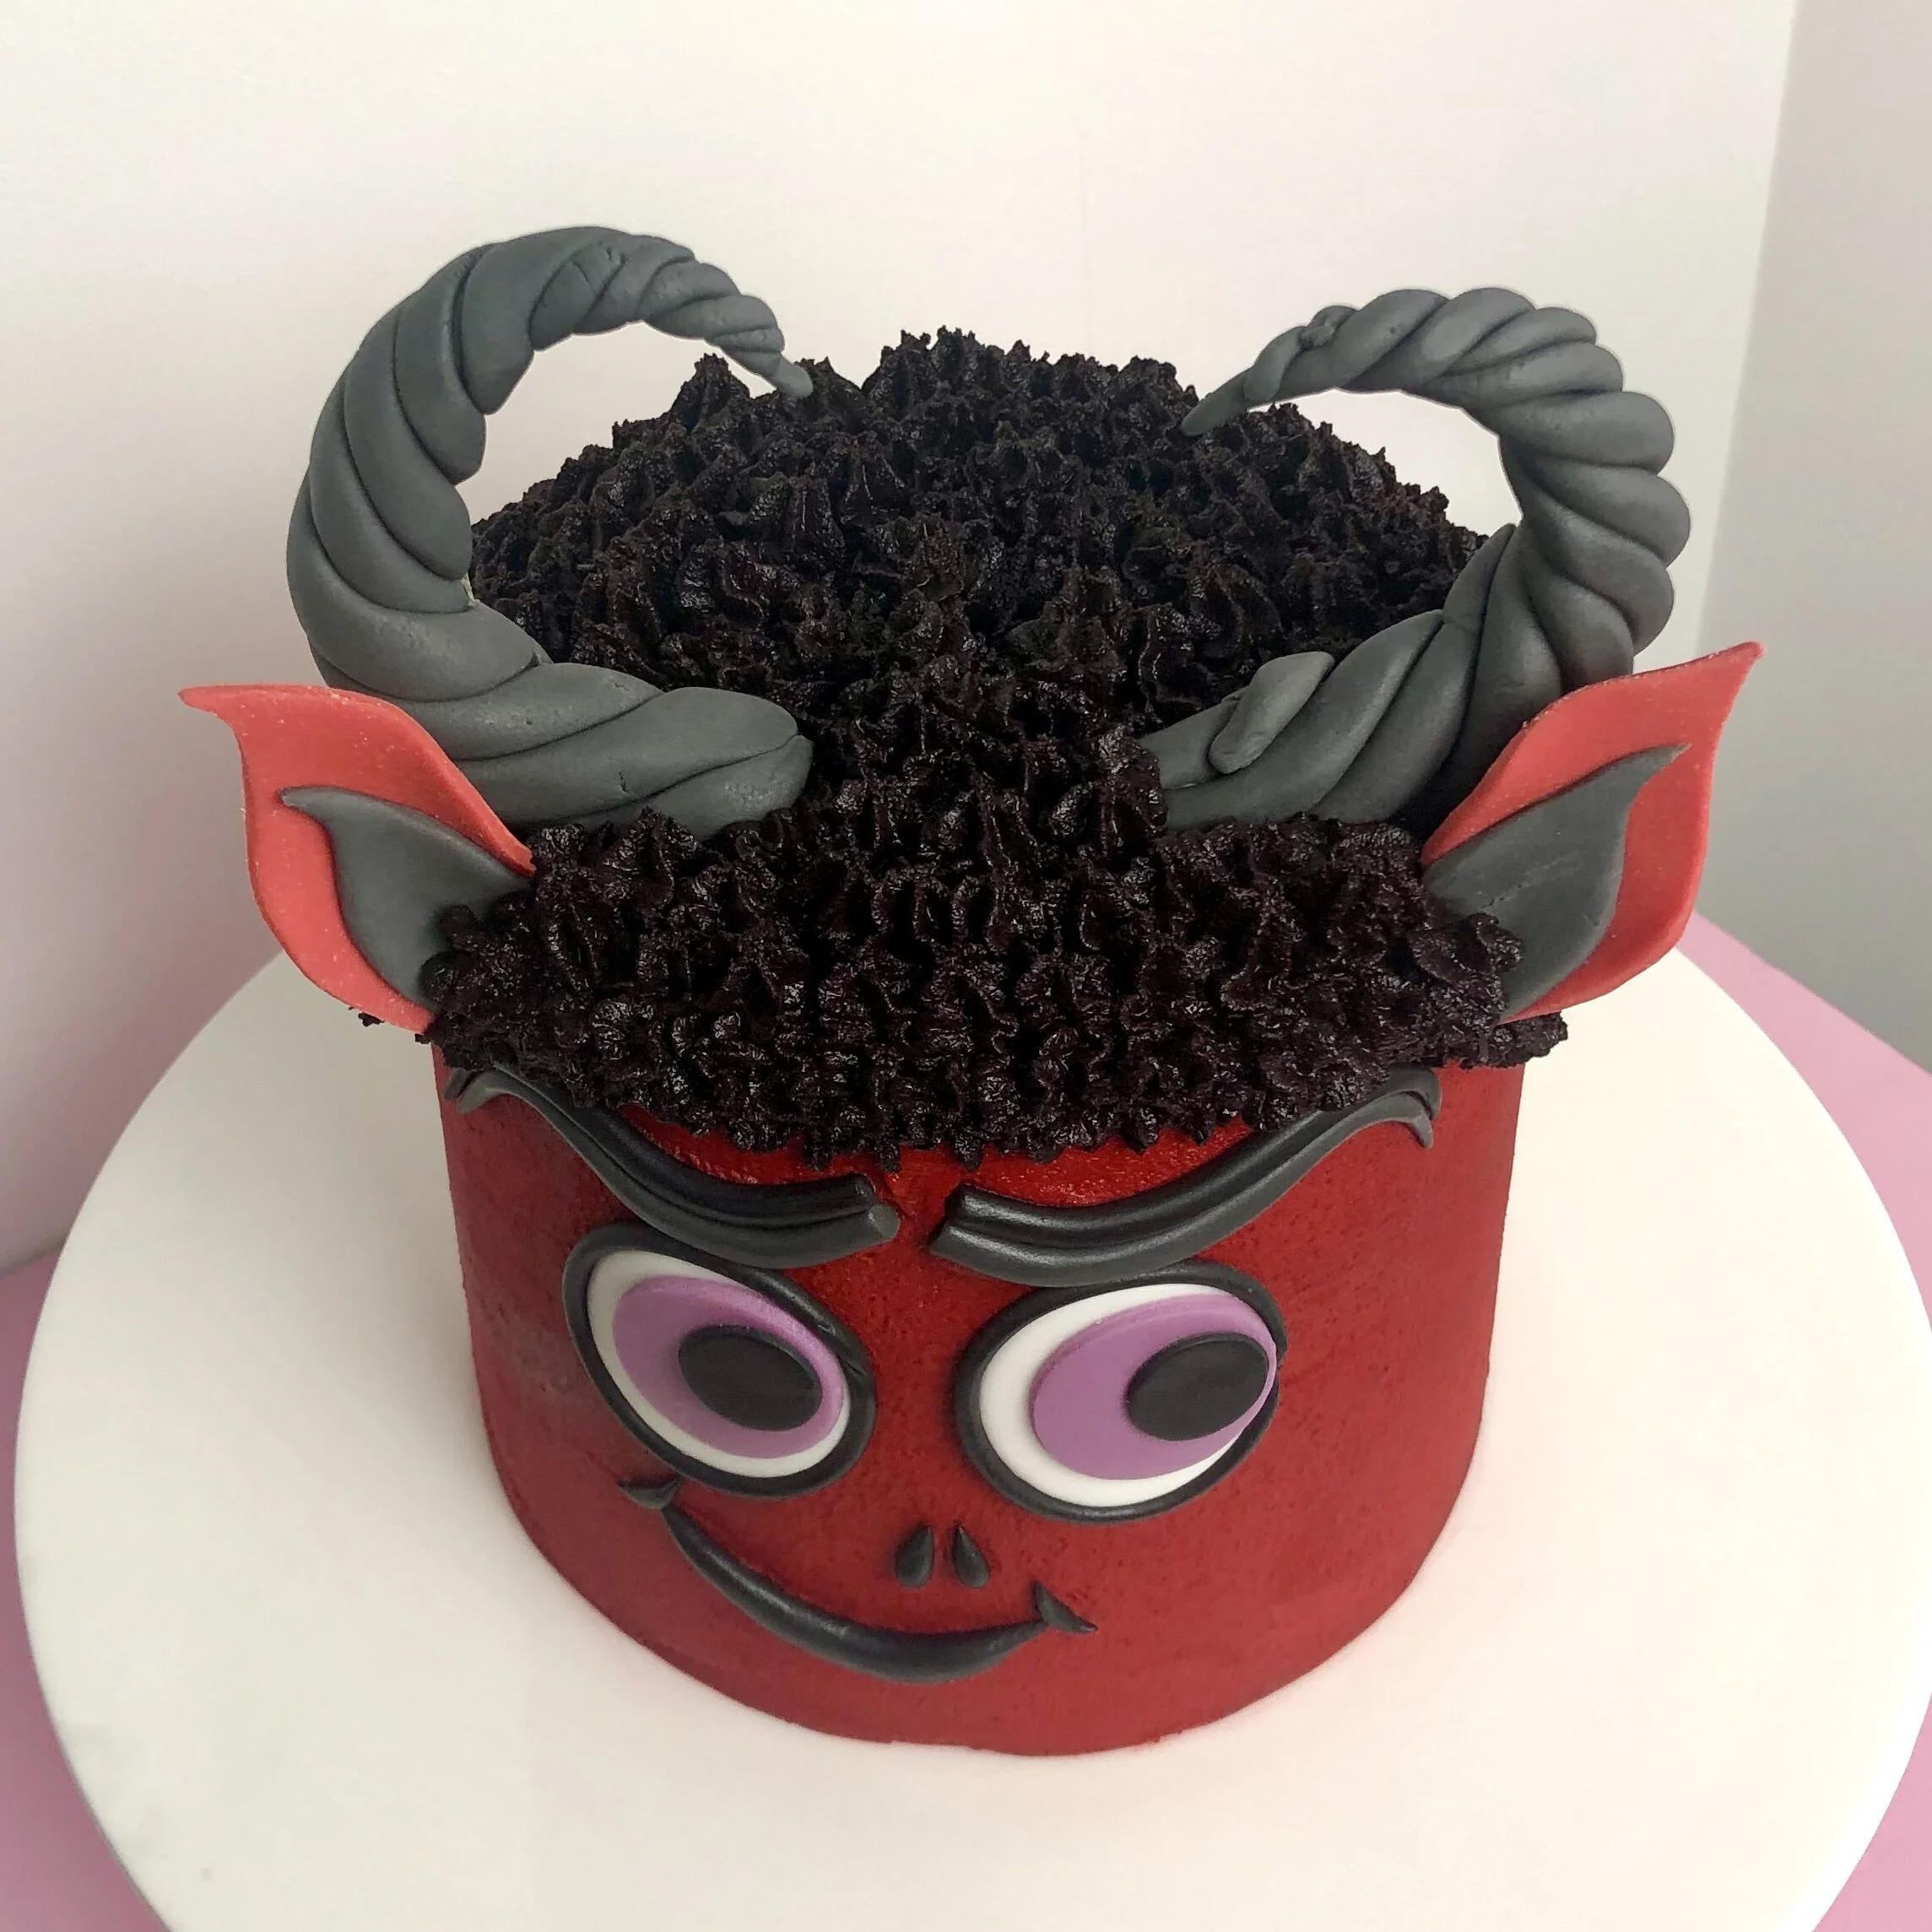
21. Finally, carefully insert his horns and then ears on top. Make sure to take real care because if you push too firmly, the toothpicks may shoot out the top. I like to get them just in the cake and then use scissors on the toothpick to grip and then slide down. If any of the buttercream gets a little dented, use the remainder in the bag to cover any flat patches. And we’re done, check you out!
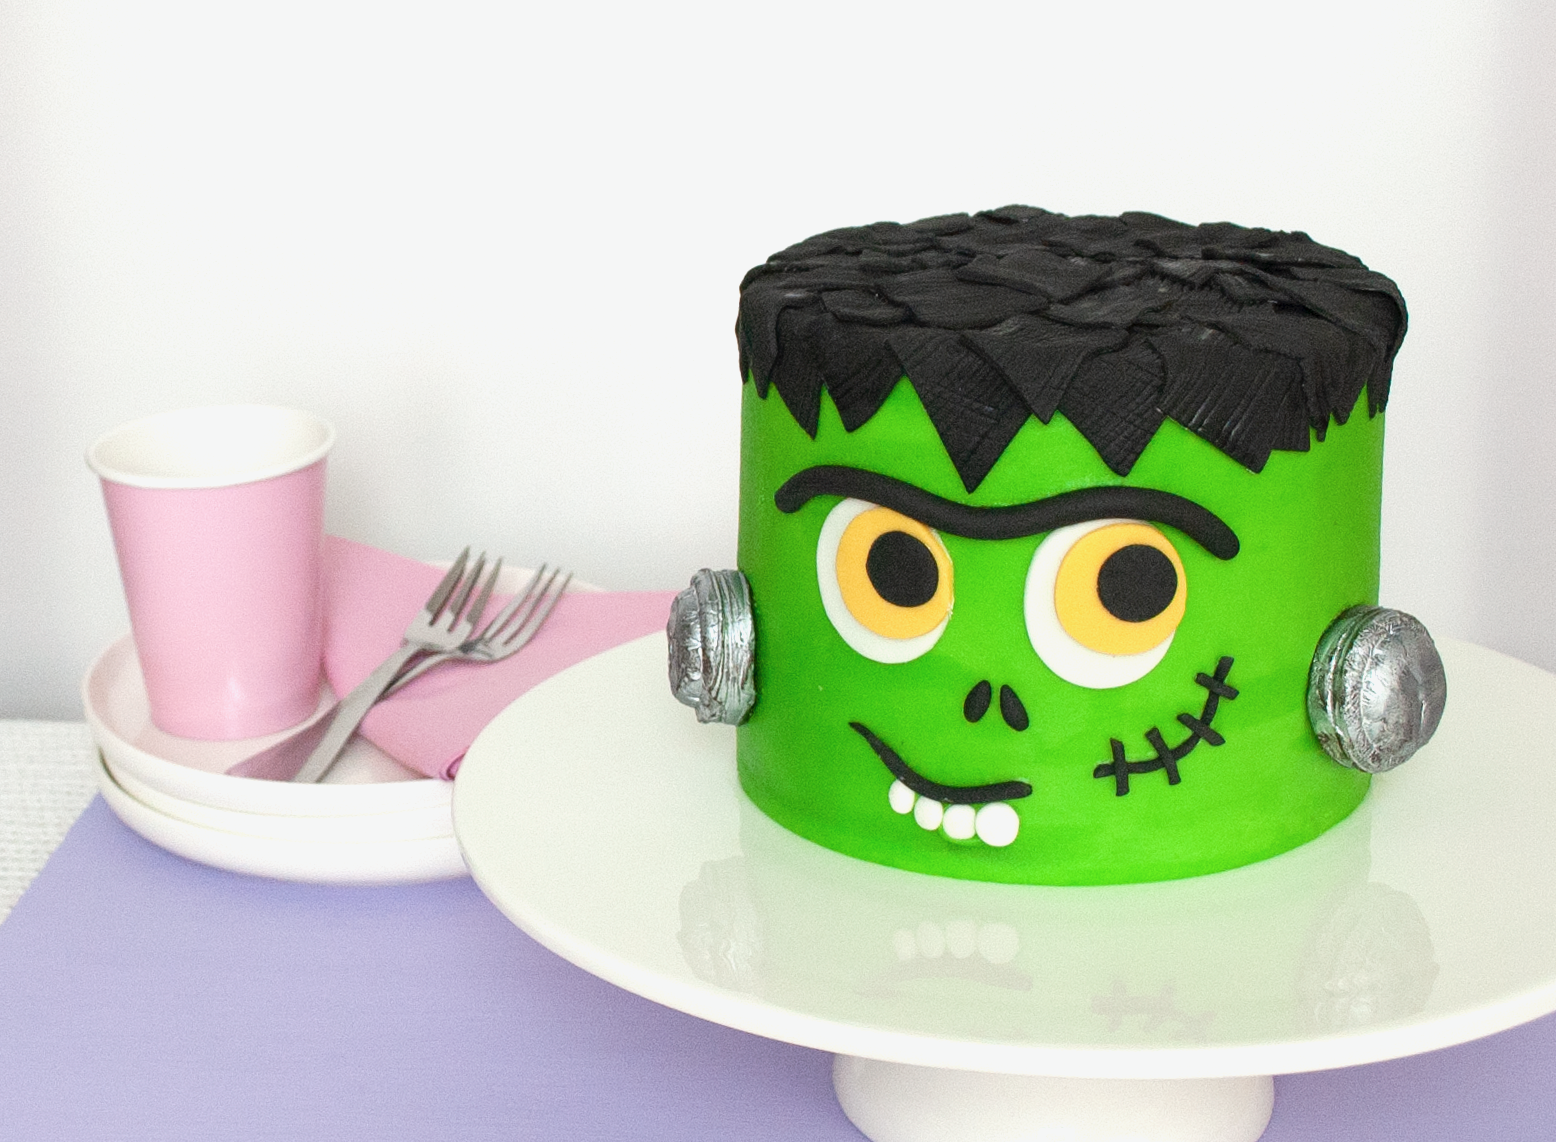
Have a freaking awesome Halloween and I’ll see you next month for my homage to the Powerpuff Girls, what a bunch of absolute legends!