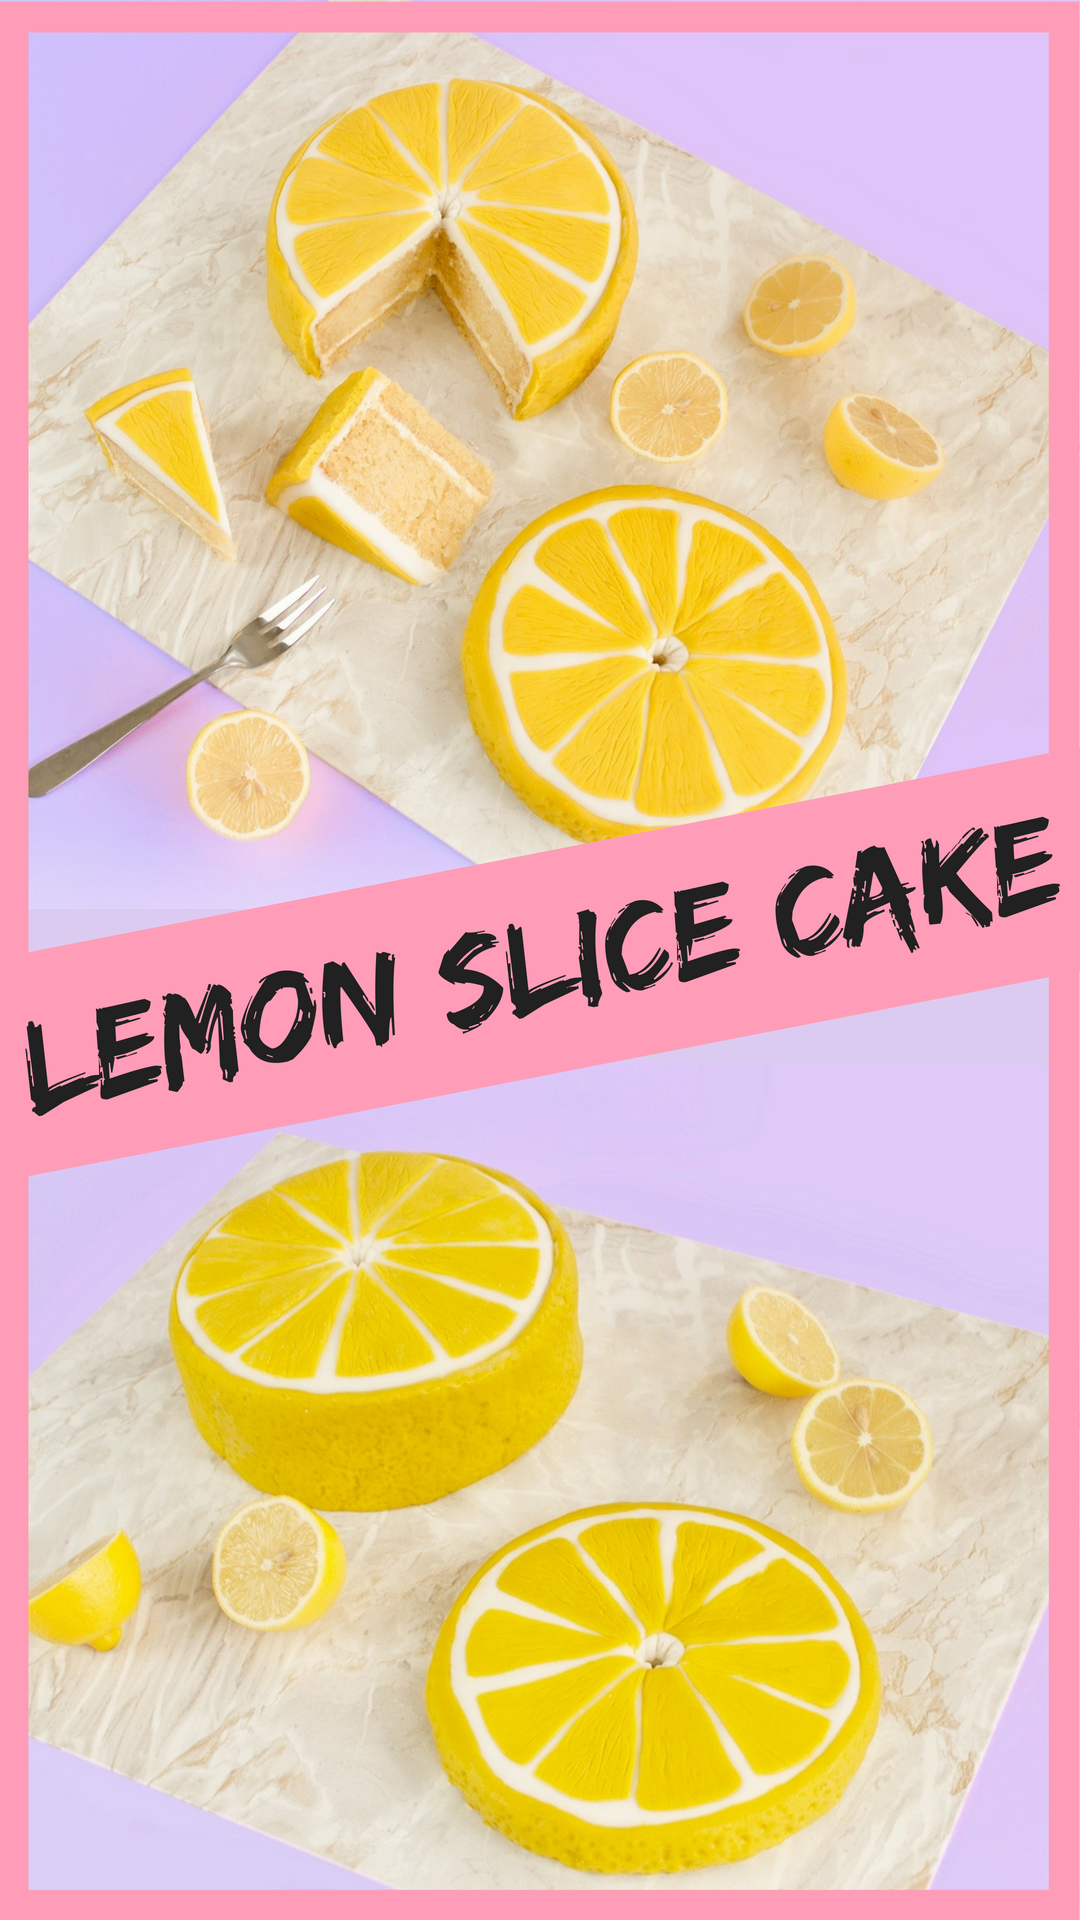
Cute AF Lemon Slice Cake Tutorial

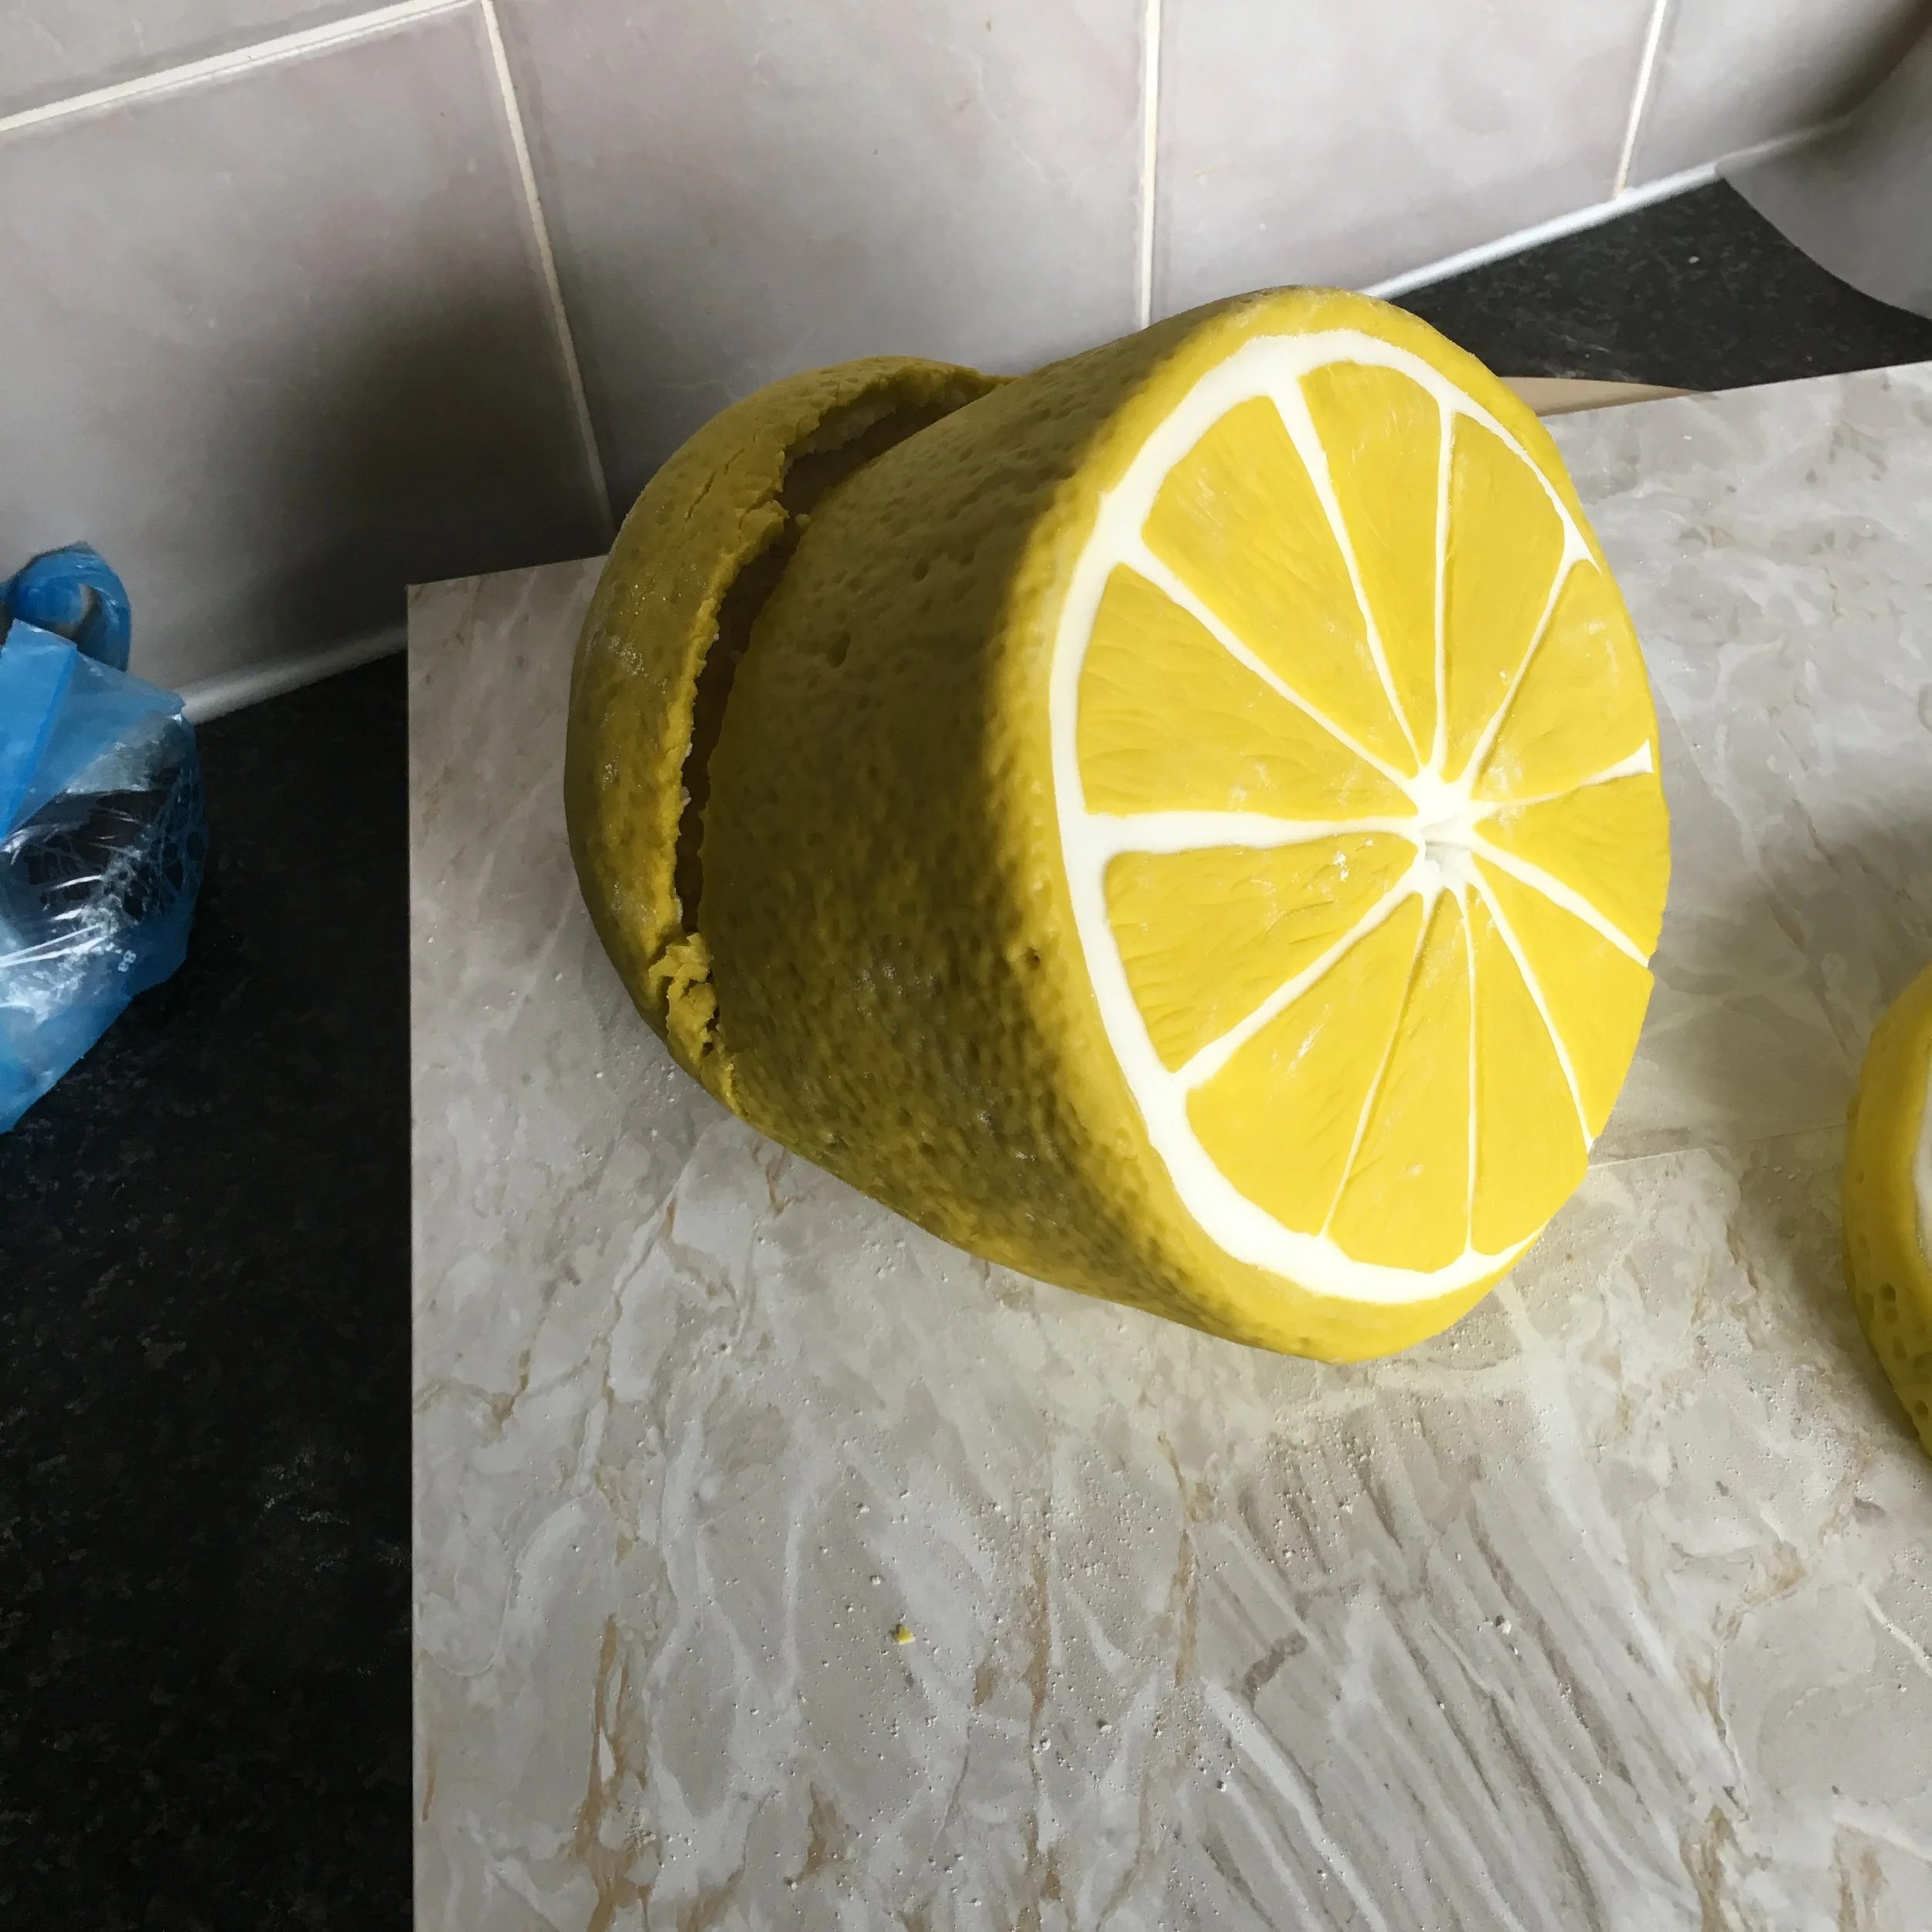
I finally got busted by this sweet sweet weather. The sun morphed into a thunderstorm and the heat and humidity gave me an epic cake fail in response! I left a sliced lemon to dry overnight and instead the heat melted the buttercream and the humidity left the fondant a sticky mess. My lemon lost its butt! It melted right off! But it’s ok (just about) cos I managed to cut off the ripped part and serve up two slices instead. Not quite what I had in mind, but you know what? I think it looks pretty darn cute anyway. I was given lemons but I made lemonade (love you, Bey!).
I think if I try again, next time I’d add more structure. Maybe some dowel support and cake board action inside? If anyone has a successful run at it let me know, I’d love to see it! I’m gonna blame my terrible judgement on the heat too. I mean honestly it was insane and it was sticky heat which is way more likely to disrupt the old noggin than a good bit of dry sun. How do cakers in hot, humid countries do it?? My serious respect to all of you.
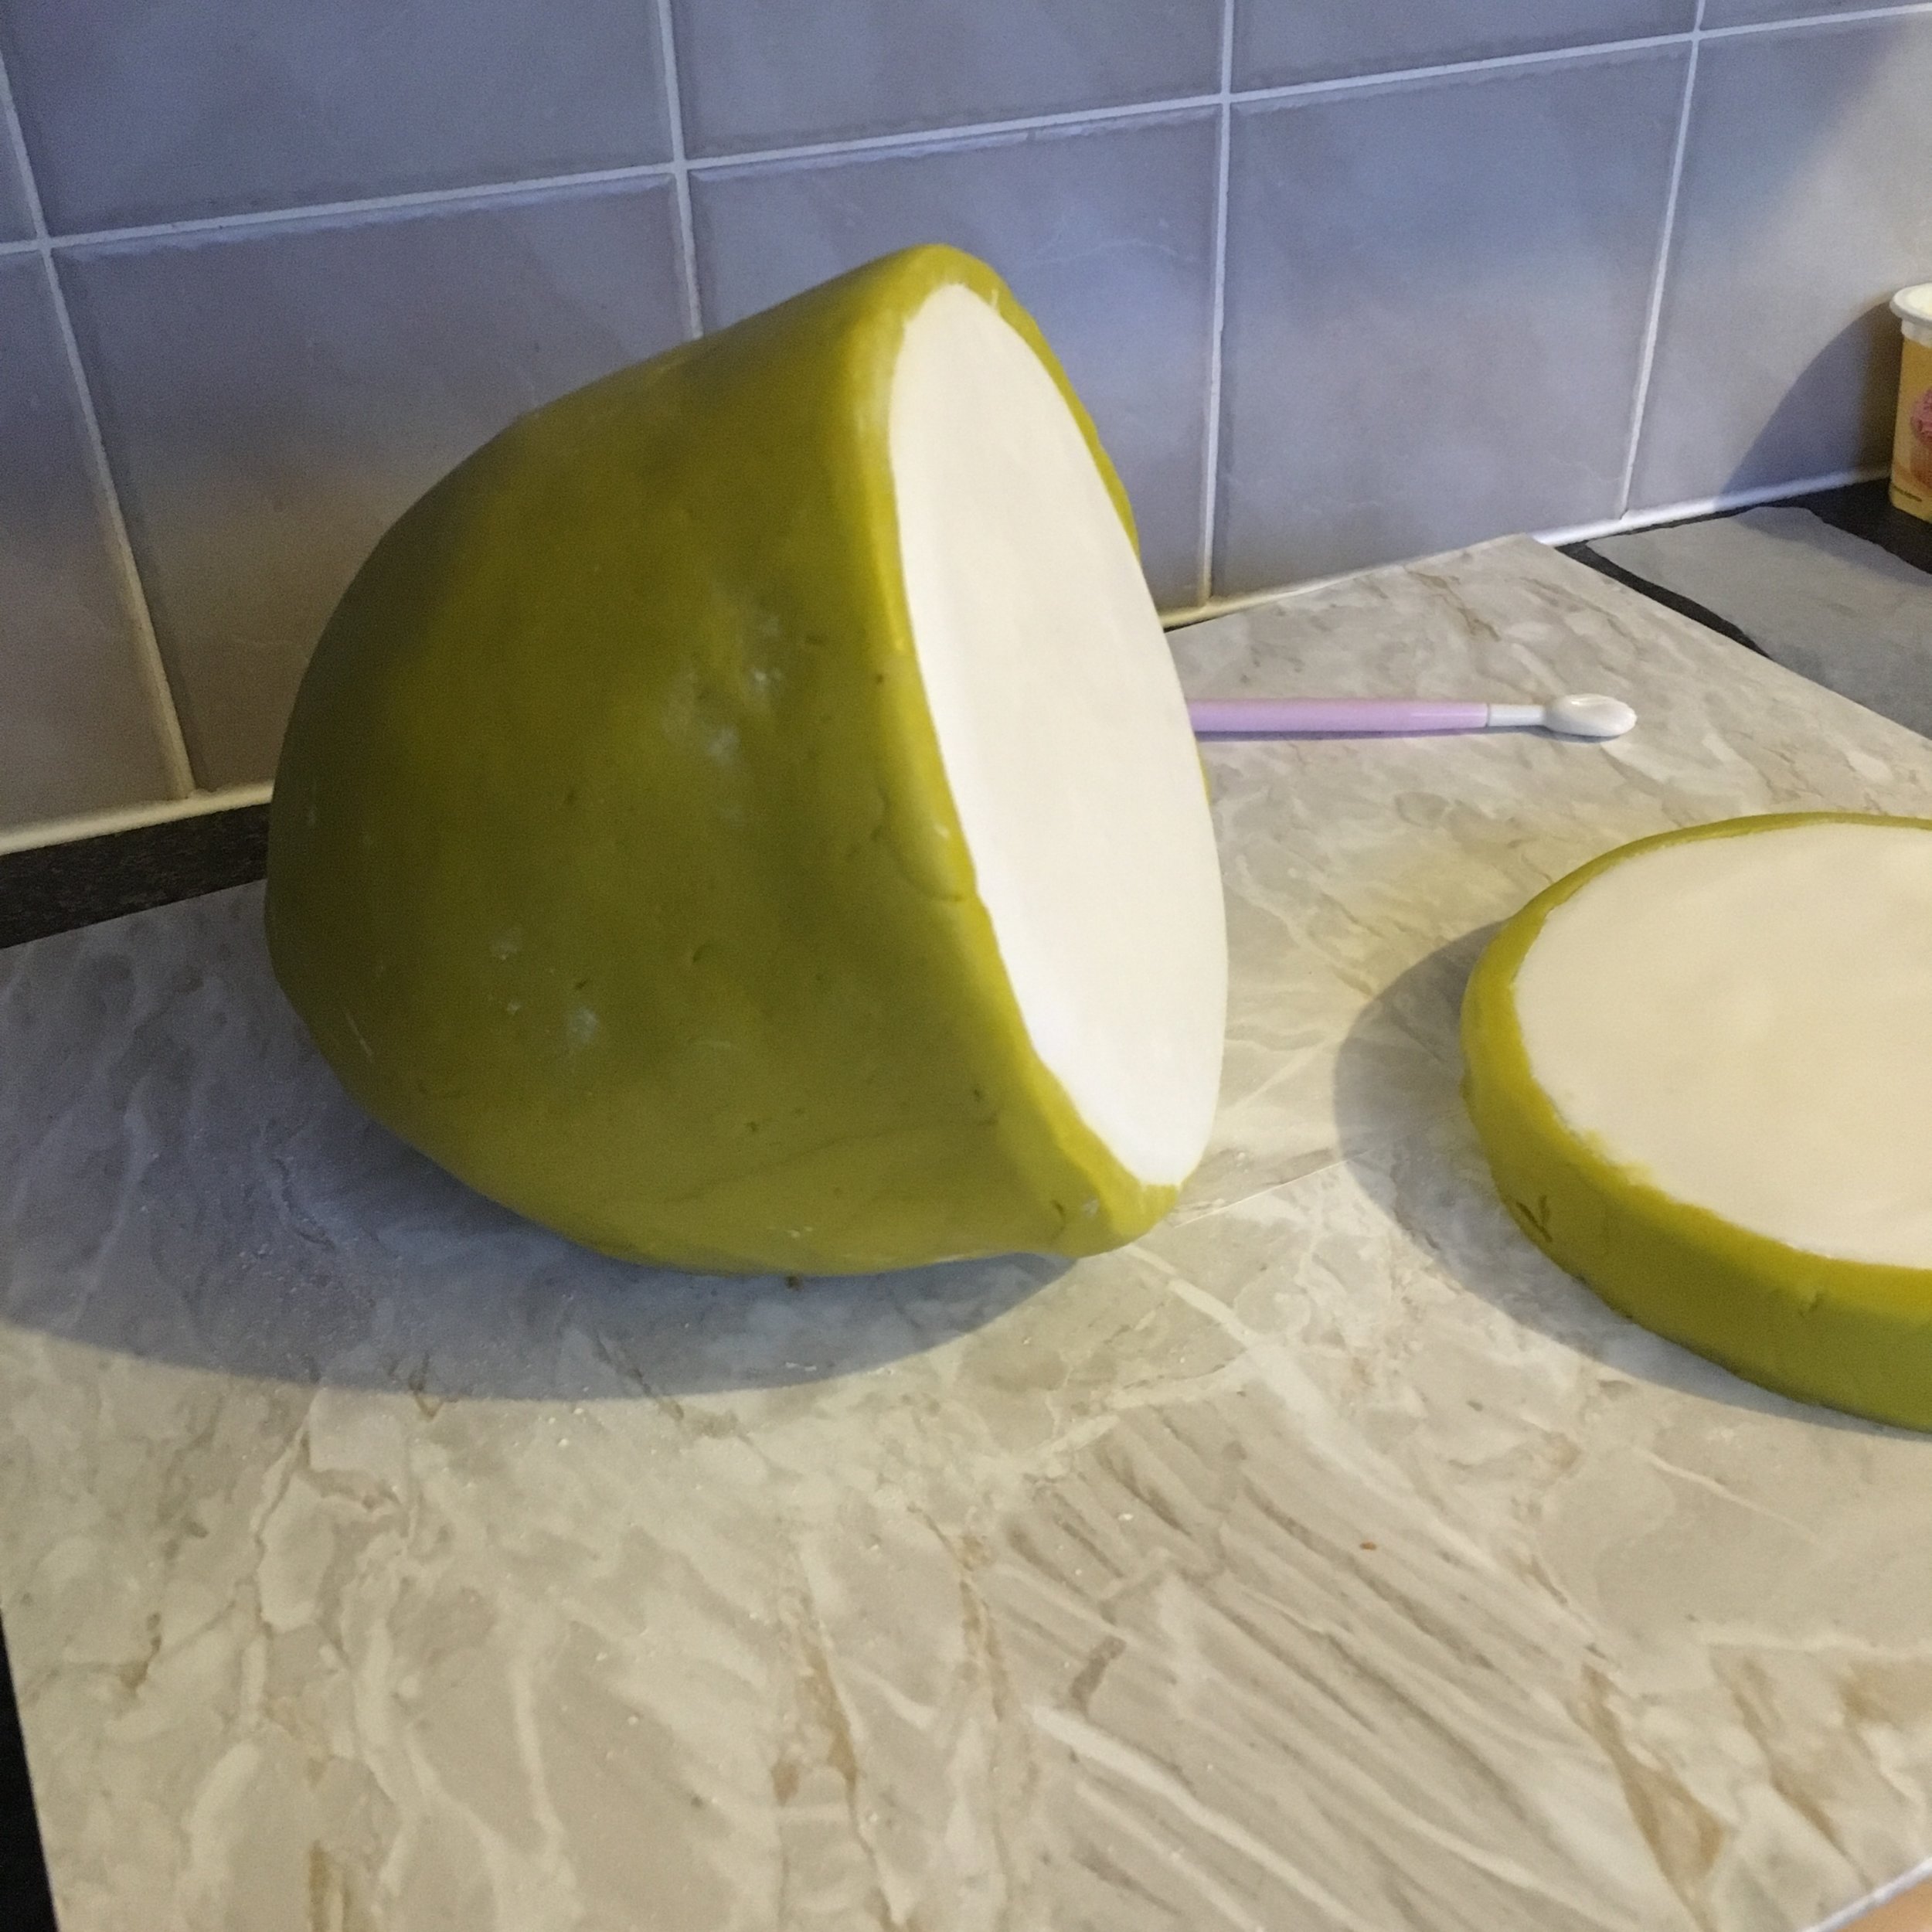
On top of the heat and humidity, my colouring tried to give me a heart attack too. I couldn’t find the right shade of yellow fondant to buy so I thought I’d just make my own. Oh, how naïve I was. If you’ve used food colouring before, you’ll know the colour deepens over time. I thought that was ok though cos I wanted a really intense yellow so if it gets more intense, great! Except to balance out the orange tones in my yellow I added blue. Smart decision, blue is opposite orange in the colour wheel. But then, while I’m decorating the cake, the blue started to overdevelop! I was stood there watching my gorgeous yellow turn green! My lemon was rapidly becoming a lime before my very eyes! So, I went to bed totally resigned to the fact that I’d be buying prop limes in the morning. You can imagine my surprise then when I woke up this morning and it was back to yellow! I kid you not, turns out my colours just developed at different rates and the yellow needed a few extra hours. Cakes are so freaking weird sometimes!

I’ll show you little flashes of my failings but I’ll keep my instructions to the cake you can see in the main photos, so you can make this cutie too.
Ingredients
Cake
4 eggs
8oz self-raising flour
8oz butter
7oz sugar
1oz plain flour
3tbsp of milk
Icing
250g butter
500g icing sugar
2 lemons
500g yellow fondant
500g white fondant
Method
1. Pre-heat the oven to 160°C Fan and line two 6-inch cake pans with parchment paper.
2. Beat together 8oz of butter and 7oz of sugar until its pale and fluffy. Add in 8oz of self-raising flour, 1oz of plain flour, 3 tbsp of milk and 4 eggs. Mix until smooth.
3. Split the cake batter evenly between the two lined pans and bake in the centre of the oven for 35-40 minutes or until a skewer comes out clean. When baked, leave to cool in the pan for 5 minutes before transferring to a wire rack.
4. While the cakes are cooling, beat together 250g of butter (room temperature), 500g of icing sugar and the juice of one and zest of two lemons. The frosting should be easy to spread but firm enough to stay on the beaters when lifted out of the bowl.
5. When the cakes have completely cooled, split each sponge into two layers. Fill with buttercream and stack three layers for the large cake.
6. Apply a thin crumb coat of icing all over the large cake and then all over the remaining layer, this will be the small slice cake. Transfer to the fridge to chill for 30 minutes.
7. While the cakes are chilling, knead both the yellow and white fondant separately for at least 10 minutes each until the fondant becomes more stable and less prone to tearing. If this is your first time working with fondant, I have some great tips here.
8. When the cakes have chilled, apply another coat of frosting a little thicker this time and smooth all around, working out any lumps or bumps. Return to the fridge and chill for another 30 minutes.
9. When the cakes have chilled this time, roll flat half the white fondant. It should be large enough to completely cover the small cake.
10. Remove the cakes from the fridge and mist the small cake with water that has been boiled then cooled. Cover the small cake with the rolled out white fondant and even out any lumps or bumps with a fondant smoother. Trim off the excess.

11. Roll flat the remaining white fondant and mist the top of the large cake with water. This time, instead of covering the whole cake, cover only the top and trim any that covers the sides of the cake.
12. Roll out half the yellow fondant, big enough to cover the large cake. Mist the sides of the large cake with water, careful not to get any on top.
13. Cover the large cake with yellow fondant, smoothing the side with a fondant smoother. With a sharp paring knife, cut a circle into the yellow fondant on top of the cake, roughly ½ cm in from the edge.

14. Remove the yellow fondant from inside this circle. Using your finger, gently smooth around the edges of the cut to soften it.
15. Repeat this process for the small cake.
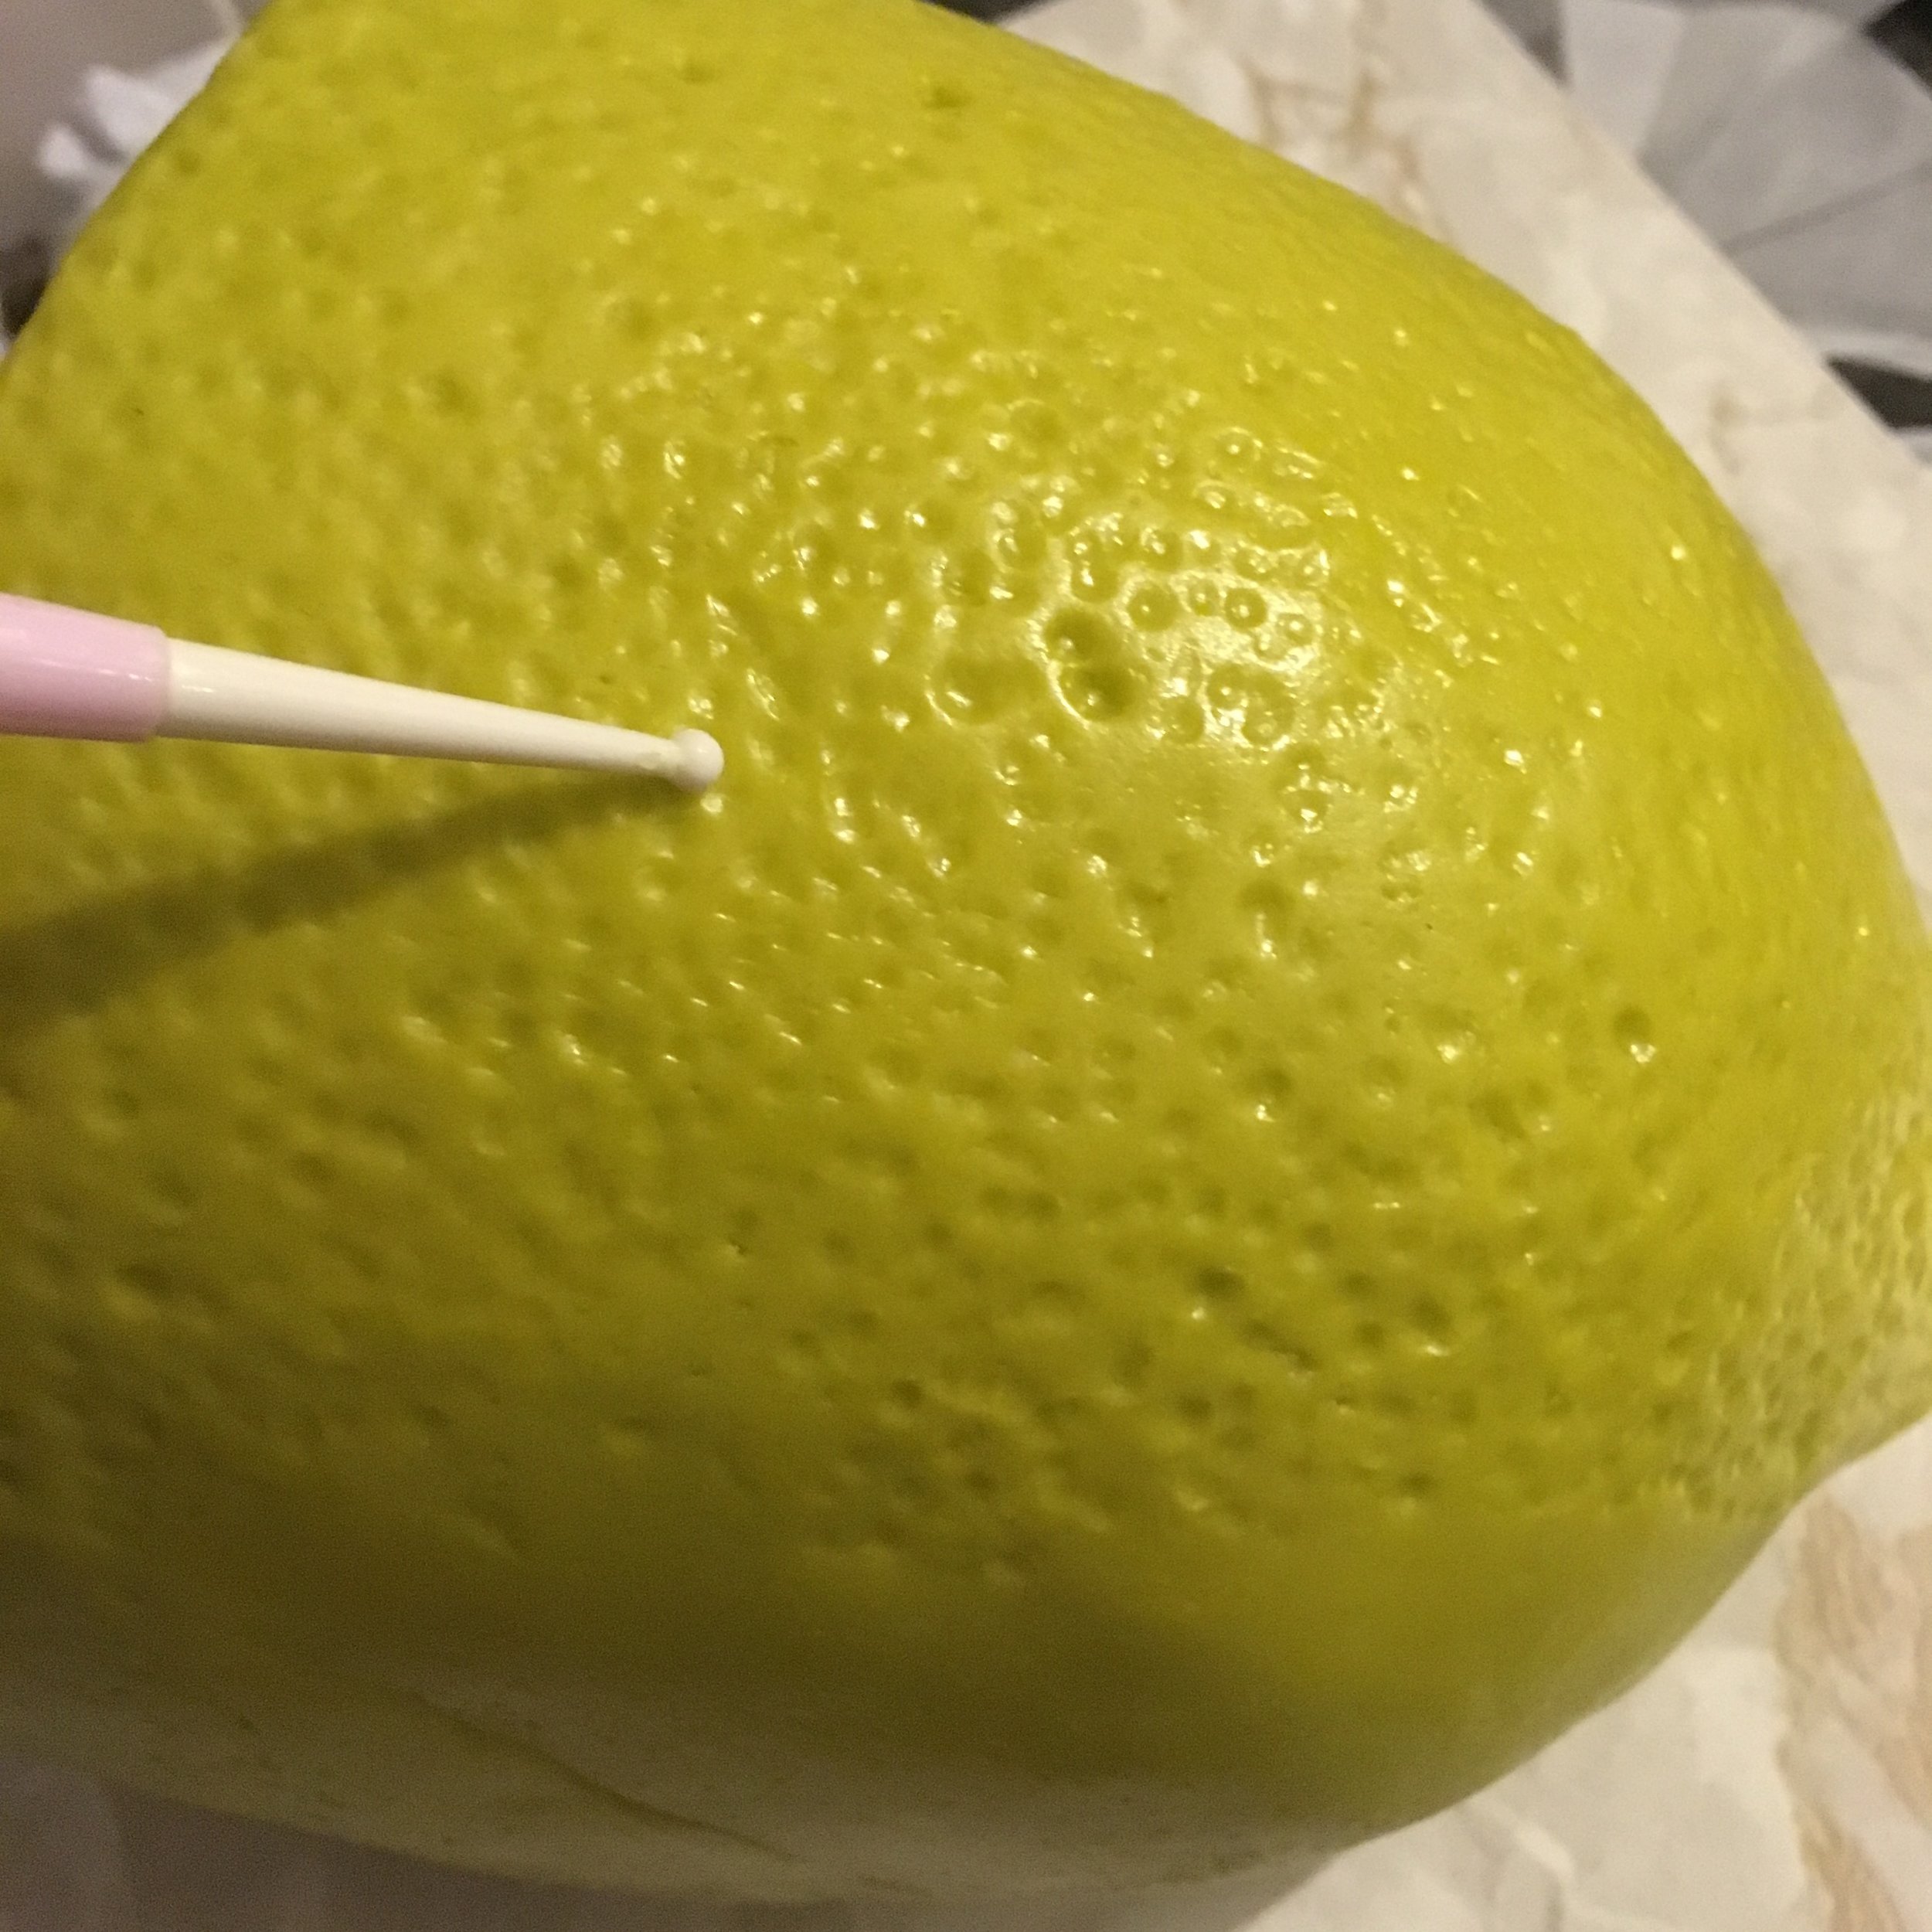
16. While the fondant is still soft, use the small ball tool to gently press little pocks into the yellow fondant like you would see on lemon peel.
17. On a piece of parchment paper, draw around the base of your 6-inch cake pan with a pencil. To fold this into 10 equal pieces, I found a great YouTube tutorial.
18. When you have 10 equal pieces cut out one slightly smaller than the guidelines, roughly 1mm off each side. This will be your segment template.
19. Roll out all remaining yellow fondant to 1mm thick and cut around the segment template until you have 20 pieces. Using your finger, gently smooth around the corners for a softer finish. Lay these on top of the cakes (10 segments each) and arrange into place.

20. When you're happy with the placement, attach the segments to the cake with a little water.
21. Using a knife or a scoring tool, gently score little marks into the segments to create the texture you can see inside a lemon, careful not to go all the way through.

22. Lastly, roll up a tiny ball of white fondant and place it right in the centre. Using a star tool, press this into the cake.
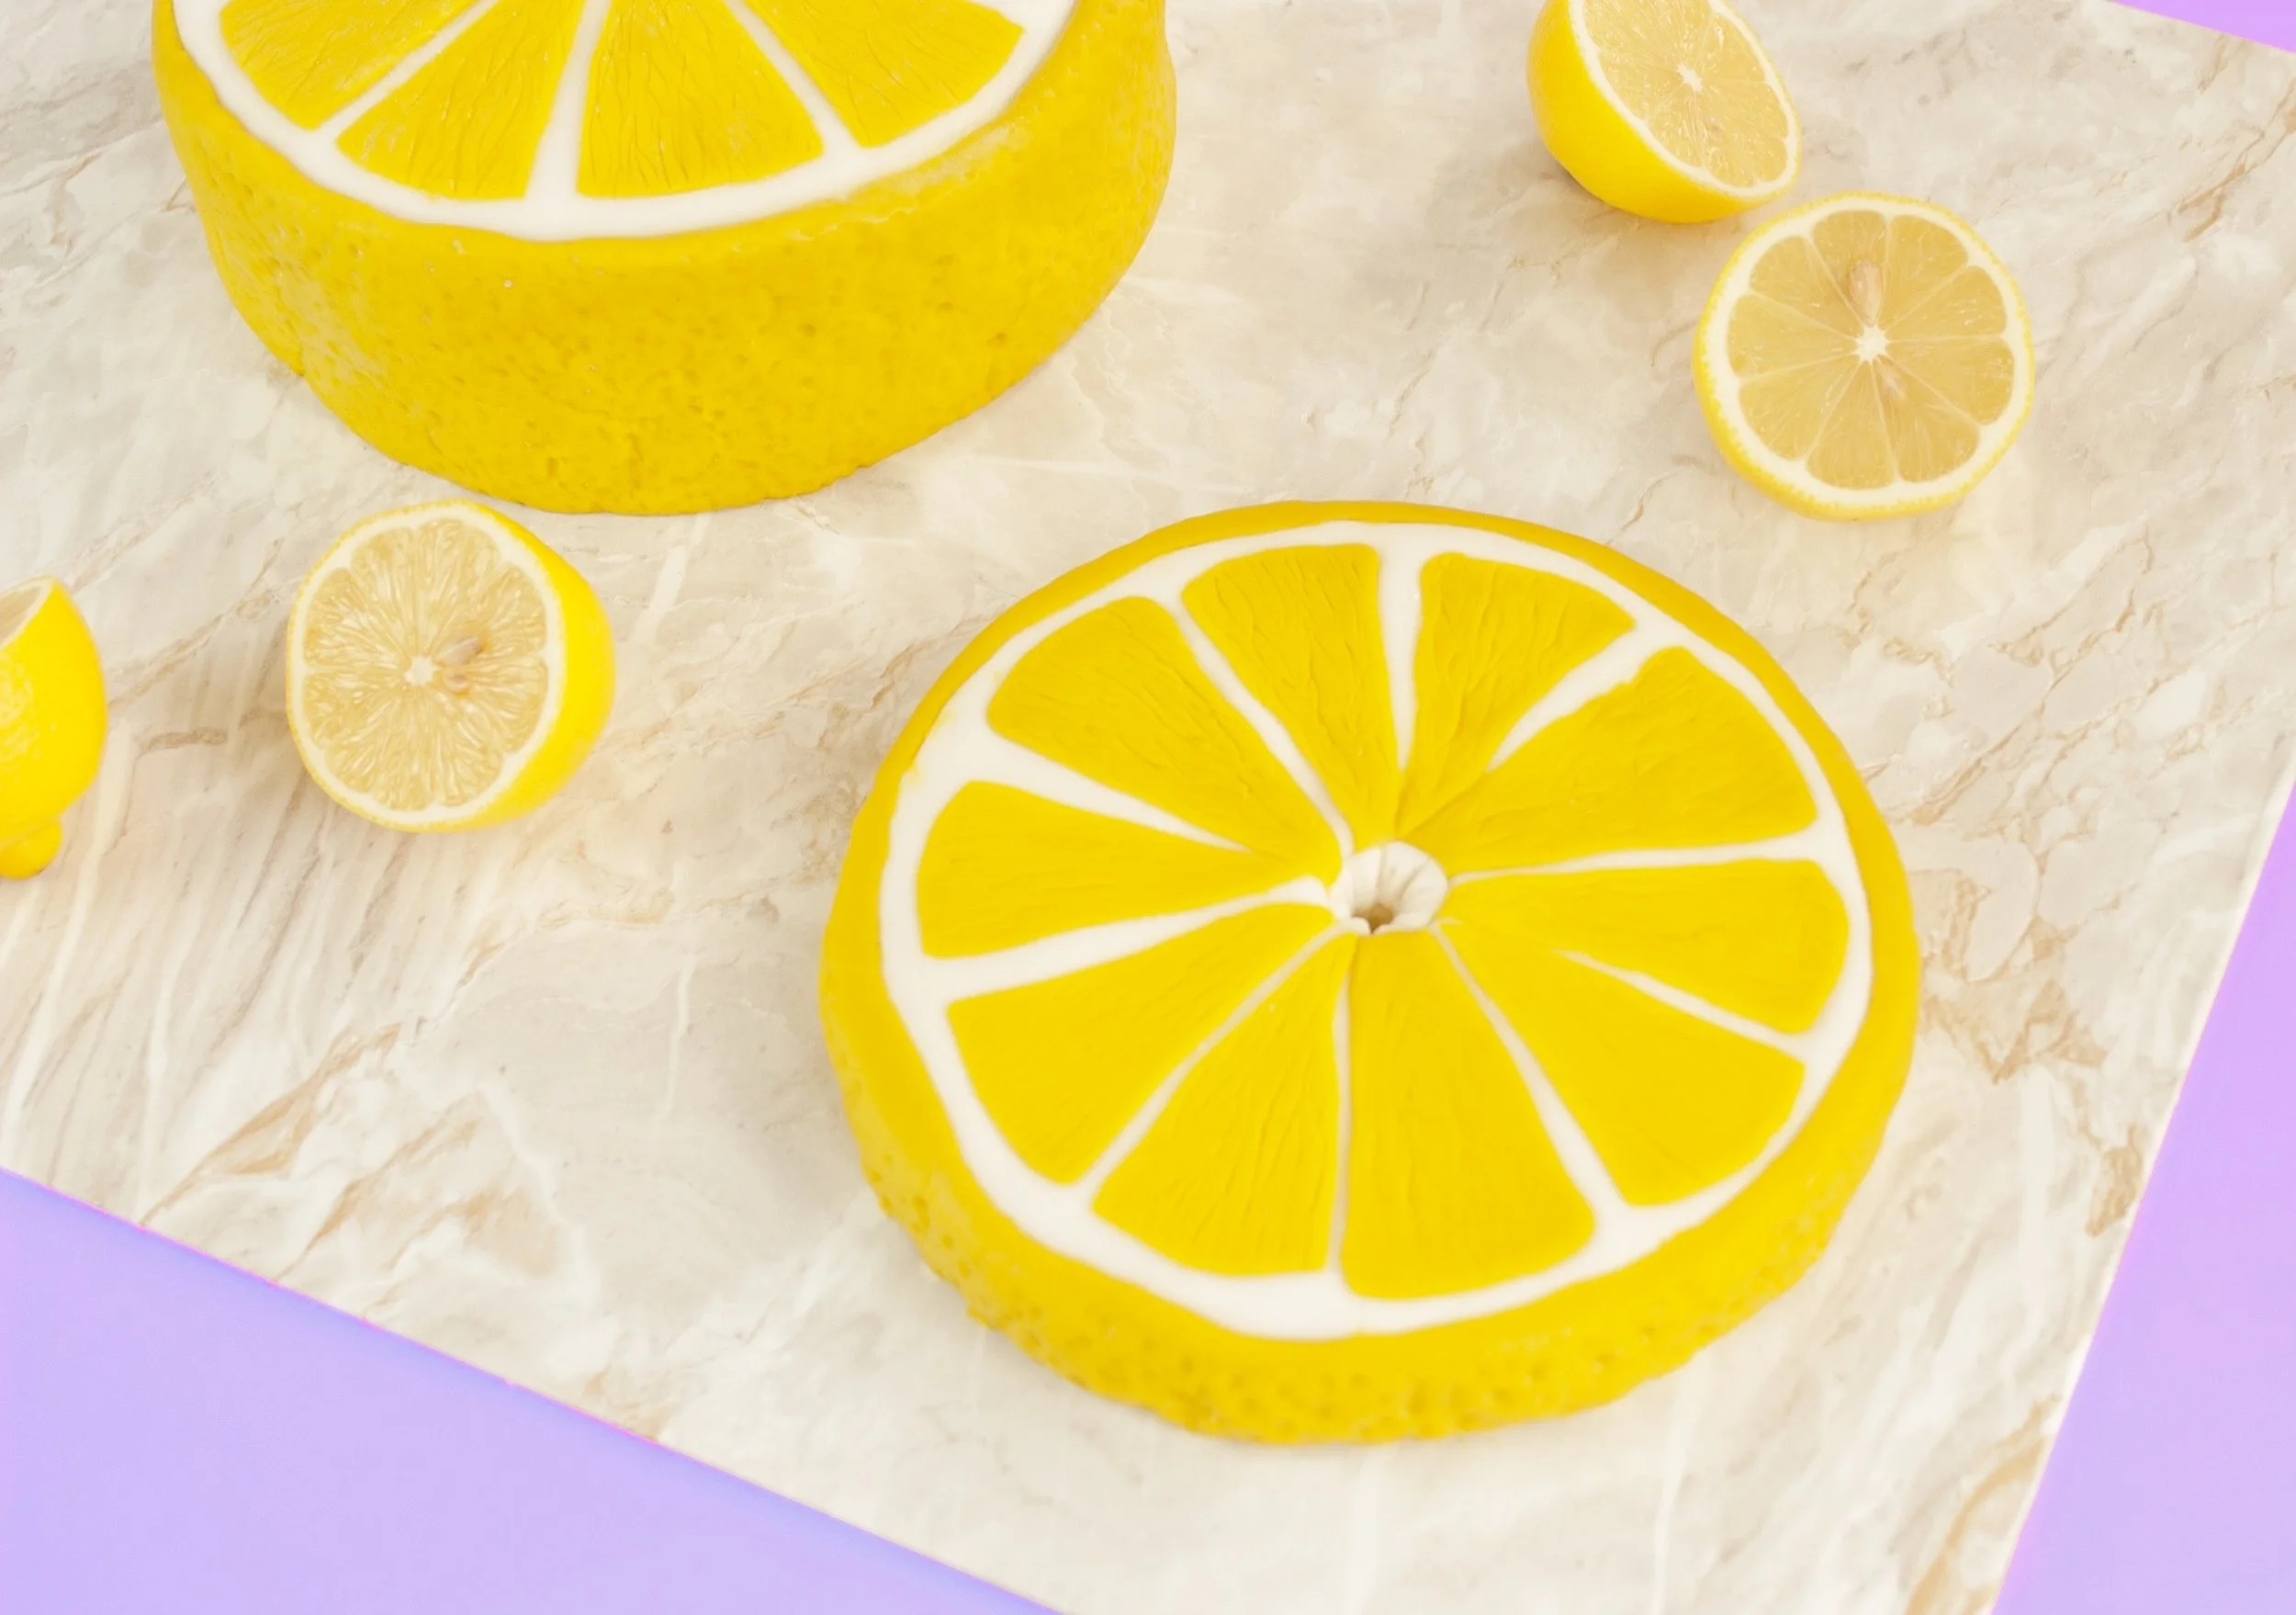
And ta-dah! We’re done! All drama aside ain’t she perty?
Sharing At