Summer Styles Painted Cookie Tutorial

I know I say it all the time, but I really do have a new favourite thing… painted cookies! Oh my freaking word they are a dream come true. Like, you probably know by now how much I suck at cookie icing, but I find them so cute I’m always trying to find a way around it and I honestly think this time I’ve nailed it. Edible paint. It’s the holy grail of cookie cheats and my new love. And most importantly it was really fun! I haven’t tried colouring in since I was at school and it was nice to just play around with the colours and forget I’m supposed to be a grown up. And then obviously eat the ‘failed’ experiments.
I love painting on cakes and then I saw painted cookies all over Instagram the other day and couldn’t believe I hadn’t thought of it before. It makes so much sense! So, I pulled out all my supplies and tried loads of different techniques looking for a winner. Turns out they were all amazing. I love this idea!

I started out with a mix of powdered colouring and alcohol, it worked a treat. But it did take quite a bit of colour, so it might not be super economical. Then I tried mixing gel food colouring with a little alcohol and a PME powder that turns it to edible paint and again it was amazing! One thing to watch though, if you add too much PME powder it’s starts to sorta bubble so maybe best to avoid on the paler projects. And lastly I tried mixing the gel colour with just alcohol and again jobs a good ‘un! This one is a more translucent finish though, so I used it for the dark edge on the watermelon and it gave a little sort of shine which was perfect. Finally, to get those outlines I used an edible black pen but you could absolutely do it with paint depending on what you’re more comfortable with.
For anyone thinking ‘but Amanda, I’m no artist’, trust me I’m not either! I always trace things out when I paint on cakes and follow the guides to a tee but this one is honestly just as easy as filling in a colouring in book. Easier even cos if you make a mistake, wet a clean brush in alcohol, rub it over the blemish and boom, it’s gone! Have a mentioned how much I love this???
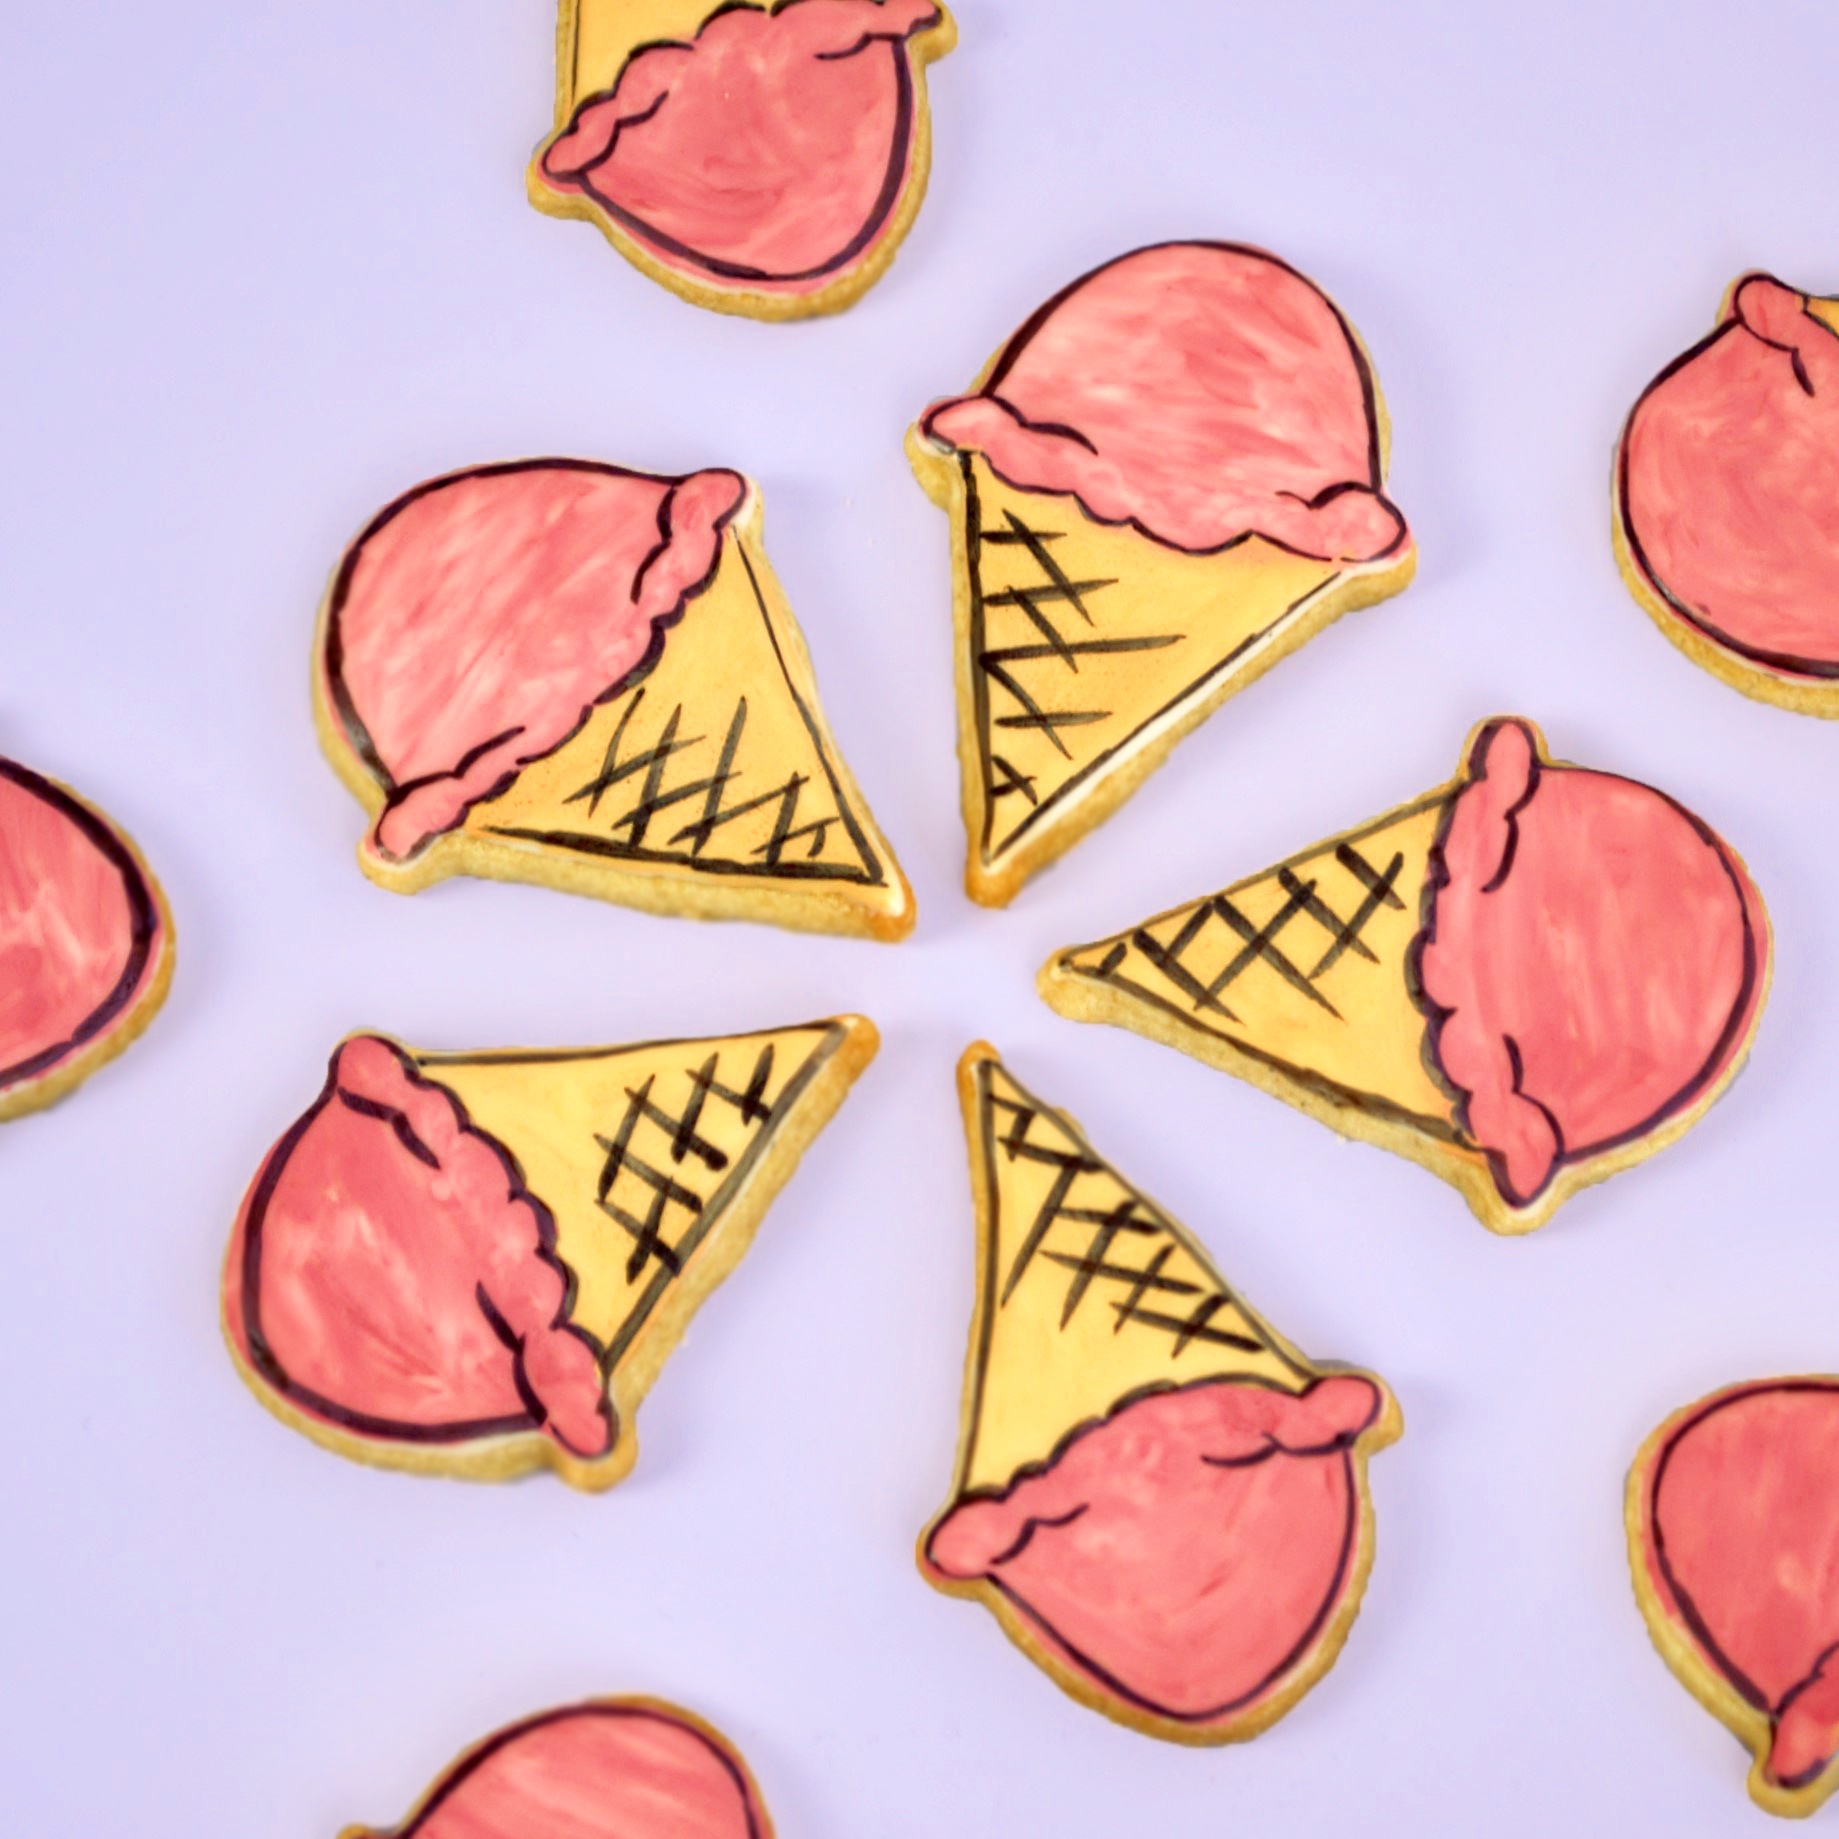
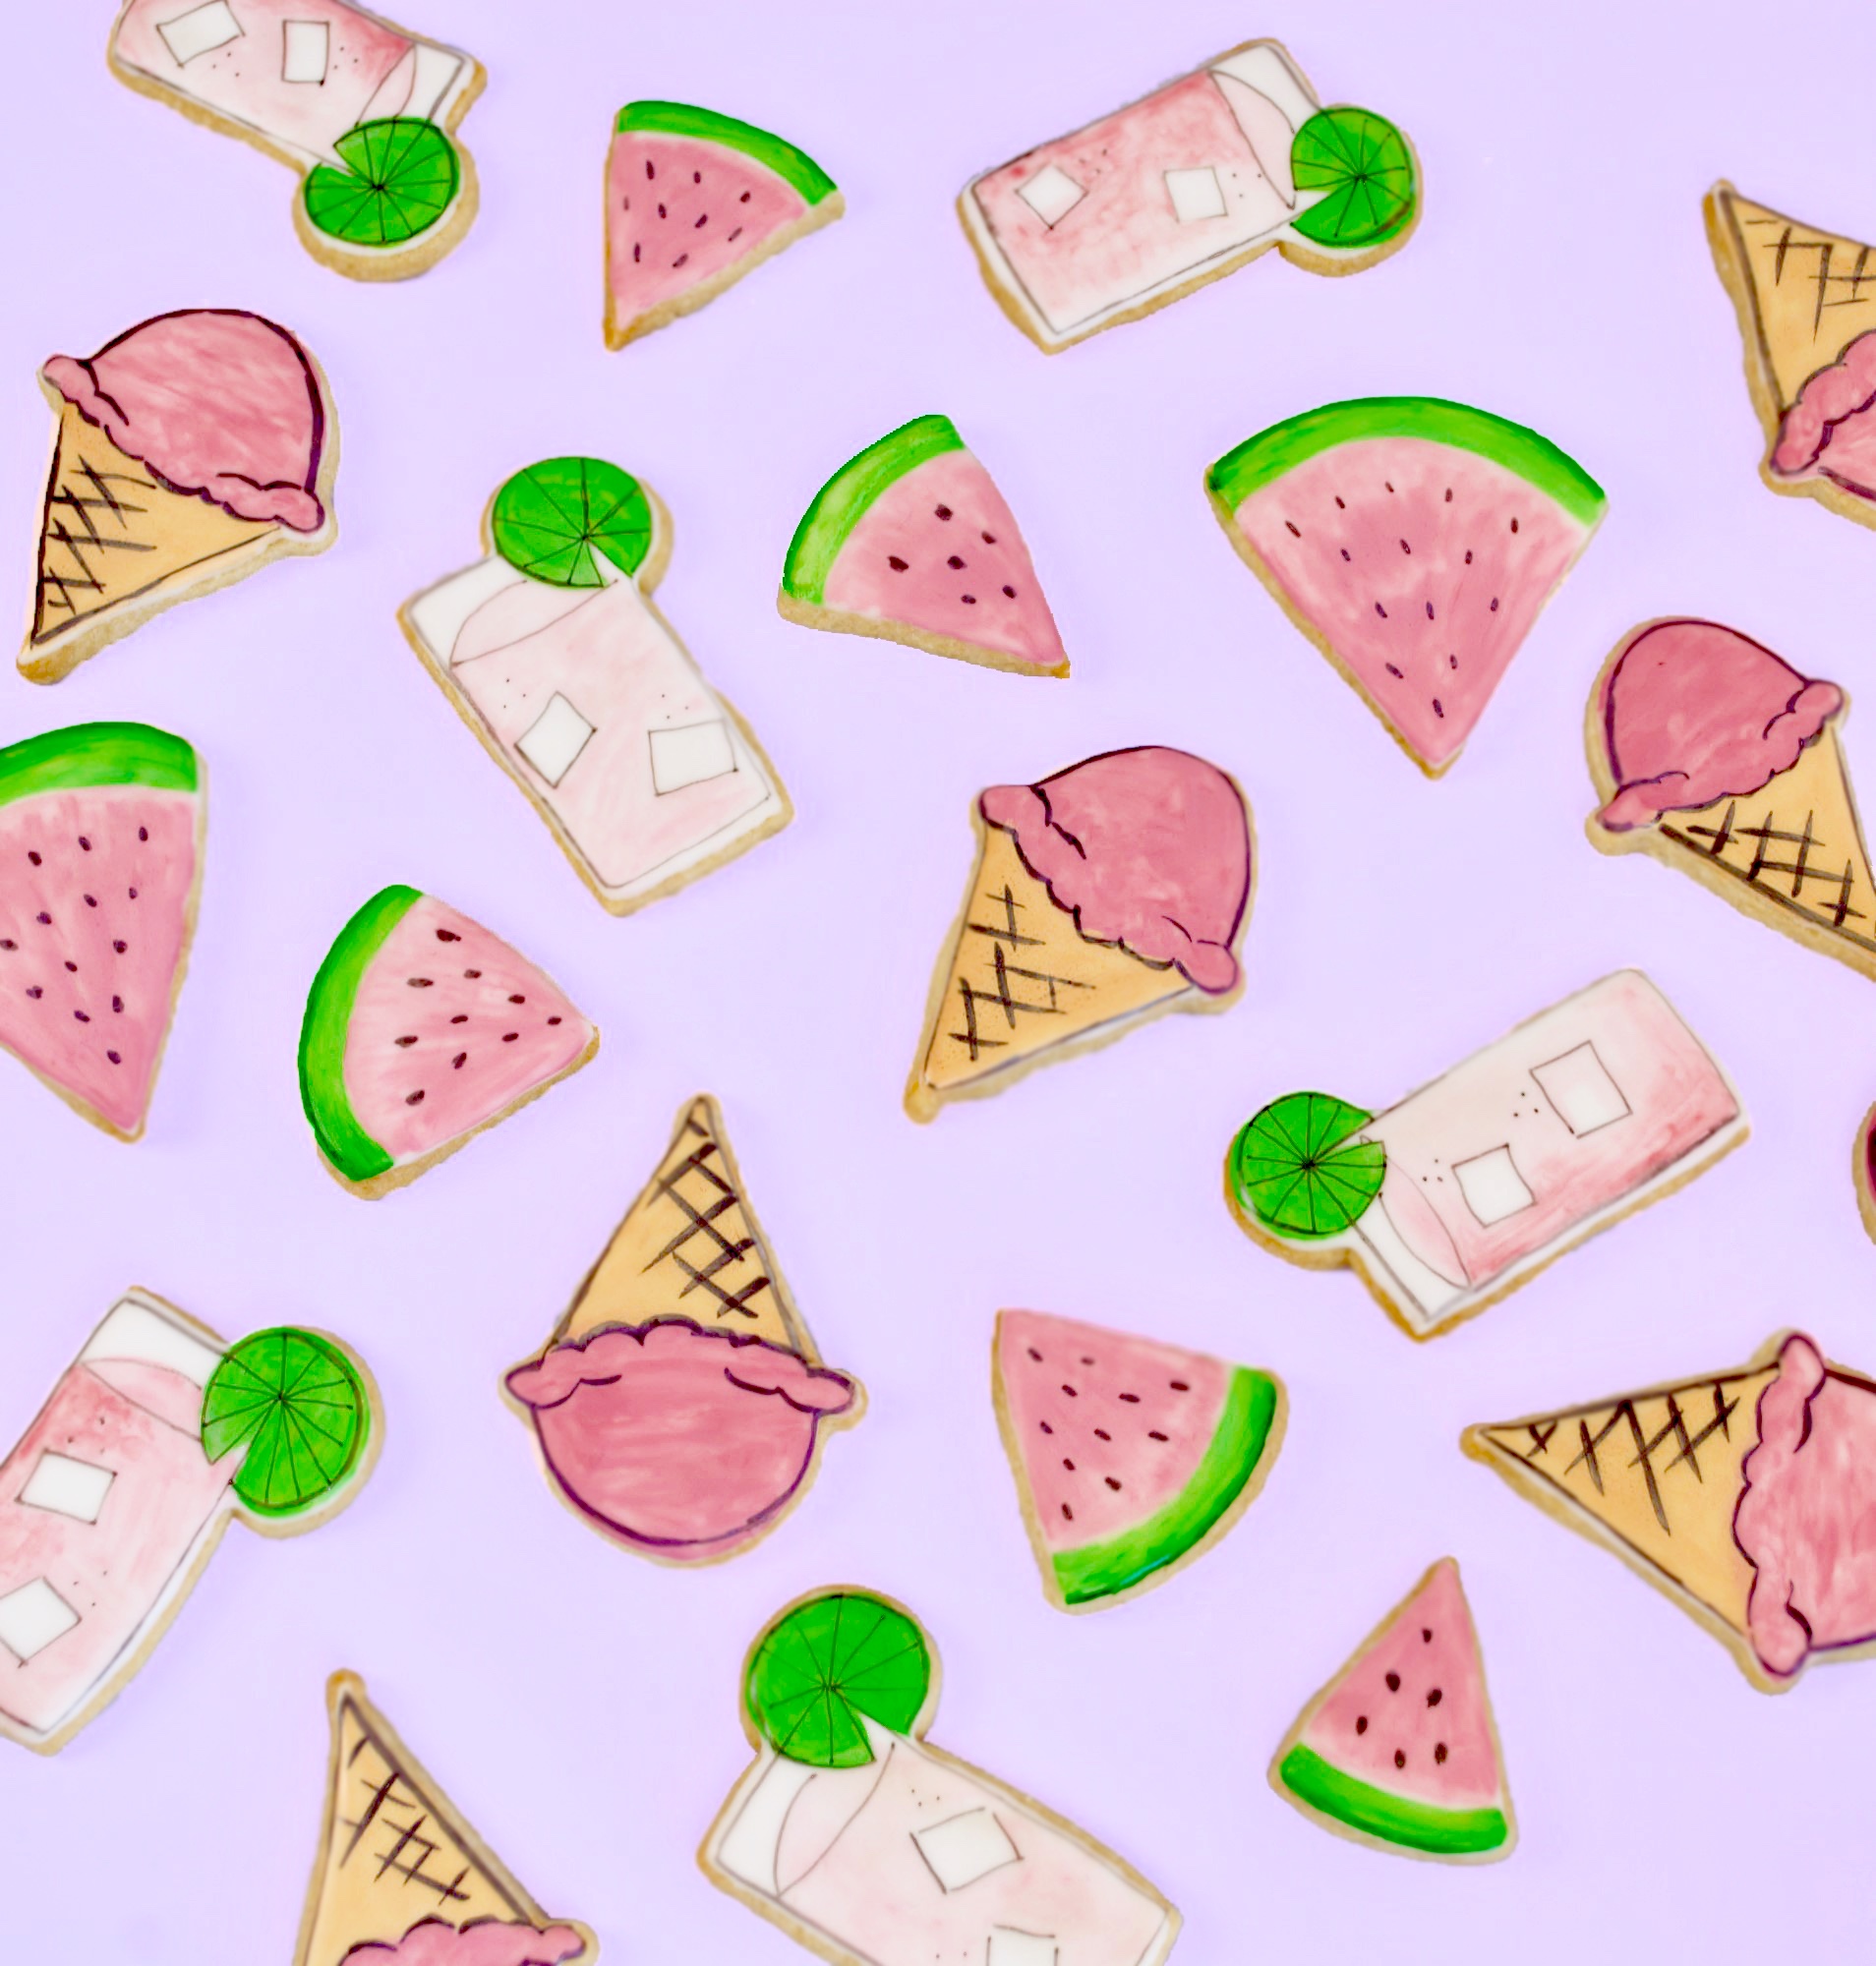
On top of this awesome new trick we got brilliant weather all weekend. Which for Scotland is a rare treat, let me tell you. And it was a bank holiday which means three days of sun! Amazing! So, obviously I had to make summer summer summer time cookies. I got pink lemonade cocktails, cool ass slices of watermelon and of course the star of the show, a classic ice cream cone. Cos, you gotta have ice cream on days like this. And they all belong in the same colour palette, so you only need to mix 3 paints. Cute AND easy AND lazy, sign me up asap. If I didn’t love cake so much I’d be tempted to ride this cookie train forever. Choo choo!

Ingredients
225g unsalted butter
225g sugar
1 egg
425g plain flour
2 egg whites (pasteurised)
500g icing sugar
Food colouring (gel or powder)
Edible paint maker (I used PME Mix n Paint)
Black edible pen (optional)
Tbsp vodka or cake alcohol
Method
1. Cream together 225g unsalted butter and 225g sugar until pale and fluffy. Whisk in 1 egg. Sift in 425g of plain flour and gently bring together. Try not to work the dough too much. Cover in film and place in the fridge for 30 mins.
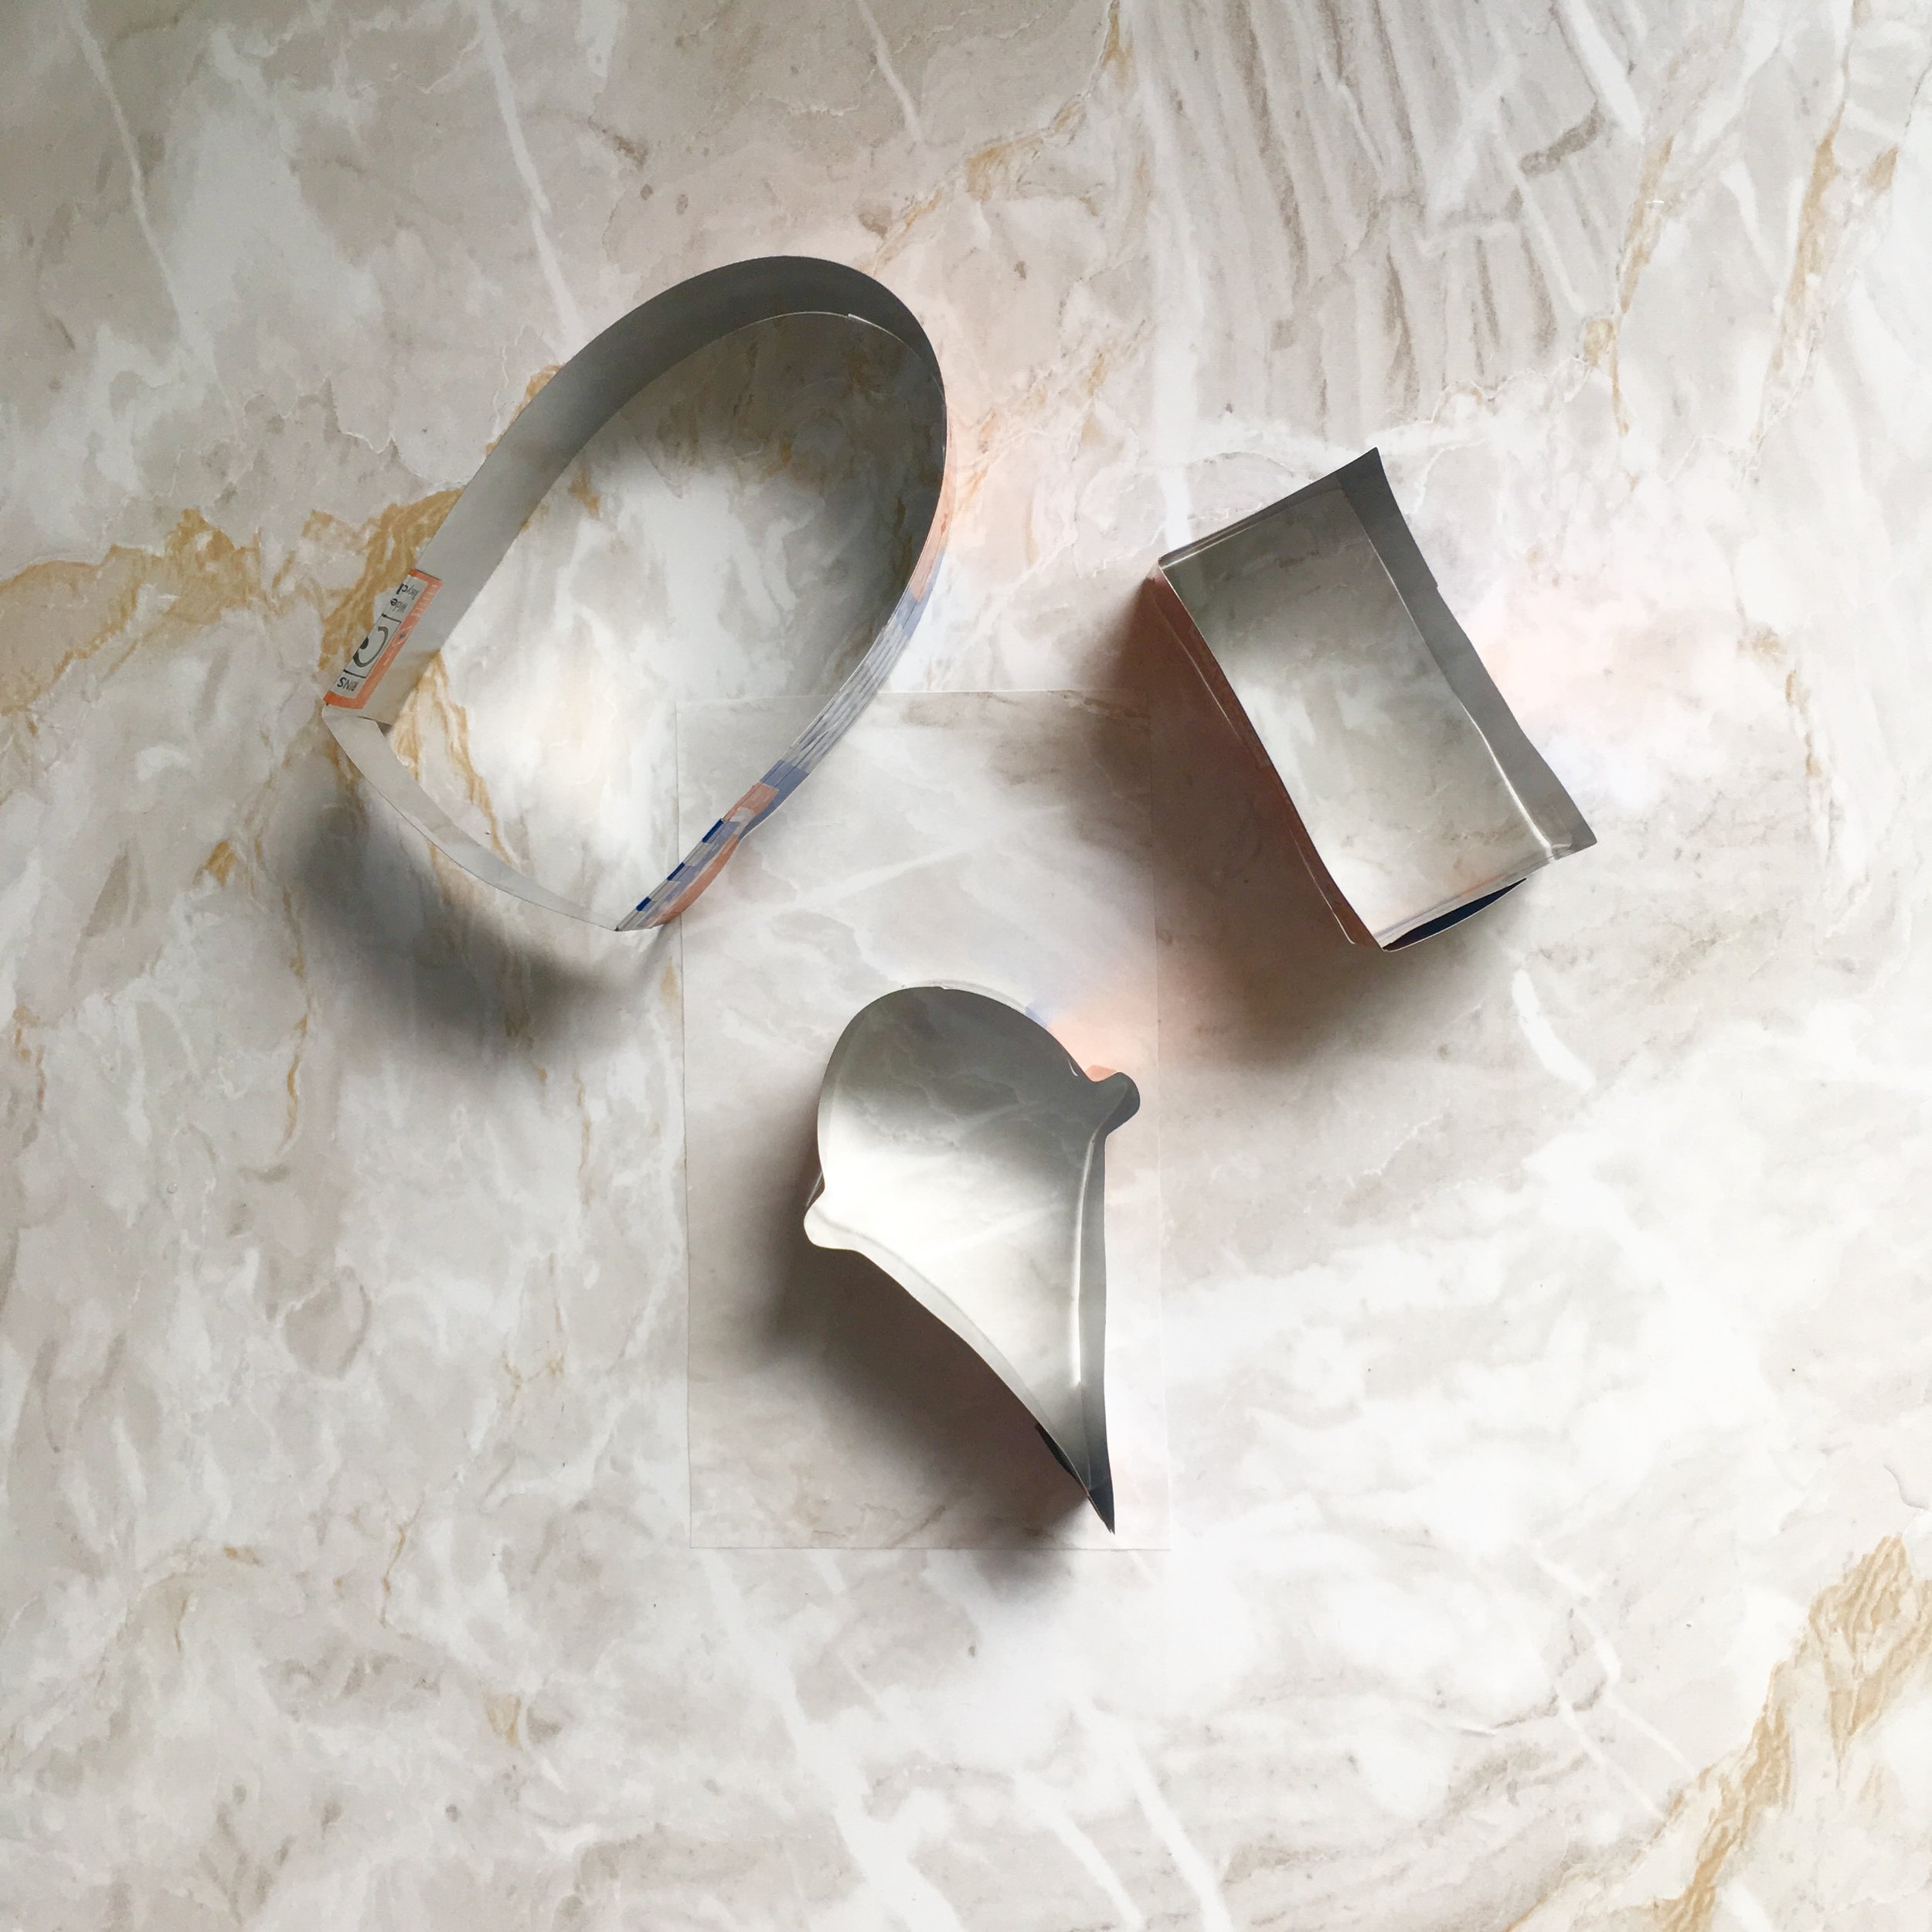
2. When the dough has chilled, roll it out to roughly 1/2cm and cut out the shapes you’d like. I made my own cookie cutters for this project from a couple of old drinks cans like this.
3. When the shapes are all cut, place them on a lined baking tray and return to the fridge. Chilling them now should stop them spreading too much in the oven. You can see I didn’t do this long enough cos I’m way too impatient and I got the dreaded spread!
4. After they’ve chilled, bake them in a pre-heated oven at 180°C for 12-15 minutes then let them cool for 5 minutes on the tray before transferring to a wire rack.
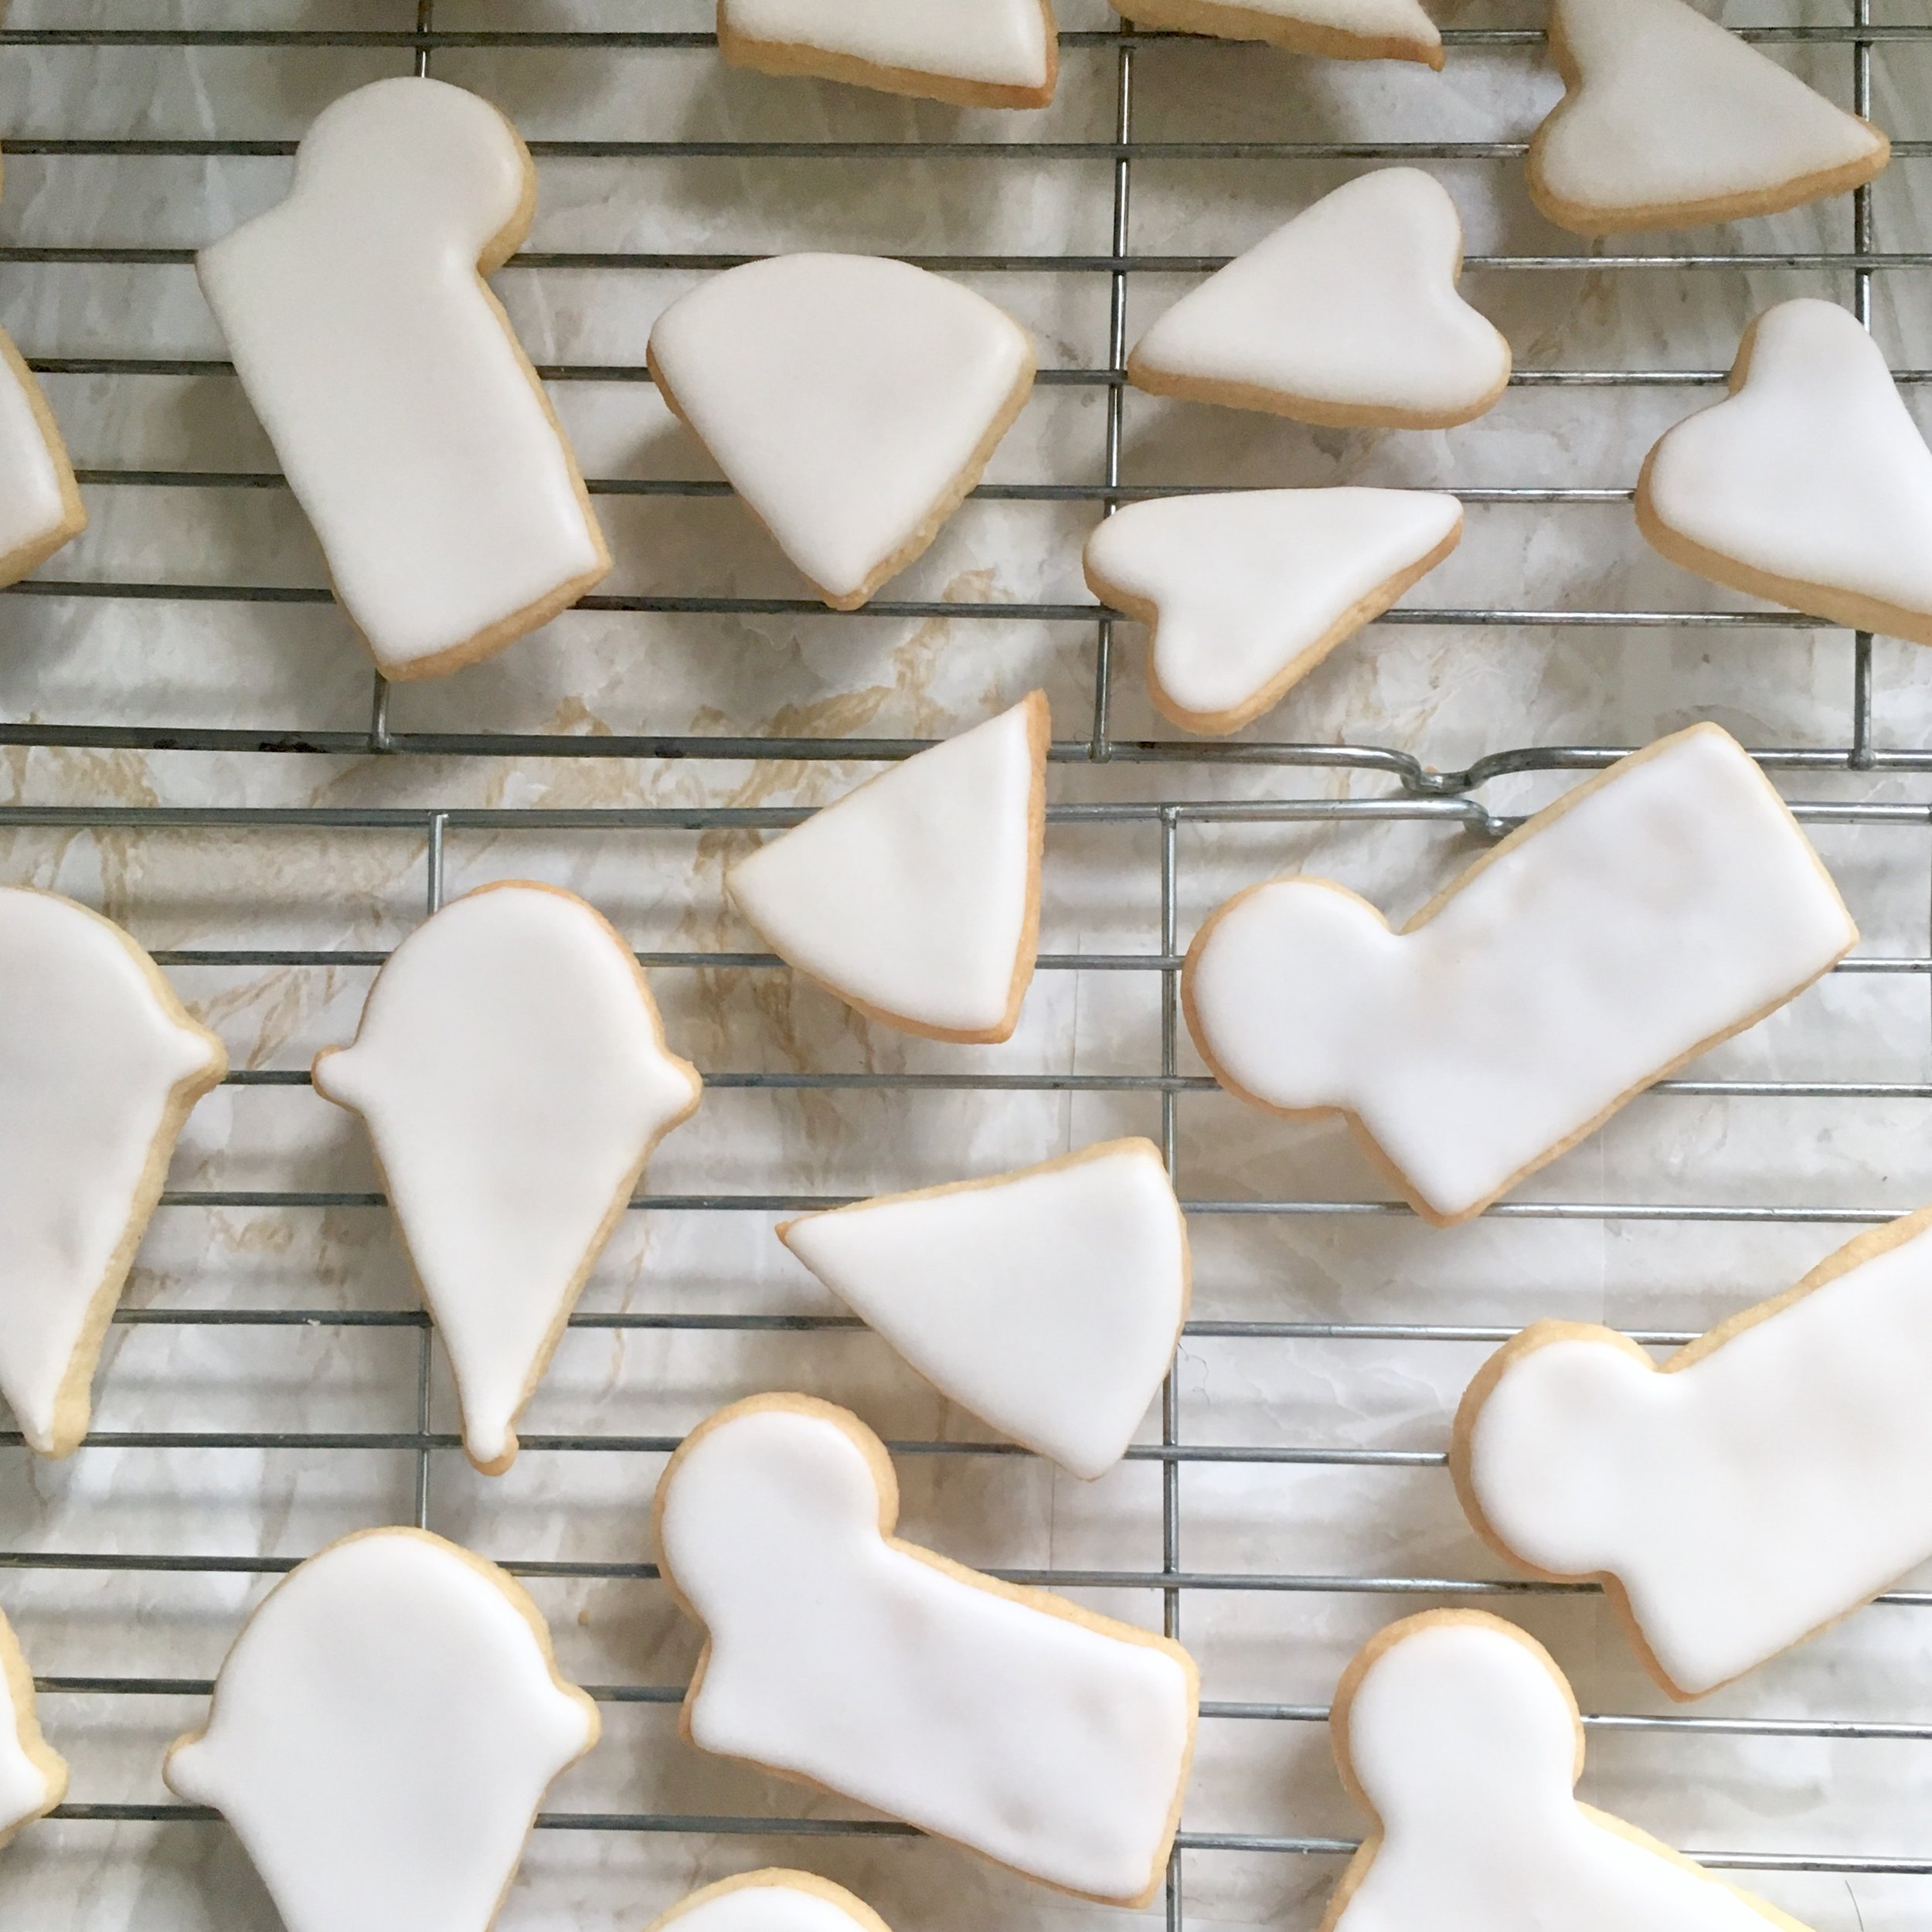
5. While they’re cooling, whip up 1 egg white til it’s a little fluffy then mix in 500g of icing sugar. It should be pretty thick at this stage, slowly add in 1 more egg white until you get the right consistency, it might not need all of the second egg white. I aimed for a 10 second consistency meaning if you draw a line through it, it should take 10 seconds to disappear. This way it’s thin enough to flood the cookies but thick enough not to run off the edges without an outline. Cos, I really suck at outlines! Transfer the icing to a piping bag.
6. When the cookies are cool cover with icing, as close to the edge as you’re comfortable with. I really suck at this part but if you take a needle and sterilise it in boiling water, you can use it to push the icing out and shape it right. When you’ve covered them all, leave the cookies to dry overnight.
7. Now for the fun part! Time to mix up the colours and get painting. If you have powder food colouring, mix it with a drop of vodka until it’s thin enough to paint. If you have gel colours, add a little PME powder and a drop of vodka until it’s thin enough to paint.
8. Okay, let's start with the watermelon first, paint a green strip along the curved edge and leave to dry. Fill in the remaining cookie with pink and leave to dry. When dry, mix a little green gel food colouring with just vodka and run it along the top of the green edge. Next, dip a clean brush in vodka and run it over the dark green strip, this should help it blend a little. Leave it to dry and then add the black seeds with an edible pen or food colouring.

9. And moving onto the ice cream. Paint on pink for the ice cream and beige for the cone. I found it’s best to allow one colour to dry before adding the other. Stops them blending together. When it’s all dry, use an edible black pen to add an outline and dashes to create the waffle look on the cone. How easy was that??


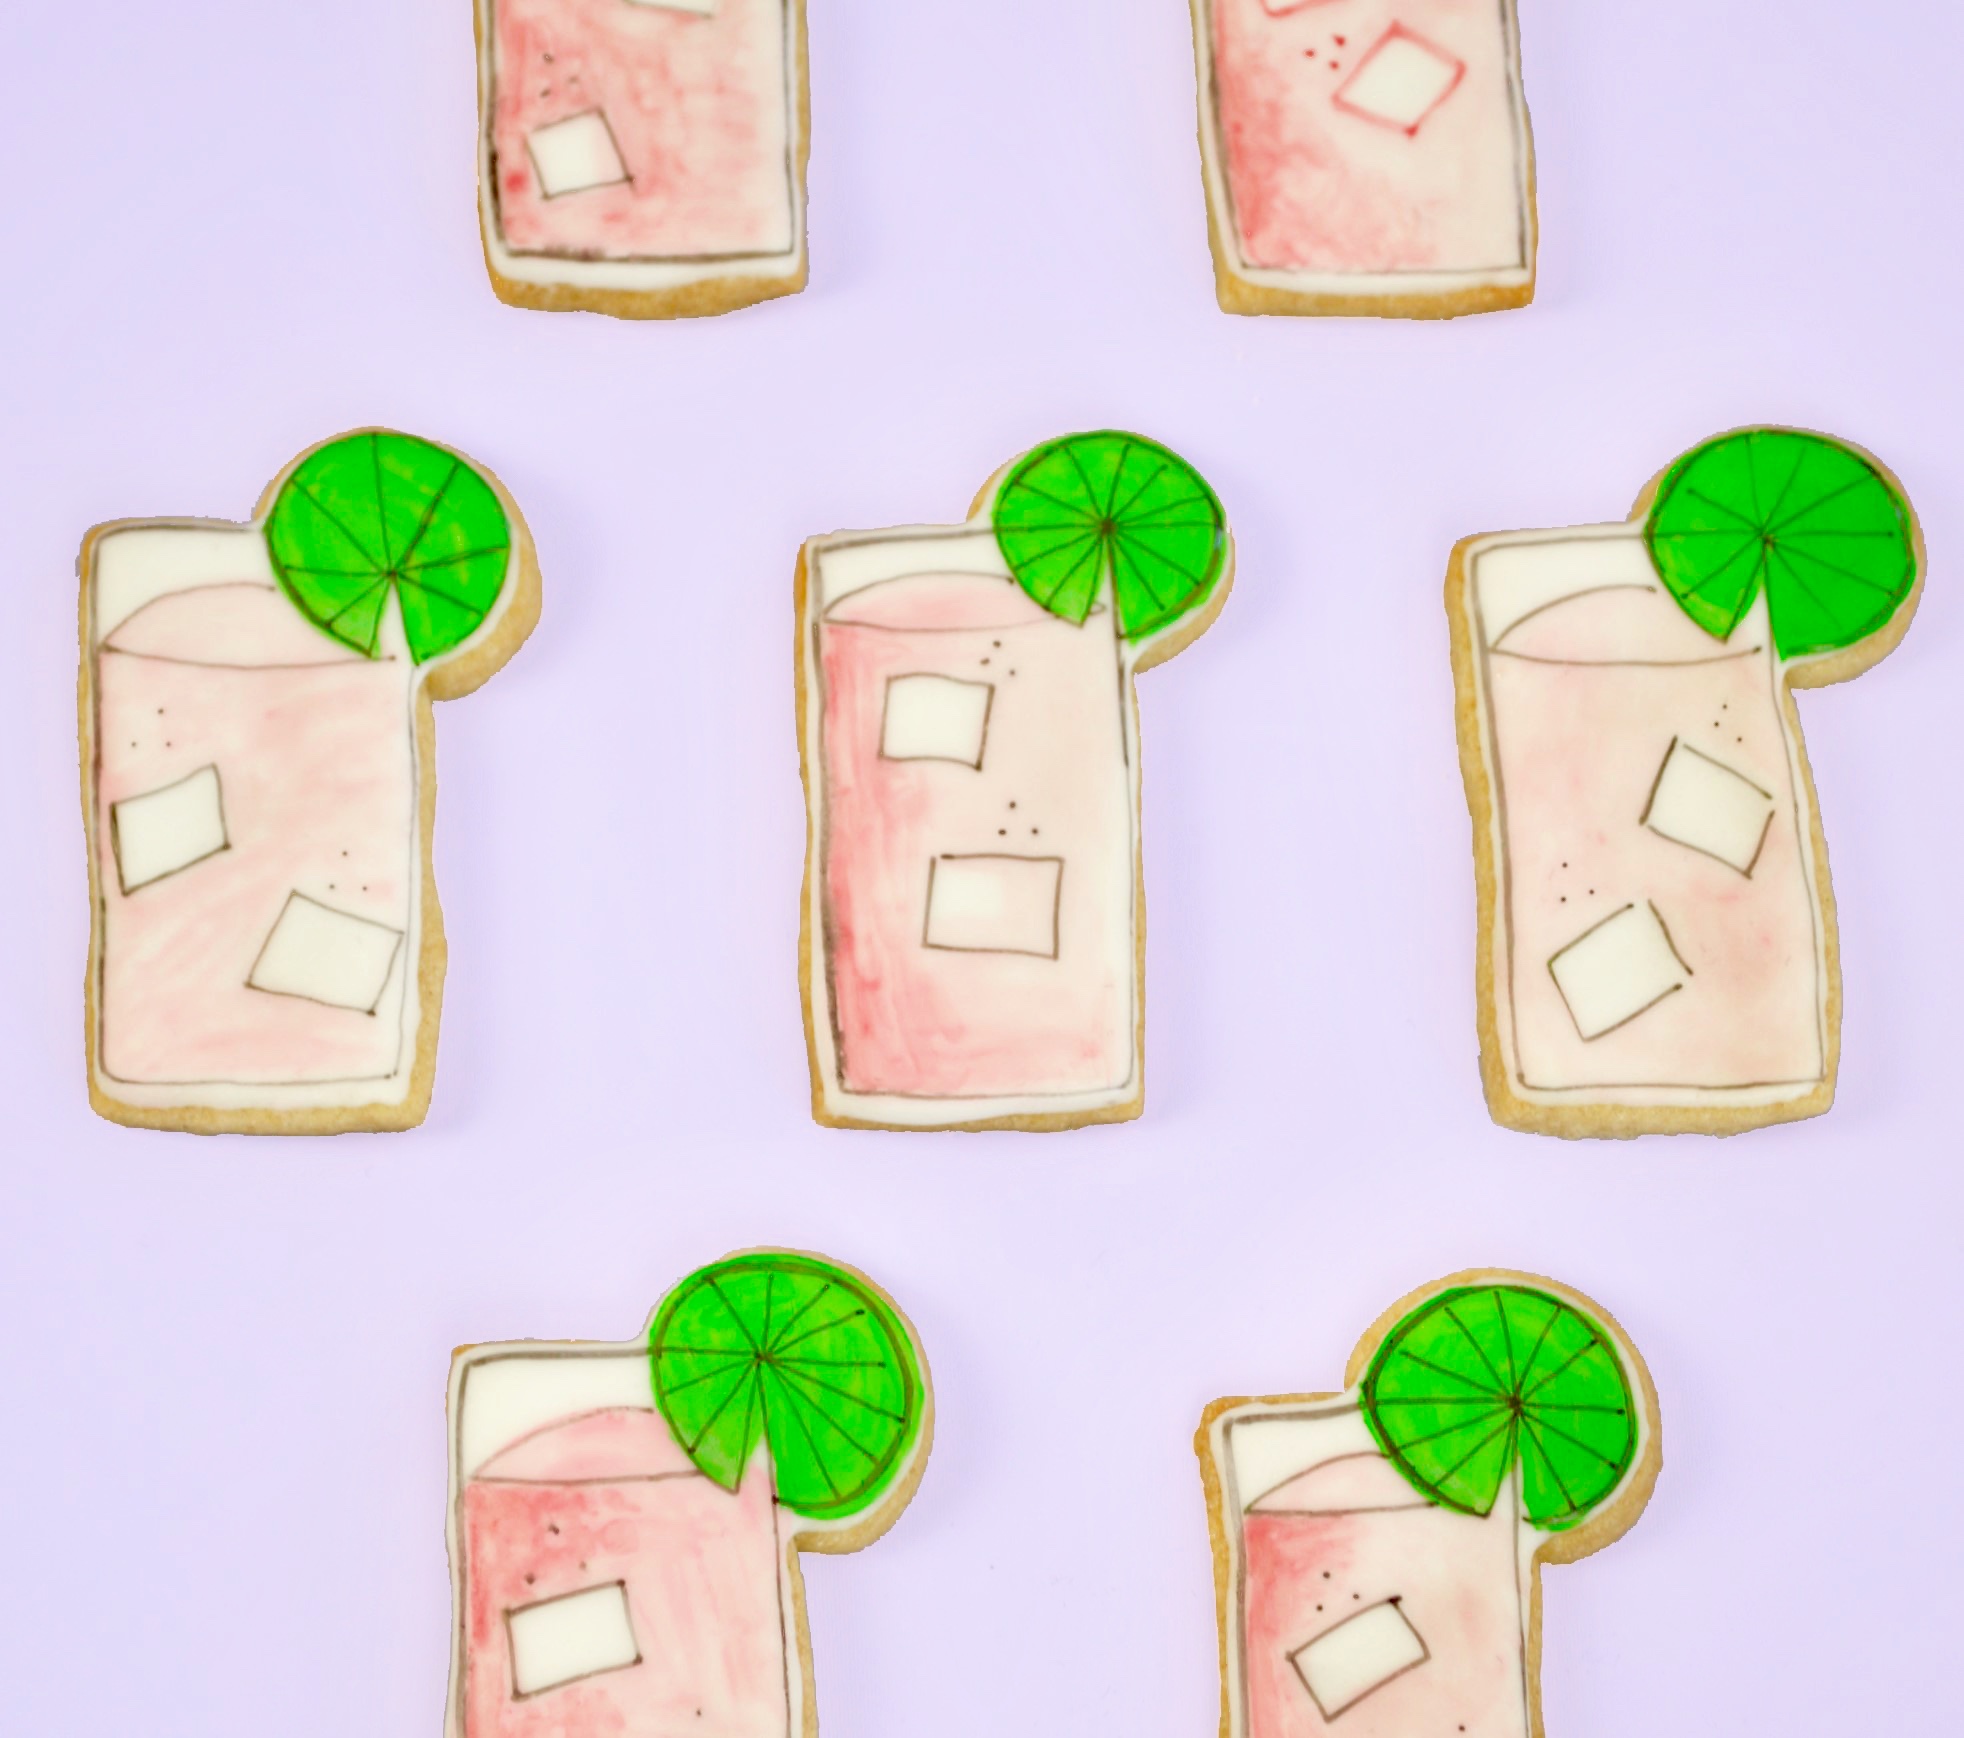
10. Lastly, the pink lemonade cocktail is a little trickier but not by much. Dilute the pink down until its very thin then paint it on, careful to leave 2 squares for the ice and a rounded gap at the top. Add a few dashes of concentrated colour at random points to give it a wee bit more depth making sure to blend them in. Leave the pink to dry completely then paint on a green circle for the lime slice. Careful to leave a little gap where it meets the glass. When the limes have dried, use an edible pen to outline the glass, drink, ice and limes. Finally add three little dots above each of the ice cubes cos we always need a bit fizz, you know?

And we’re done! So, are you addicted??

Sharing At