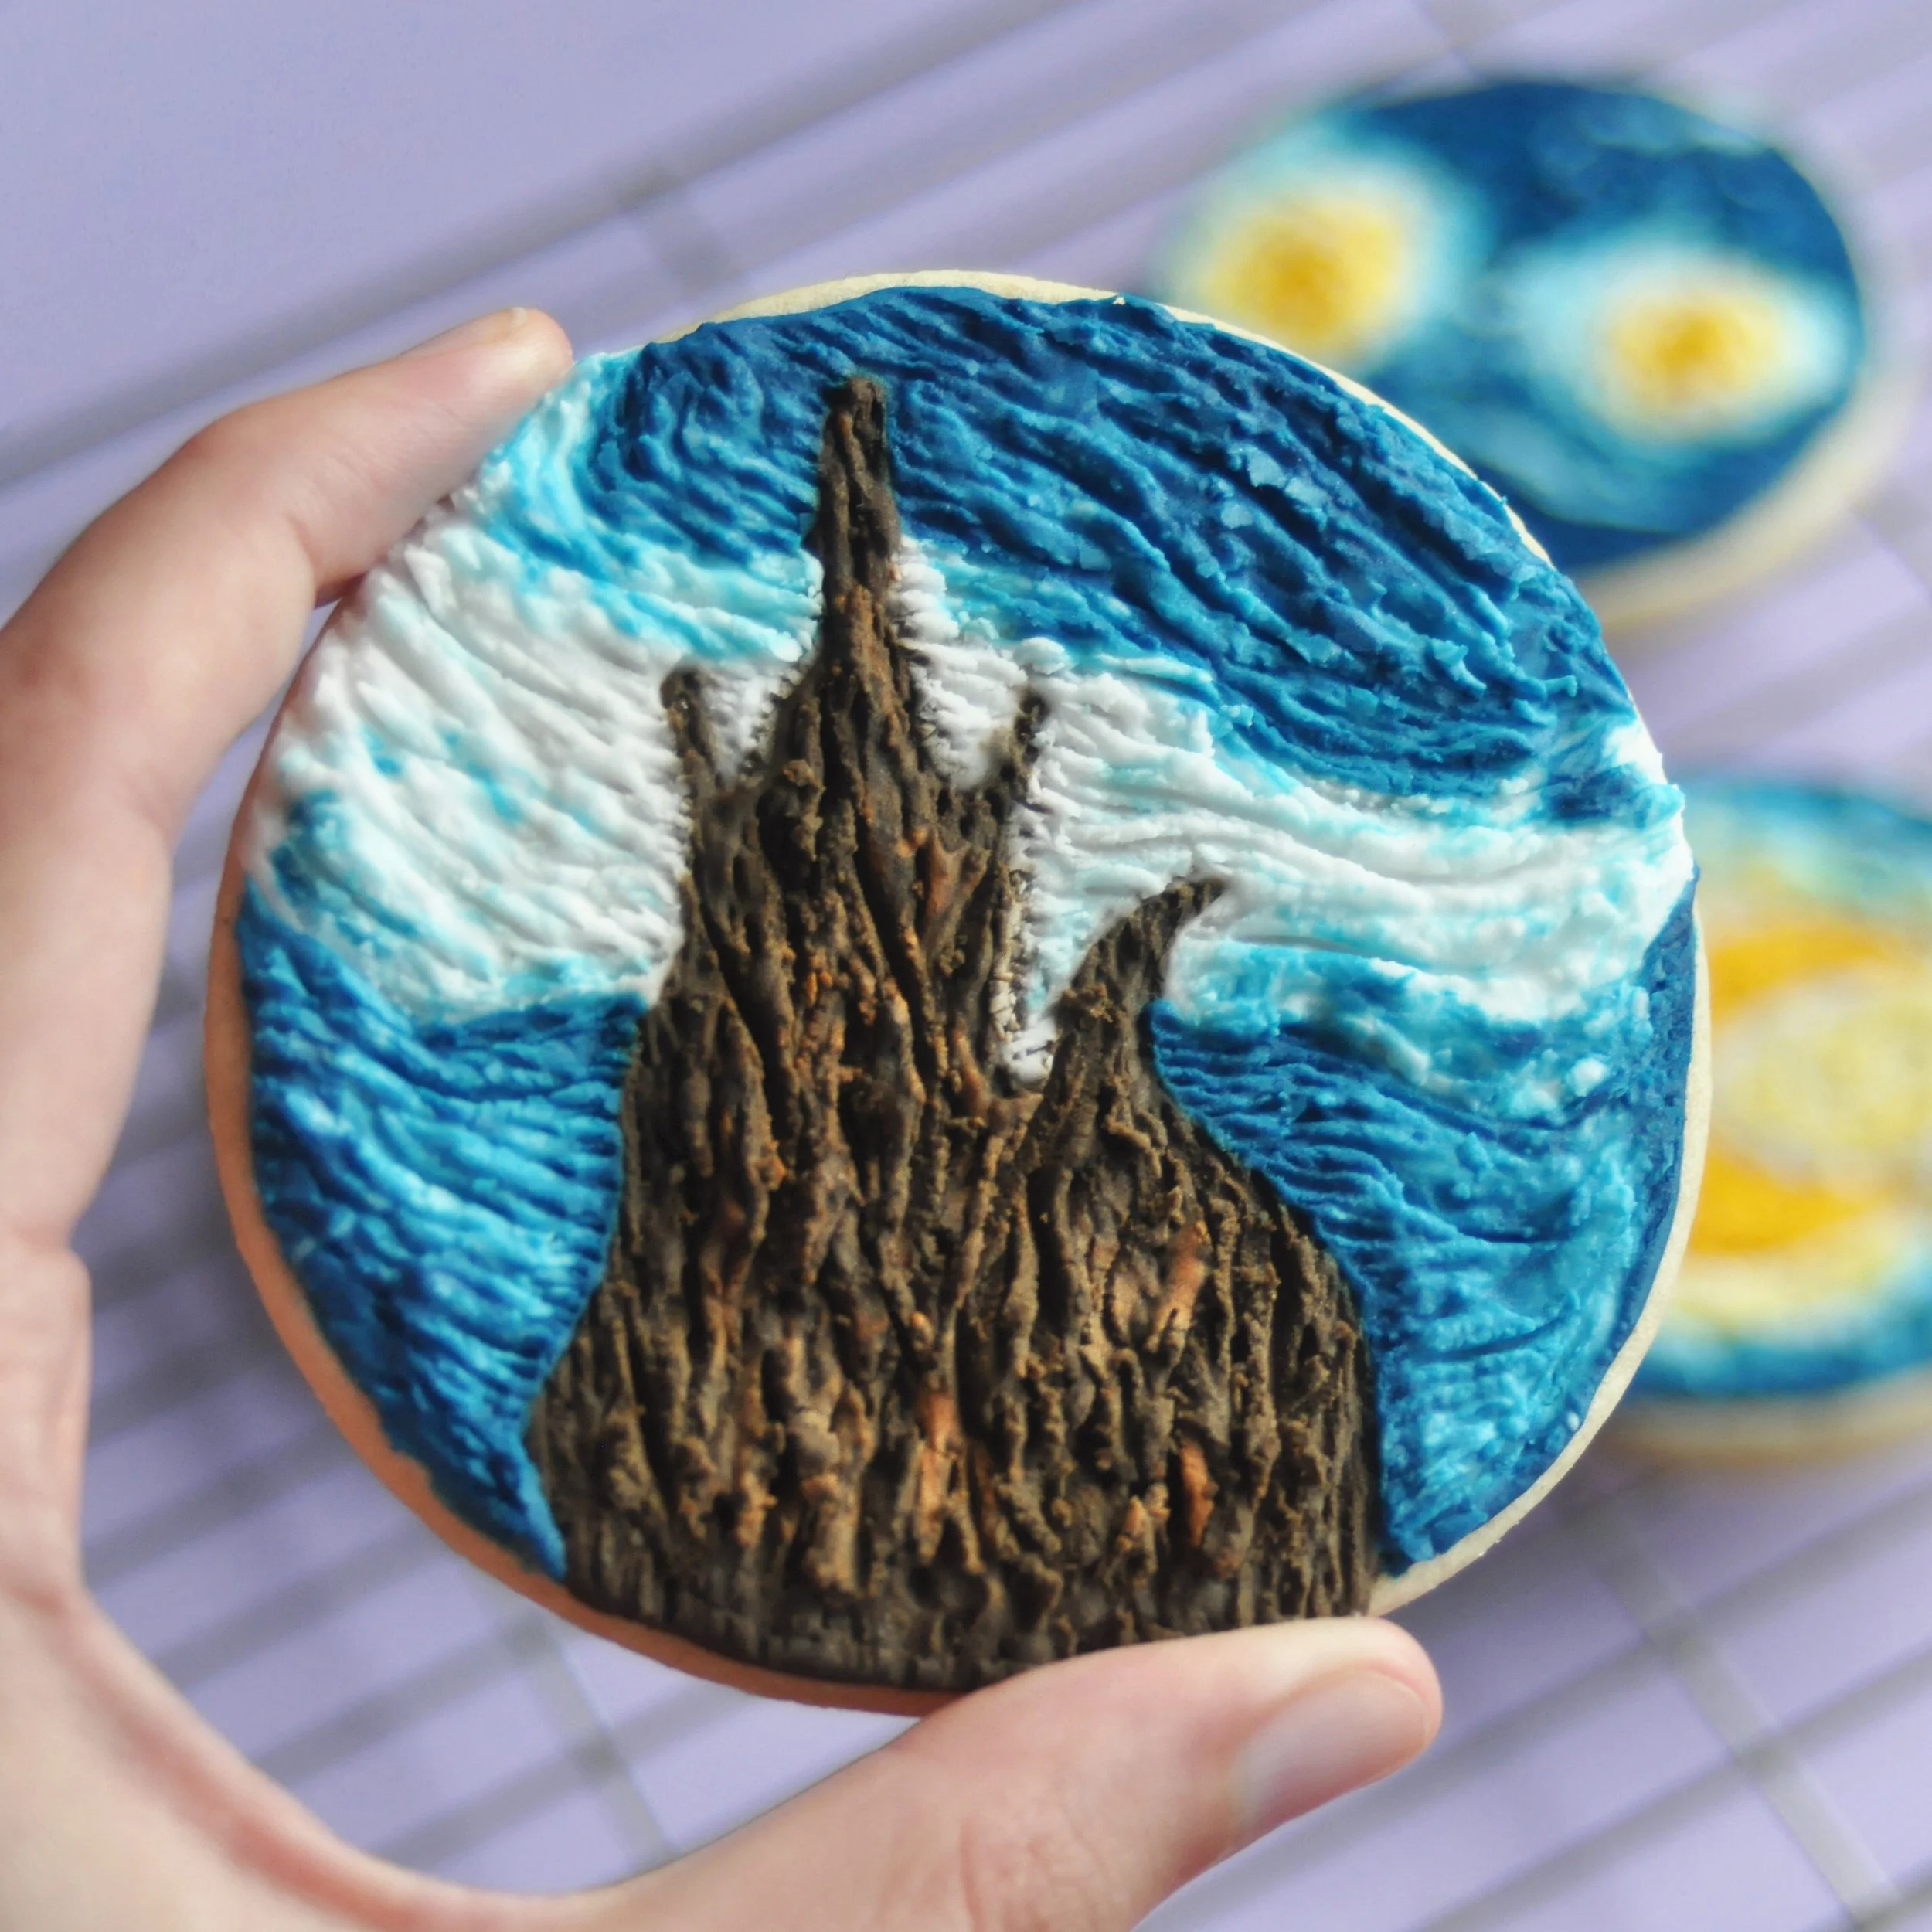
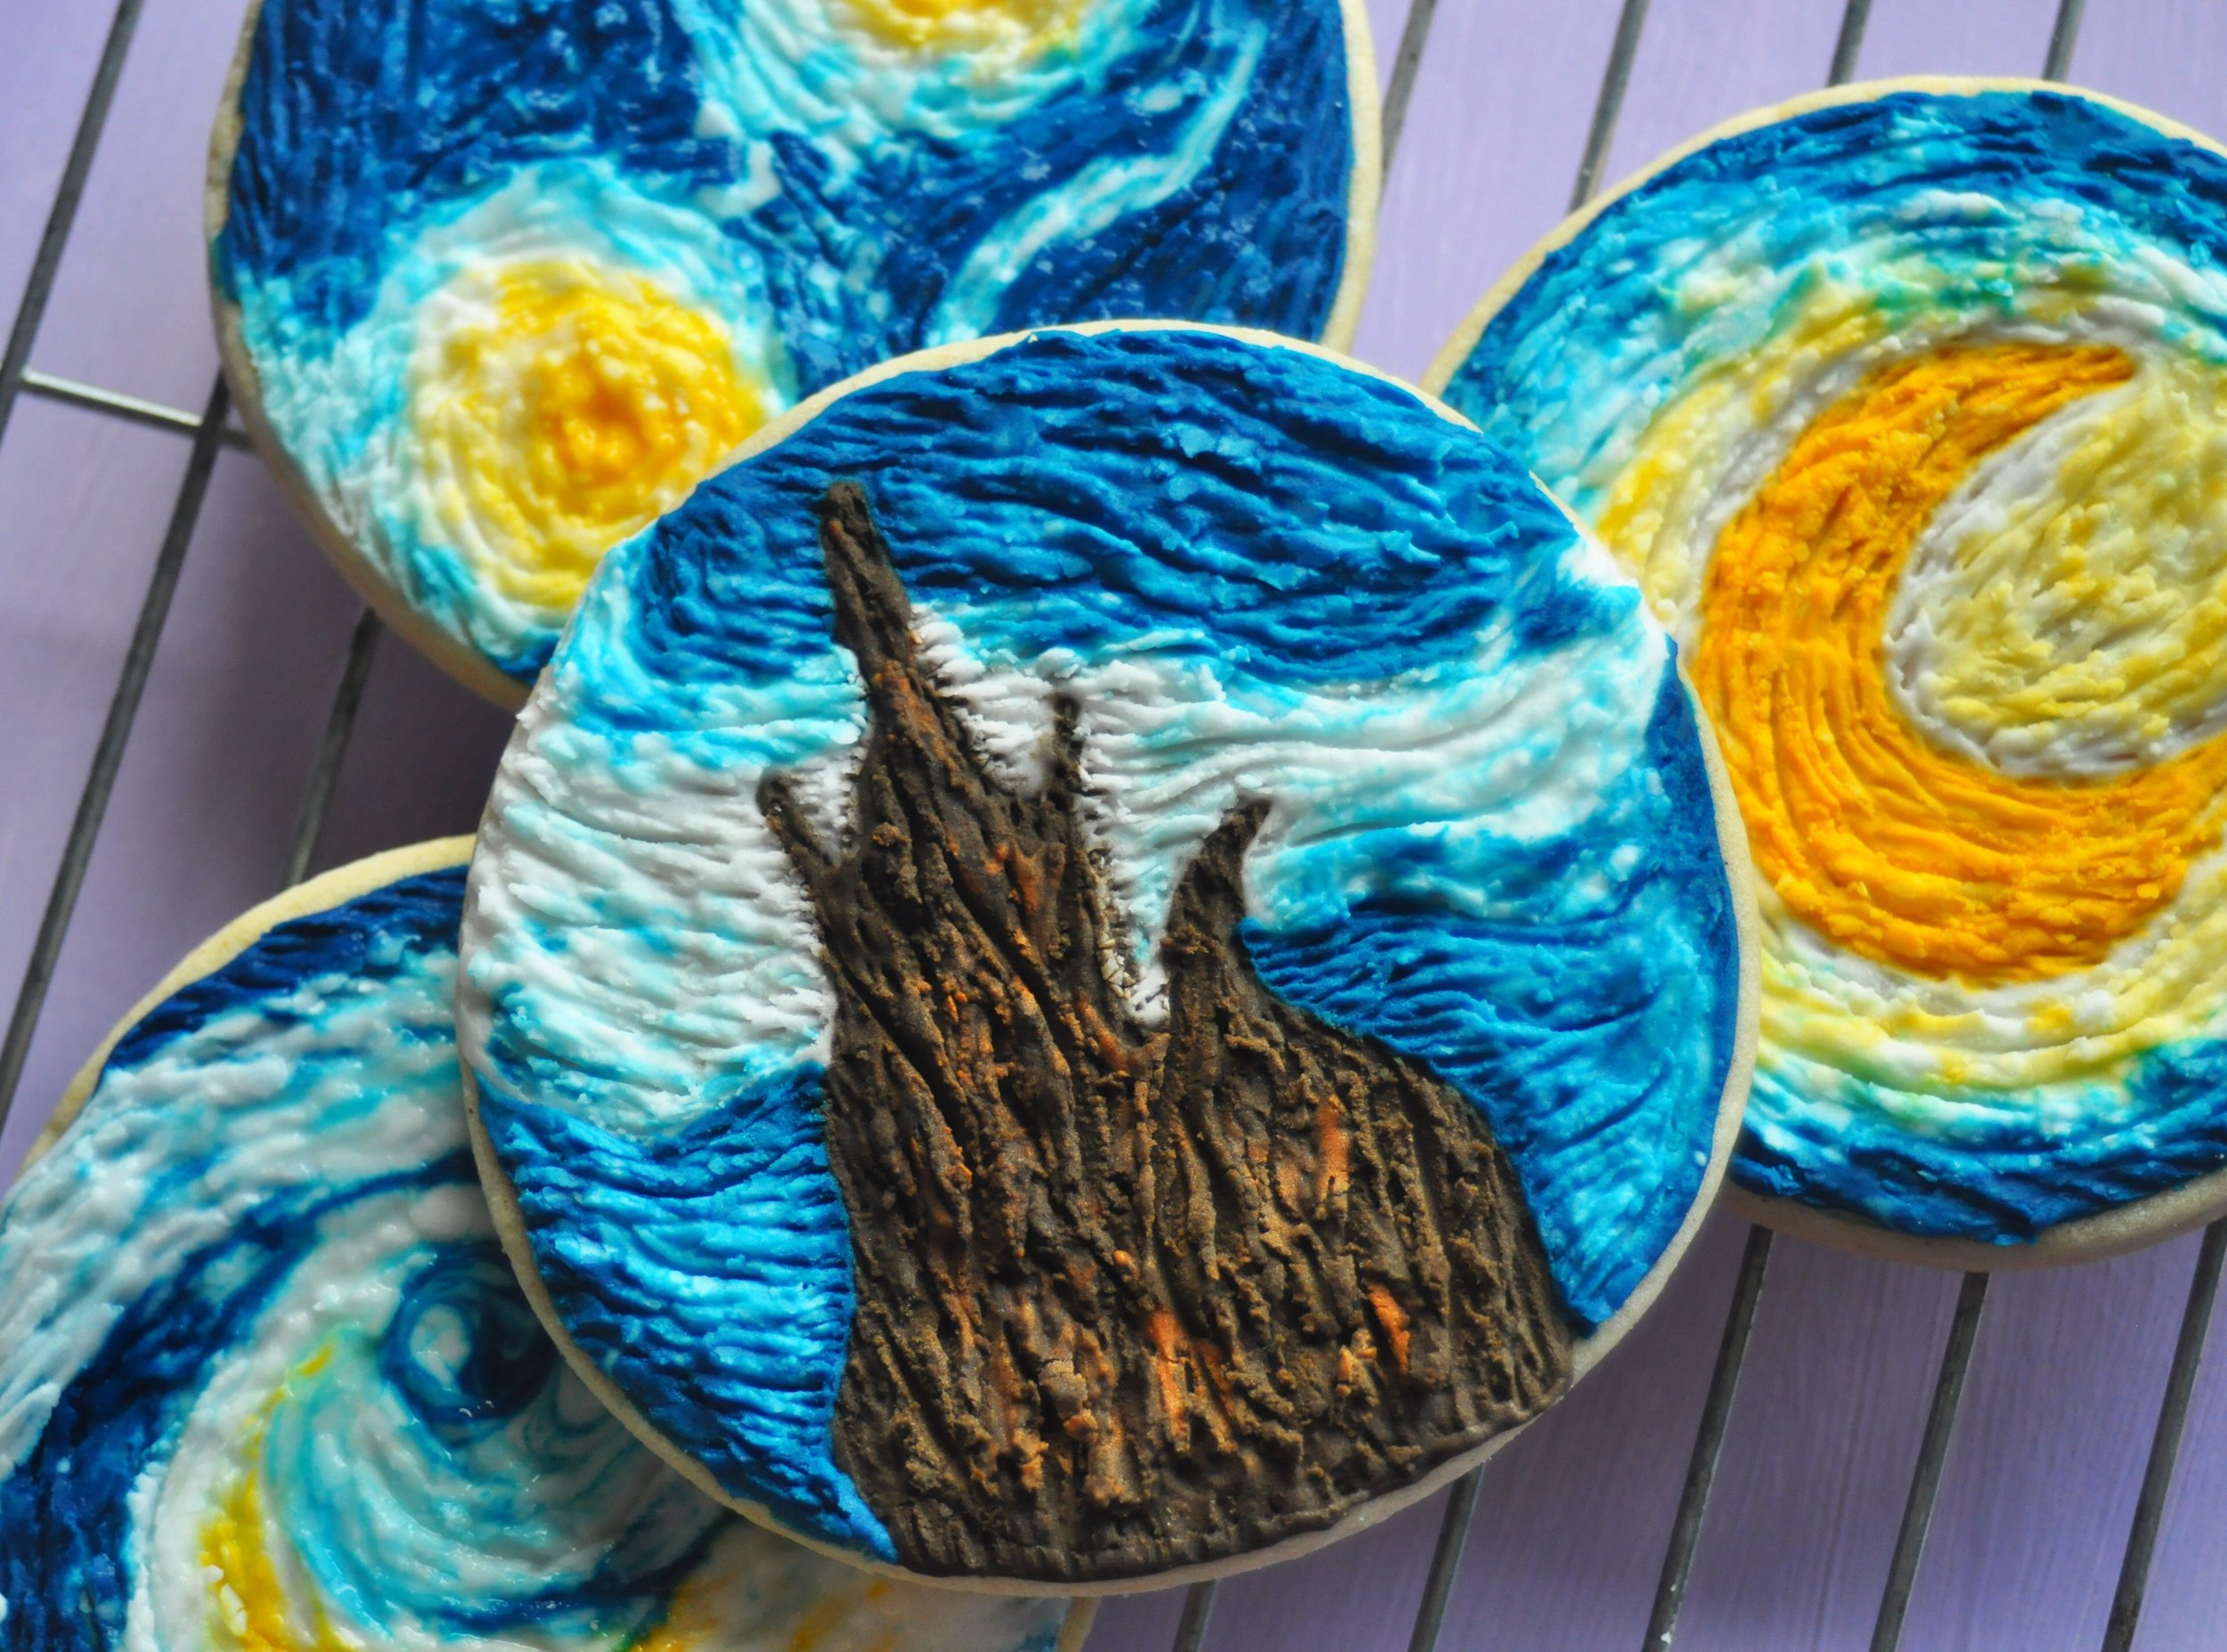
How To Make Van Gogh Inspired Cookies
The Starry Night cookies are something I knew I had to do when I decided on the art theme because this piece is just so amazing. I know what you’re thinking, “Amanda do you actually know any other art that the top 50 pieces of all time?” and it’s true, so far, I’ve been picking very popular works of art but they’re popular for a reason! Because they rock! And I especially love that Van Gogh is heralded as the genius he was these days after he had such a rough time when he was alive. I mean, you don’t lop off an ear because life is rainbows and roses. It’s probably also time that I address how much these projects are homages to great artists, it would be crazy for me to think I can take on these masters. I just wanna pay my respects in an edible manner.
So far, I’ve only been able to see ‘Irises’ in real life and I kid you not, I stood in the Getty for 20 minutes cursing under my breath for the group of art students in front of it to get out of my way. I mean they weren’t even looking at it, they were listening to a story about it. Which is great but if you wanna listen and not look find a better freaking location people! Hopefully, sometime this year I can make my first trip to New York to see ‘The Starry Night’ where I’m sure, there will be a gaggle of tourists I can get nippy with again.
If you’re a regular here you’ll notice that yet again instead of elaborate cookie piping I’m using texture to decorate. That’s because, if I’m honest, I absolutely suck at piping. No matter how many times I try I just can’t seem to stay inside the imaginary lines (which probably explains a lot about my life too). So instead of crying into my apron every night I just found a different method. I will keep persevering with the piping bag but in the mean-time, I’m also gonna enjoy this little trick.
What You'll Need
Cookies - makes 15-20
- 260g plain flour
- 100g butter
- 100g sugar
- 1 egg, lightly beaten
- 1 round cookie cutter
Icing
- 1 egg white (pasteurised)
- 4 cups icing sugar
- Food colouring; blue, yellow, red and black
- 1 needle/toothpick
Method
- Line a baking tray with parchment paper and preheat the oven to 190C
- Cream together 100g of butter and 100g of sugar with an electric whisk until it's pale and fluffy
- Add the egg slowly while still whisking, if it starts to split add a tbsp of the flour to help it come back together
- With a wooden spoon gradually add the flour until fully combined, be careful not to overwork the dough
- On a floured surface roll out the dough to 1/3 cm thickness and cut to shape with a cookie cutter
- Lay the cut dough on the lined baking tray and bake for 8-10 minutes
- Remove from the oven and leave to cool on the tray for 5 minutes before transferring to a wire rack
- In a bowl whisk the egg white until fluffy but not stiff
- Gradually whisk in the icing sugar
- When all the icing sugar is combined test the thickness by drawing a line through the centre of the icing. We need it to take 10 seconds for the line to disappear, if this is the case for you, great! If not, slowly add water and whisk until you reach a 10-second consistency
- Separate evenly into 4 separate bowls. Colour these until you have 4 varying shades of blue, 3 of brown and 2 of yellow and one plain white
- Its best to google image search the original piece so you have it to reference
- Pick one section of the painting per cookie and using the different colours, pipe the rough shapes you can see
- Immediately, using the needle swipe across the boundaries between the different colours to merge them
- Repeat this step for all the cookies
- Leave to dry for 30 minutes
- After 30 minutes the icing should be soft enough that you can leave little imprints with the needle
- If it hasn’t reached this stage yet leave it longer
- Once ready use the needle to push little indents into the cookie icing following the direction of the pattern
- It’s important that you press and don’t drag, each little imprint should be very short
- When you’re happy with the pattern add a few extra-long dashes to emphasise important areas
- Leave to dry fully and you’re done!
Now go dazzle you’re loved ones with your mad skills


