How To Make A Dali Inspired Decorated Cake

A Dali cake to kick off an art homage. I had to kick it off with Salvador Dali because when I was a kid and absolutely did not fit in at school, the art department was my refuge. And it was in the paintings of Dali I discovered that weird can be pretty magical and maybe I shouldn’t be so ashamed of mine. I remember one day, in particular, my art teacher Miss Craig (actual legend), brought in a selection of cream cakes for the kids who stayed back after school, except we couldn’t eat them until we painted them. I opted to be inspired by Dali and painted my chocolate éclair appearing out of the sky borne by clouds. Now I realise of course that it wasn’t so much profound as it was simply fuelled by my childish desire for the sky to start raining cakes. Raining men? No thank you. Raining cakes? Sign me up!

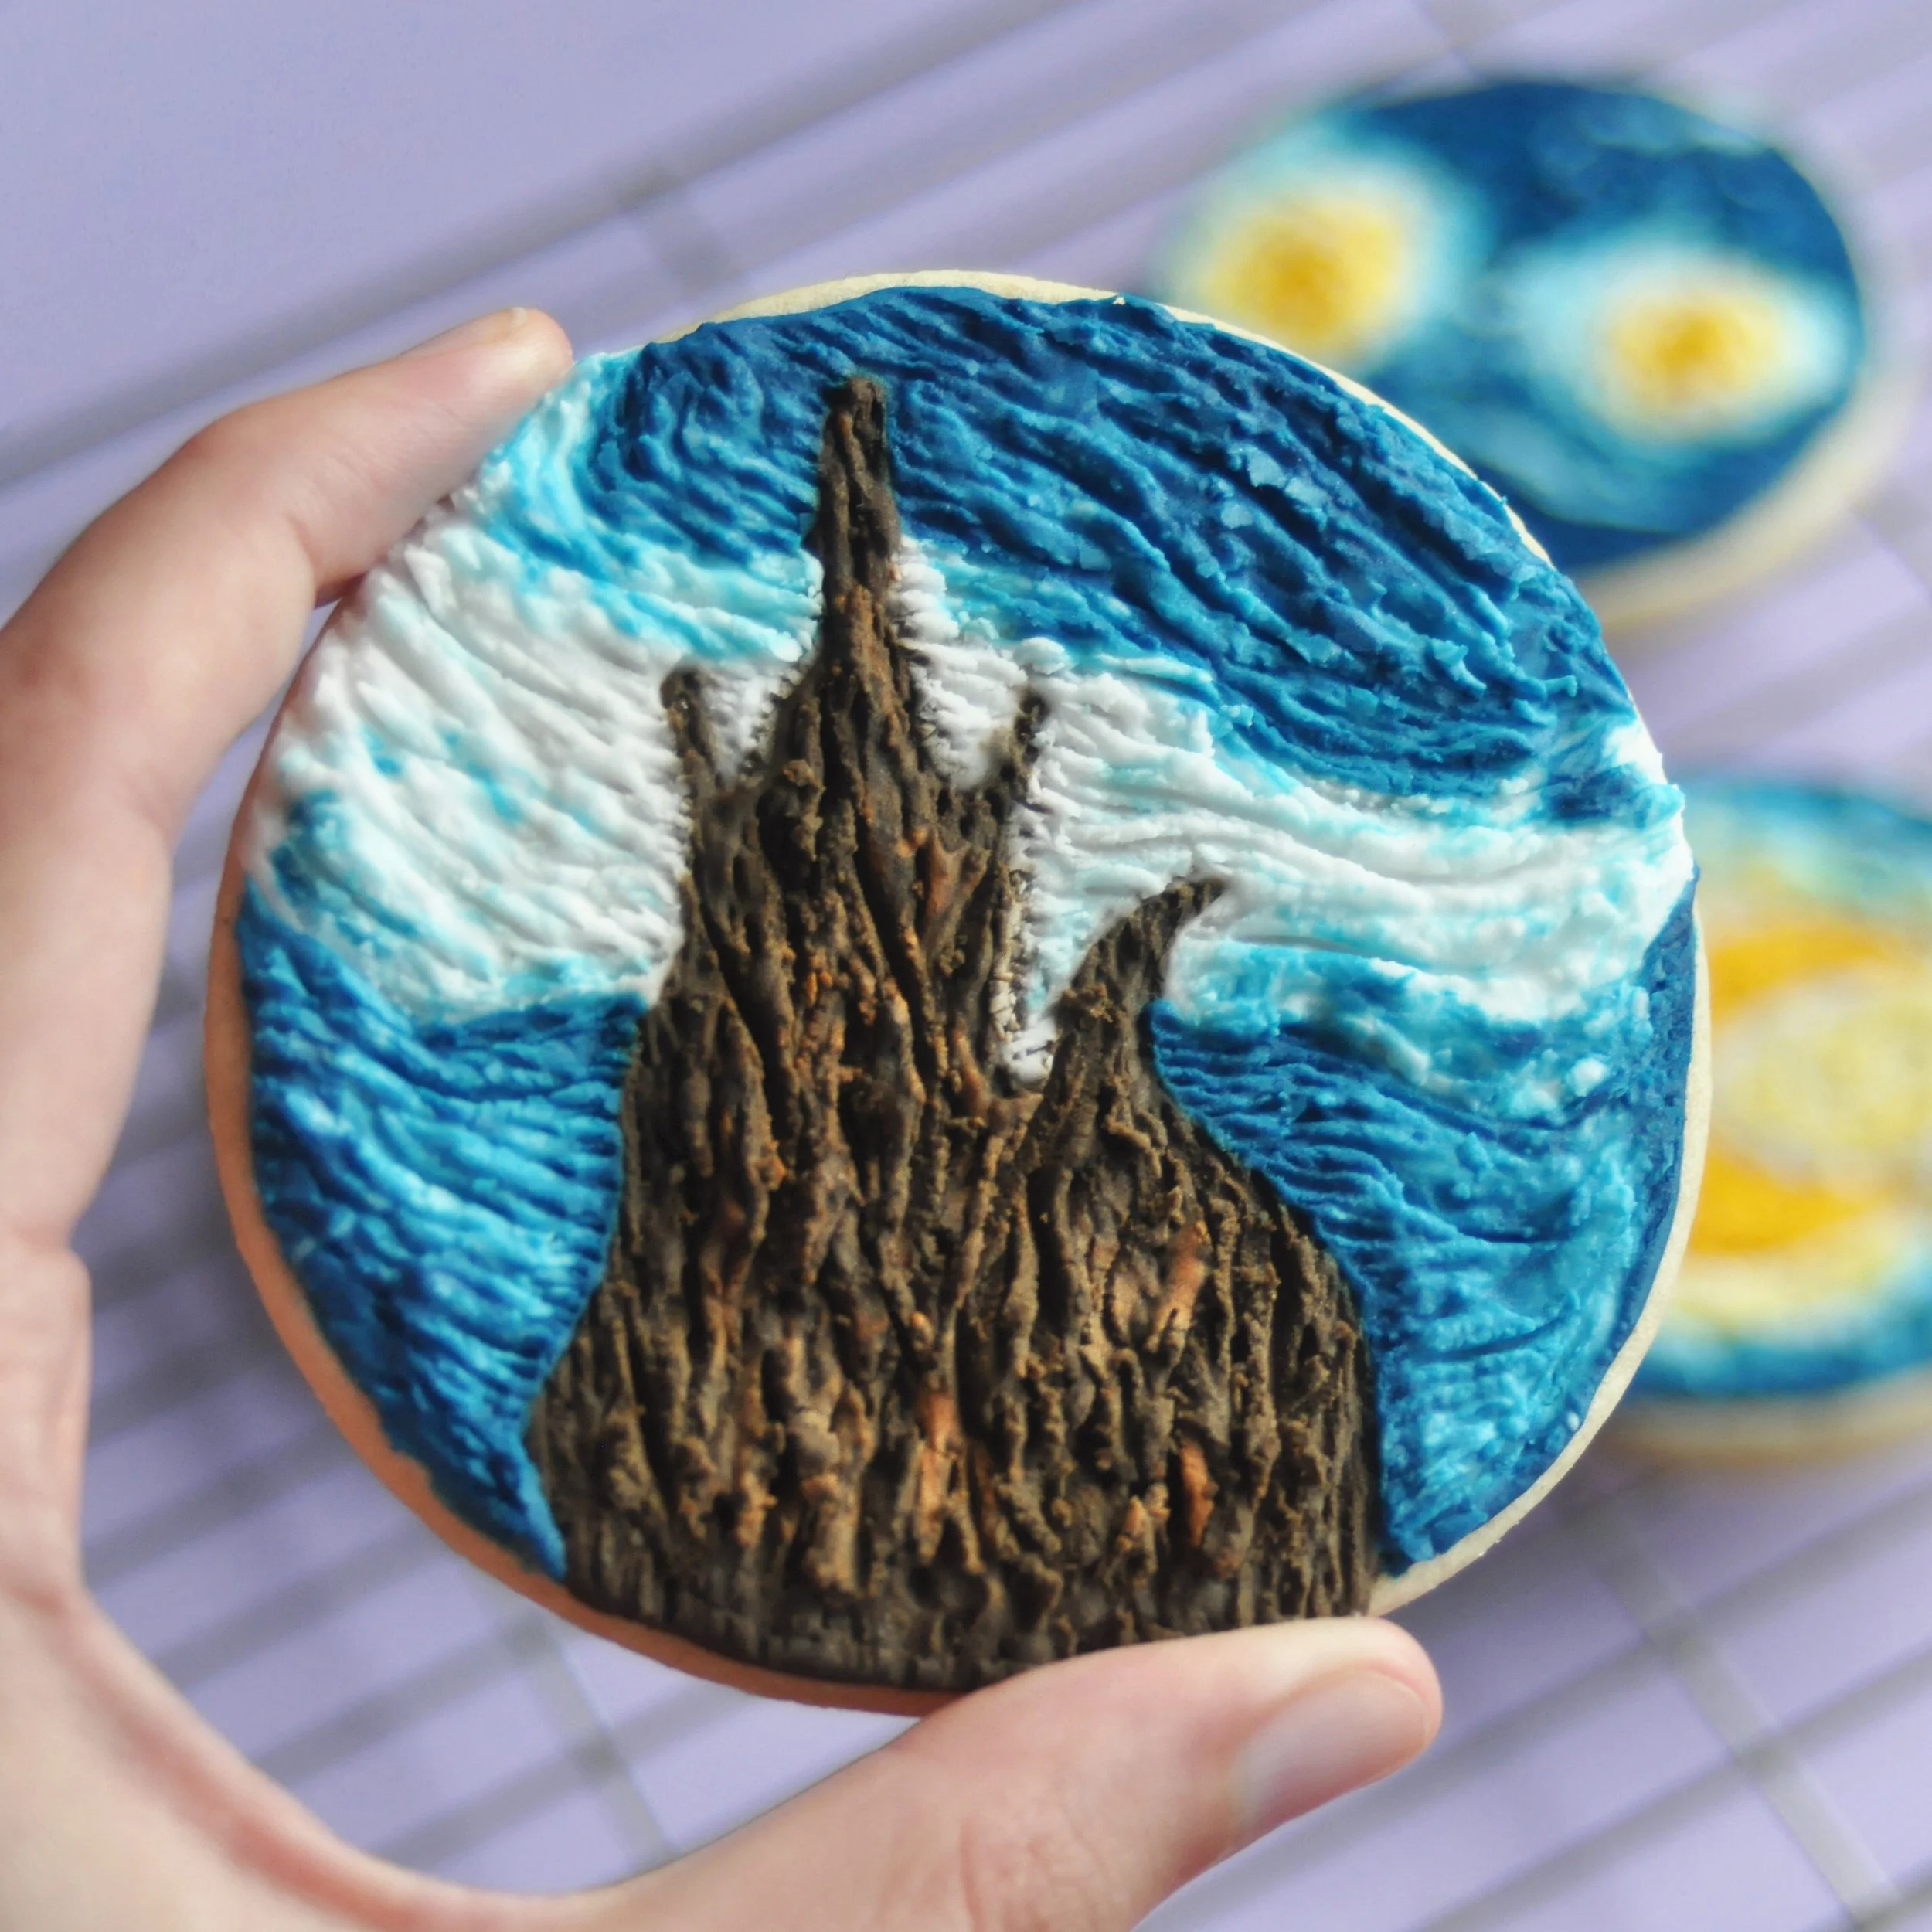
I eventually landed on his ‘The Persistence of Memory’ piece because to me it’s his most iconic and it seemed rather fitting since Dali’s work fills me with childhood memories of finding my place in the world inside a deserted art room.

Ok, no more reminiscing, let’s get cooking.
What You'll Need
Sponge
- 16 oz of self-raising flour
- 16 oz of butter or marg
- 16 oz of sugar
- 8 eggs
- 8 inch cake pan
Decoration
- 500g fondant icing
- Food colouring – blue, yellow, red, black
- 200g dark chocolate
- 50g milk chocolate
- 1 dowel, preferably bamboo
- 1 wooden BBQ skewer
- Edible glue
- 1 paintbrush (for food use only)
- 3 cups butter
- 7 cups icing sugar
- 1 cup of jam
- A splash of clear alcohol (vodka or gin)
Method
- Line an 8-inch cake pan with parchment paper and preheat the oven to 180C
- In a bowl combine 4 oz each of sf flour, sugar and butter, 2 eggs and 3 tbsp of hot water (from the kettle) with an electric whisk until smooth
- Bake for 30-35 mins or until a skewer comes out clean from the centre
- Remove from the oven and leave to cool in the pan for 5 mins before transferring to a wire rack upside down
- When cool, wrap in cling film and place in the freezer overnight
- Repeat until you have 4 sponges
- Placing in the freezer is crucial, it allows the frosting to harden quickly during the decorating process meaning it won’t bulge out the sides
- Take the barbecue skewer and cut into 4 equal pieces. Match into pairs and glue the pairs together using edible glue so that they are twice as thick. Leave to dry
- When dry, glue (edible glue) the pairs together to form a bent branch shape like this

- Leave to dry again and then glue (edible glue) to a piece of dowel, roughly 2 ½ inches from the top. Leave to dry
- When dry, sculpt a small piece of fondant to fit the join between the dowel and the skewer to create a slanted joint rather than a straight one. Leave to one side

- Melt 50g of dark chocolate over a bain-marie and when melted, cover the wooden structure. Leave a space at the bottom roughly 2 ½ inches. This naked end will go inside the cake. Leave to dry in the fridge. When covering the dowel with chocolate I found it easiest to place a large piece of cling film under the tree and pour the chocolate on top. Then, you can mould the cling film into a rounded shape while the chocolate dries
- Continue melting the chocolate in 50g batches and coating the tree until you're happy with the shape. Leave to dry in the fridge
- After 10 minutes the chocolate should be hard but not entirely solid. Carefully, using a sharp knife, carve the chocolate to better match the shape in Dali’s painting. Don’t panic, this isn’t difficult I promise and if you do make a mistake melt more chocolate and re-cover it

- When you’re happy with the shape melt 25g of milk chocolate and brush onto the sides of the tree with a paintbrush to create a more realistic look
- Leave to dry in the fridge
- The next day remove all 4 sponges from the freezer, unwrap and place on the worktop to the side
- In a large bowl combine 3 cups of butter and 7 cups of icing sugar. Each brand of butter absorbs liquid is slightly different so you may need a little more or a little less icing sugar. It should be easy to spread but not too soft
- Dab a little frosting on a plate or cake board and place the first sponge on top. If it isn’t entirely flat on top then use a knife to even it out
- Add a thin layer of frosting and jam to the top and then layer another sponge. Repeat until all sponges are stacked with a layer of frosting and jam inside and a flat top
- Ensure all sides are straight and even then place the cake in the fridge for at least 30 mins. This allows the frosting to stiffen and the cake will be more stable and easier to decorate
- Remove from the fridge and apply a thin layer of frosting to all sides and across the top. Even the frosting with a palette knife, making sure it's smooth on all sides
- Return to the fridge for at least 30 mins
- Split the remaining frosting in half, placing each into separate bowls
- Colour one bowl dark blue
- Split the remaining bowl in half, colour one half yellow
- Split the remaining uncoloured frosting in half again. Colour one pale blue and one brown

- Apply to the cake in the following order, brown at the bottom, then pale blue, then yellow, then dark blue
- Using a palette knife smooth the frosting
- Take a small teaspoon and pull up each colour into the one above slightly at 1 cm intervals
- Smooth around again with the palette knife. This allows the colour change to be more gradual and blended. Return the cake to the fridge. Keep any spare frosting that comes off during the smoothing process
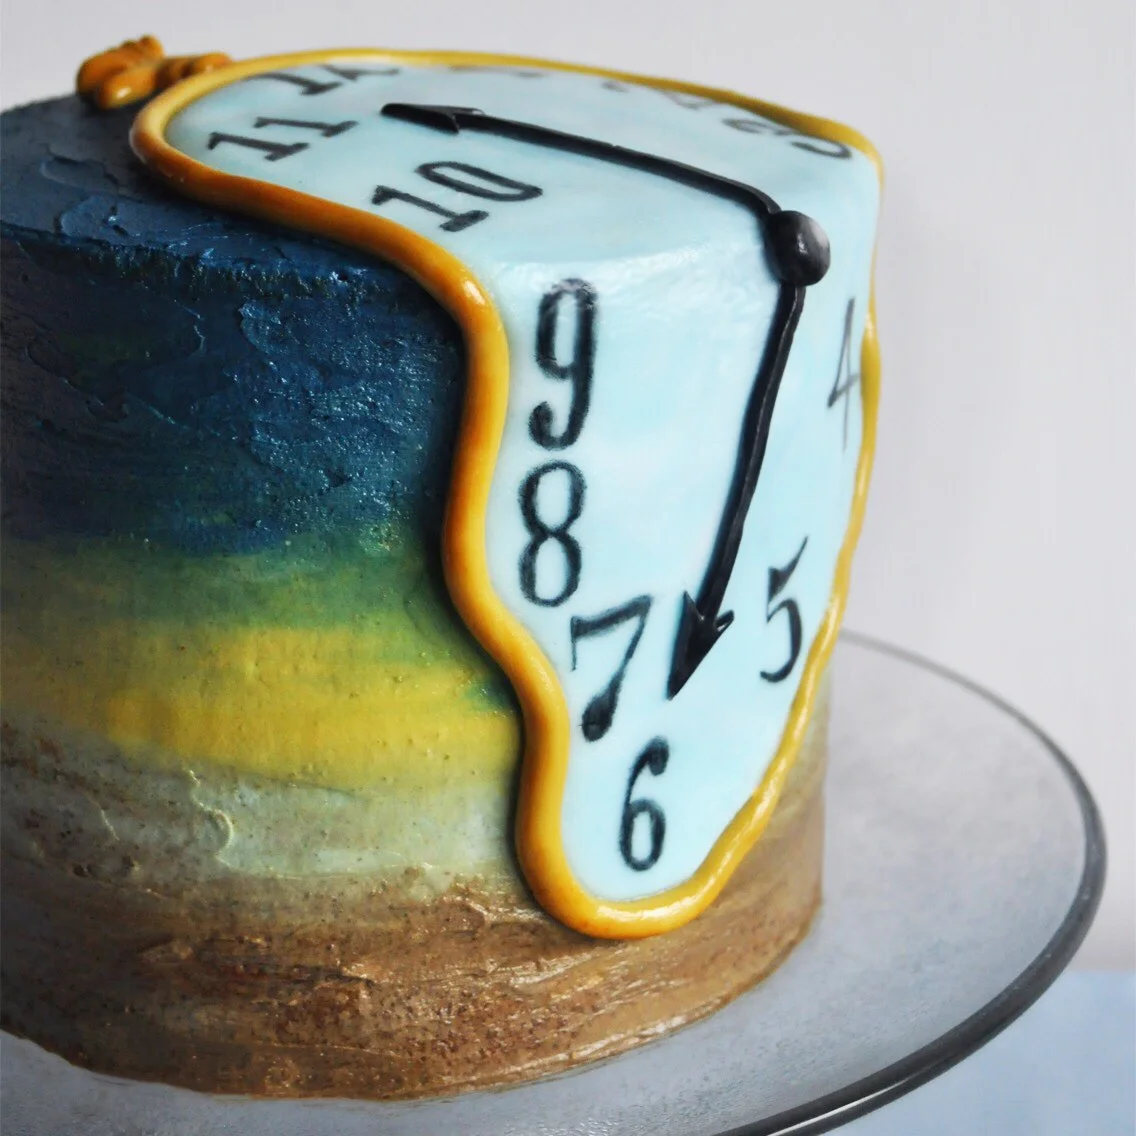
- Colour a portion of fondant, roughly the size of a golf ball, pale blue. When the colour is even, add another golf ball sized piece of white fondant. Knead these together until you have a marbled effect. When kneading ensure that your hands are always coated in a thin layer of margarine or butter, this will stop the fondant cracking
- Roll out until the fondant is 1/3 cm thick and cut into a melted clock shape. Store the excess cuttings for later
- Colour a piece of fondant the size of a golf ball golden yellow by mixing tiny drops of red and blue into the yellow colouring. Be careful with the colour, you can always add more but you can never remove it
- Roll this into a rounded strip ½ cm in diameter

- Wet the edges of the clock face and attach the golden strip around the edge. You should have some excess, mould this to place at the top of the clock as the turner

- Gently rub a little butter into any places of the clock face that will bend when attached to the cake to stop it cracking
- Remove the cake from the fridge and attach the clock to the front with a little leftover frosting from earlier
- With a strip of kitchen paper blot the surface of the clock to remove any excess liquid
- Using a mixture of clear alcohol (I used gin but vodka is great too) and black food colouring paint on the clock numbers. Rather than fully mix these I put a splash of gin in the bottom of a shot glass and dab food colouring around the rim. Wet the paint brush in gin, tap off the excess and then dip into the food colouring to paint. If you haven’t attempted this before it’s best to practice first but if you do make a mistake, carefully blot with straight alcohol and then dab off with a piece of kitchen paper, this should lift the stain if done immediately
- Colour a small piece of frosting black for the clock hands, cut into shape and attach to the cake with a little water
- I created the light reflection in the centre by rubbing in a very small piece of white fondant with wet hands and smoothing off the excess


- To add depth to the clock, mix a little brown food colouring and paint the outer of edges and ridges of the golden parts using the same alcohol technique as before. It’s best to practice first on a scrap piece of fondant to check the colour before painting the cake
- Place the chocolate tree behind the clock to the right, push the dowel in and then pull back out
- Melt the remaining milk chocolate and transfer to a piping bag, cut a small hole in the bottom
- Pipe a little chocolate into the hole you just created and then, push the tree dowel back in. Return to the fridge for the chocolate to harden and provide a stable base to hold the tree
- After 15 minutes chilling, pipe and smooth the rest of the chocolate around the base of the tree to make the join look more organic
- Return to the fridge
- With buttered hands, colour a small piece of fondant dark grey, roll out very thin and cut into a small clock shape. Feel free to make yours bigger than mine, it’s the one thing in retrospect I really wish I had done differently
- Using the leftover marbled fondant from earlier roll and cut a piece the same shape as the grey one but slightly smaller
- Attach this on top of the grey piece with a little gin
- Use your fingers to roll the grey edges in, creating a rounded outline
- With the same technique as earlier paint on clock numbers. I painted on the hands too however, if I were to do it again with a bigger clock I would make these from black fondant but it’s entirely up to you which route you take
- Drape this smaller clock over the tree branch at a slight angle and you’re done!

Store the cake in the fridge when you can and enjoy!