

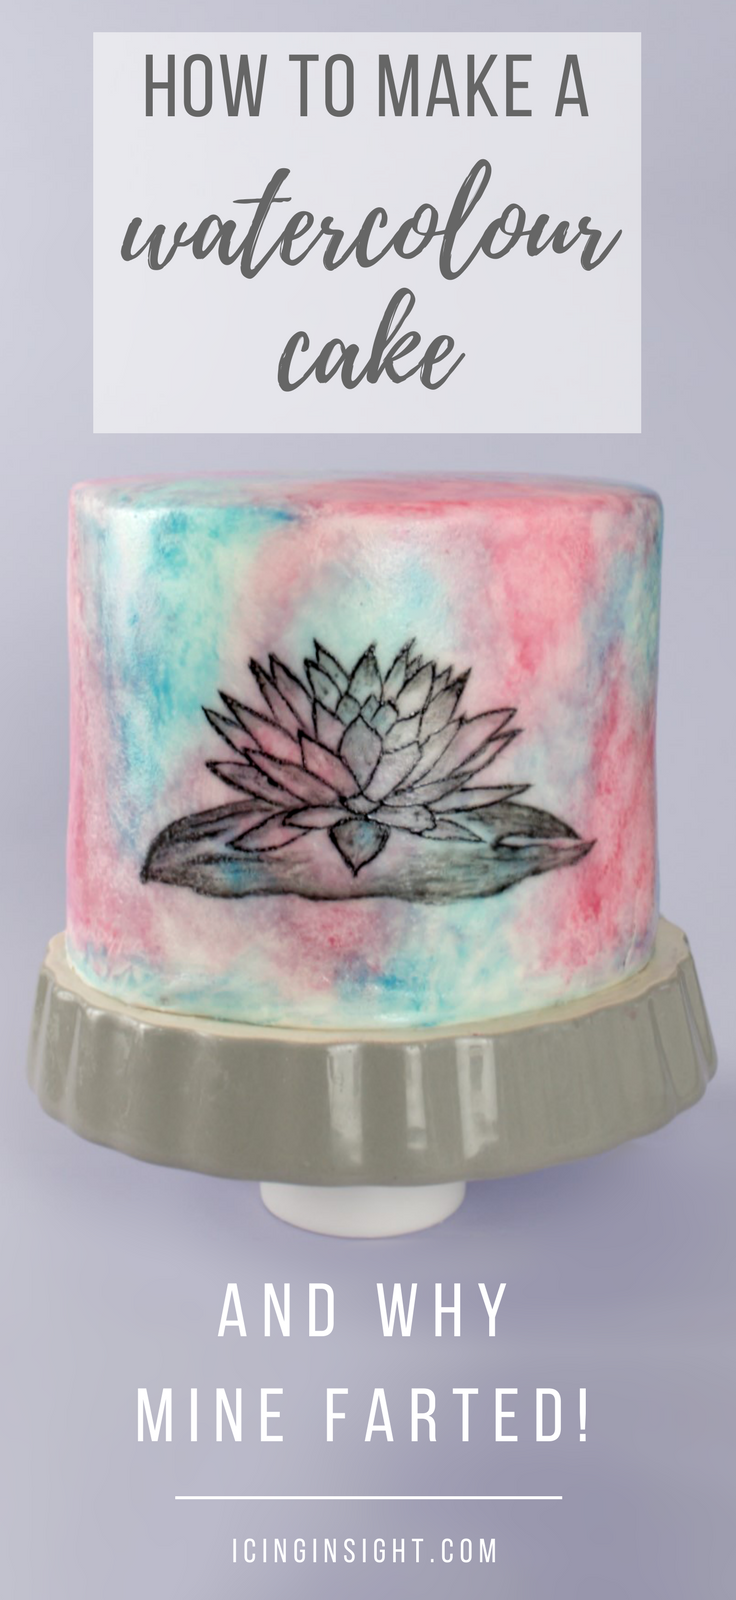
My Watercolour Cake Farted
Alongside making a watercolour cake, this week I got to learn all about cake farts. Cake farts. How is that even a thing? Well, I hate to break it to you, but it is. I found this out, to my horror, when I covered my cake with fondant, left it to dry and the next day found a giant air bubble. Not the little kind you get inside fondant, a great, big, giant ball on the side of my cake. It turns out buttercream filled cakes don’t like changing temperature and when they do, they release gas! Boak! And because the entire cake was covered the gas had nowhere to go. It was forced to blow my cake up like a balloon instead of escaping. What a bloody nightmare! The only thing for it was to pop it. Armed with a sterilised needle and my trusty fondant smoothers I surprise attacked it from the side then pushed the air out through the tiny hole with my smoothers. Thankfully it was all fine in the end but my surprise still hasn’t dimmed. I mean, come on! Cake farts! Farting cakes! How is this a thing?? Cakes are supposed to be above such embarrassments not using them to give me a freaking heart attack. From now on, I think I’ll stick to ganache apparently, it’s made of stronger stuff thank buttercream.
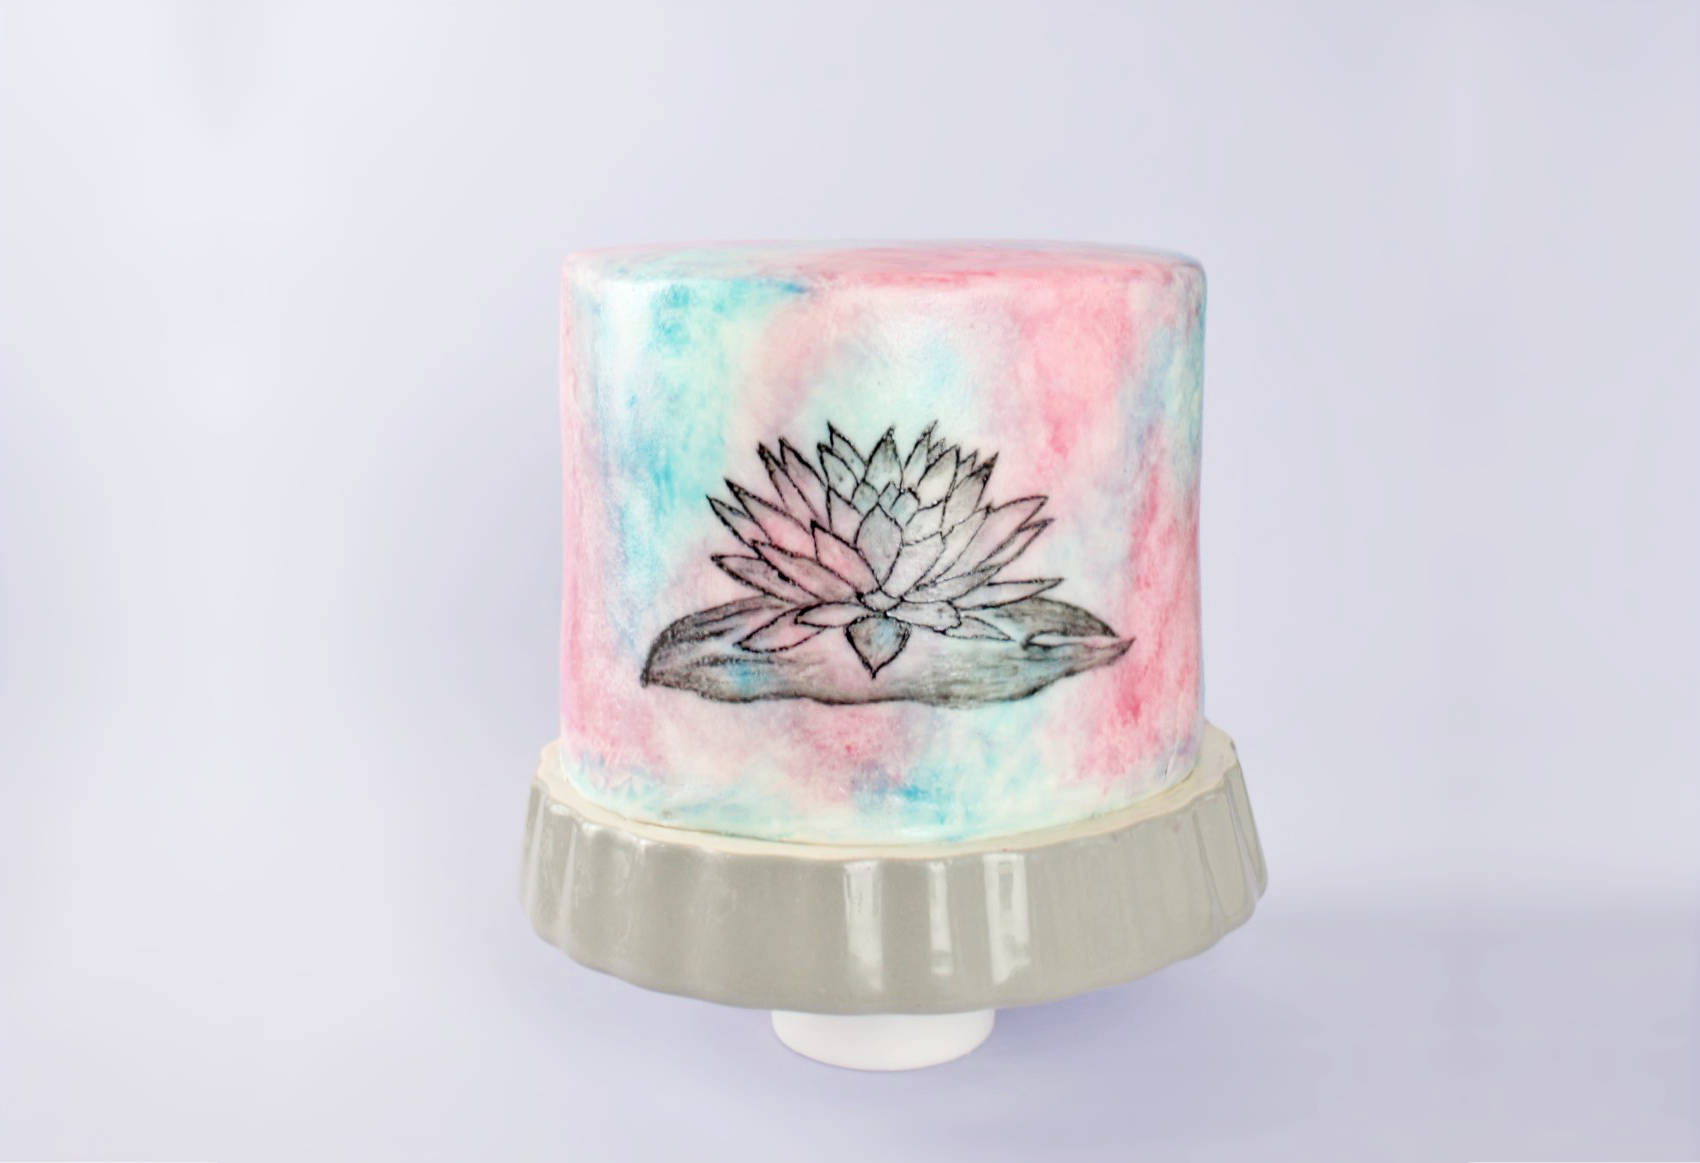
Aside from the fart, I reached a little milestone this week. Believe it or not, this was my first fully covered fondant cake. I’ve always found the idea of it really daunting and my designs don’t usually call for it, so I’ve just been avoiding facing that particular fear. But, after last weeks post on my Fave 5 food bloggers, I couldn’t get the Sweetness and Bite watercolour cake out of my head. I really wanted to incorporate something similar into this week’s cake which meant I had to learn the dreaded full cake cover. Luckily for me, there are loads of great resources and YouTube videos available to help. I used a combo of CakesByLynz and Rosie’s Dessert Spot they have great advice if you’re in the same place as me. My edges aren’t quite as sharp as theirs but for a first attempt, I’m feeling pretty good about myself. And, it only took 2 attempts until I was happy with it which I’m taking as a win. *pats self on back for cheap ego boost

When it was covered, I imagined this cute, little, white bunny in the centre of the watercolour but as usual, it didn’t work out like that. Turns out, my bunny was just too cute. For me anyway, I’m sure a lot of people would have loved her but it made my butt cringe. I got my paints out, covered the white and dissolved in a panic about what could possibly go on and finish this cake. There was a lot of Pinteresting. My sister suggested I do a water lily and I shut her down so bad. Like condescending teenager shut her down. I’m such an ass sometimes but I had flashbacks to my attempts at water lily cupcakes for art month which were a total fail and it struck a nerve. You know the one? I suck at everything, I hate my life. That kind. I’d forgotten though that I have learned a cheat for painting onto cakes which is completely different to ‘artfully’ smearing fondant. Once I got over myself, I pulled out the parchment paper and got to work. Still haven’t apologised to my sister though. Told you I was an ass.
Ingredients
10 oz light brown sugar
23oz butter
10oz self-raising flour
5 eggs (lightly beaten)
2 tbsp mixed spice
1 tbsp cinnamon
Pinch of black pepper
Pinch of dried chilli
26oz icing sugar
Splash of lemon juice
1 kg white fondant
Food colouring, black, blue and pink
Method
- Line two, 6-inch cake pans with parchment paper and preheat the oven to 180°C
- Cream together 10oz light brown sugar and 10oz butter until pale and fluffy. Gradually whisk in 5 eggs until fully combined. Sift in 10oz self-raising flour, 2tbsp mixed spice, 1 tbsp cinnamon and a pinch each of black pepper and dried chilli. Gently fold together.
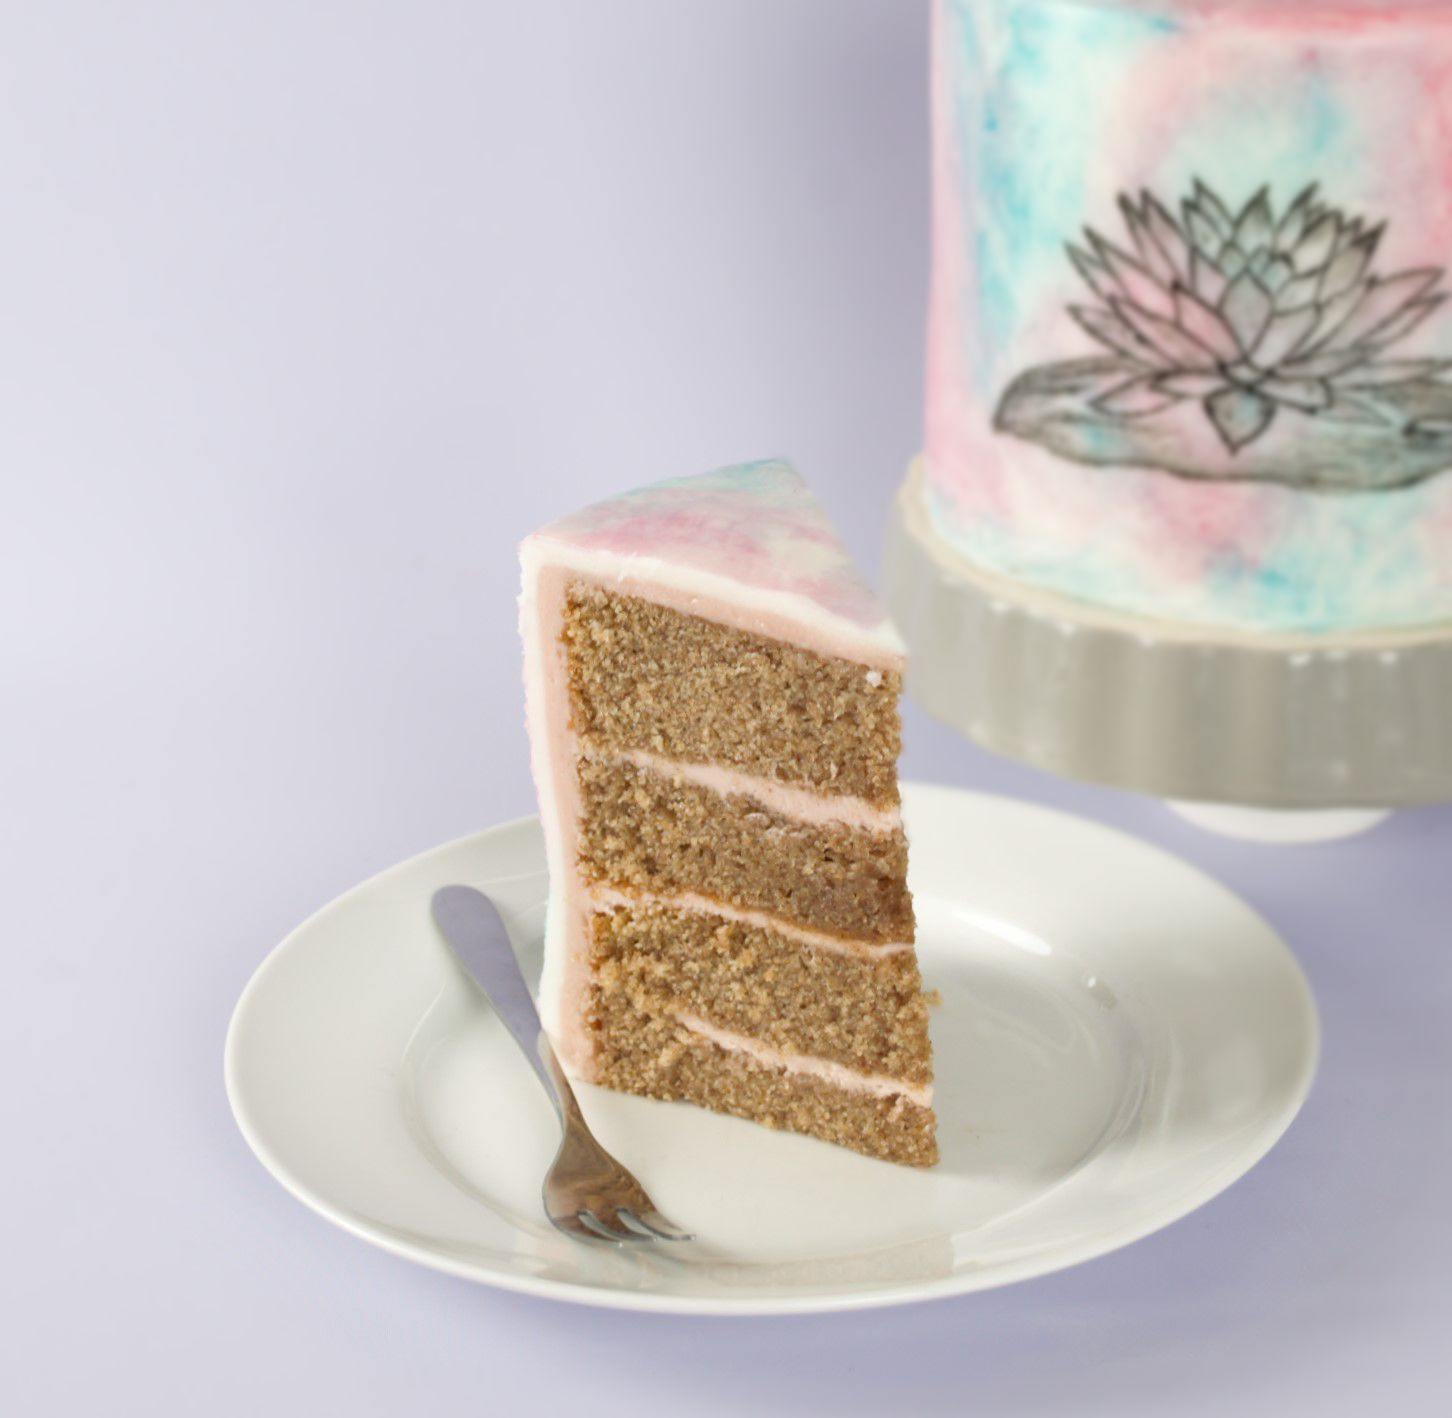
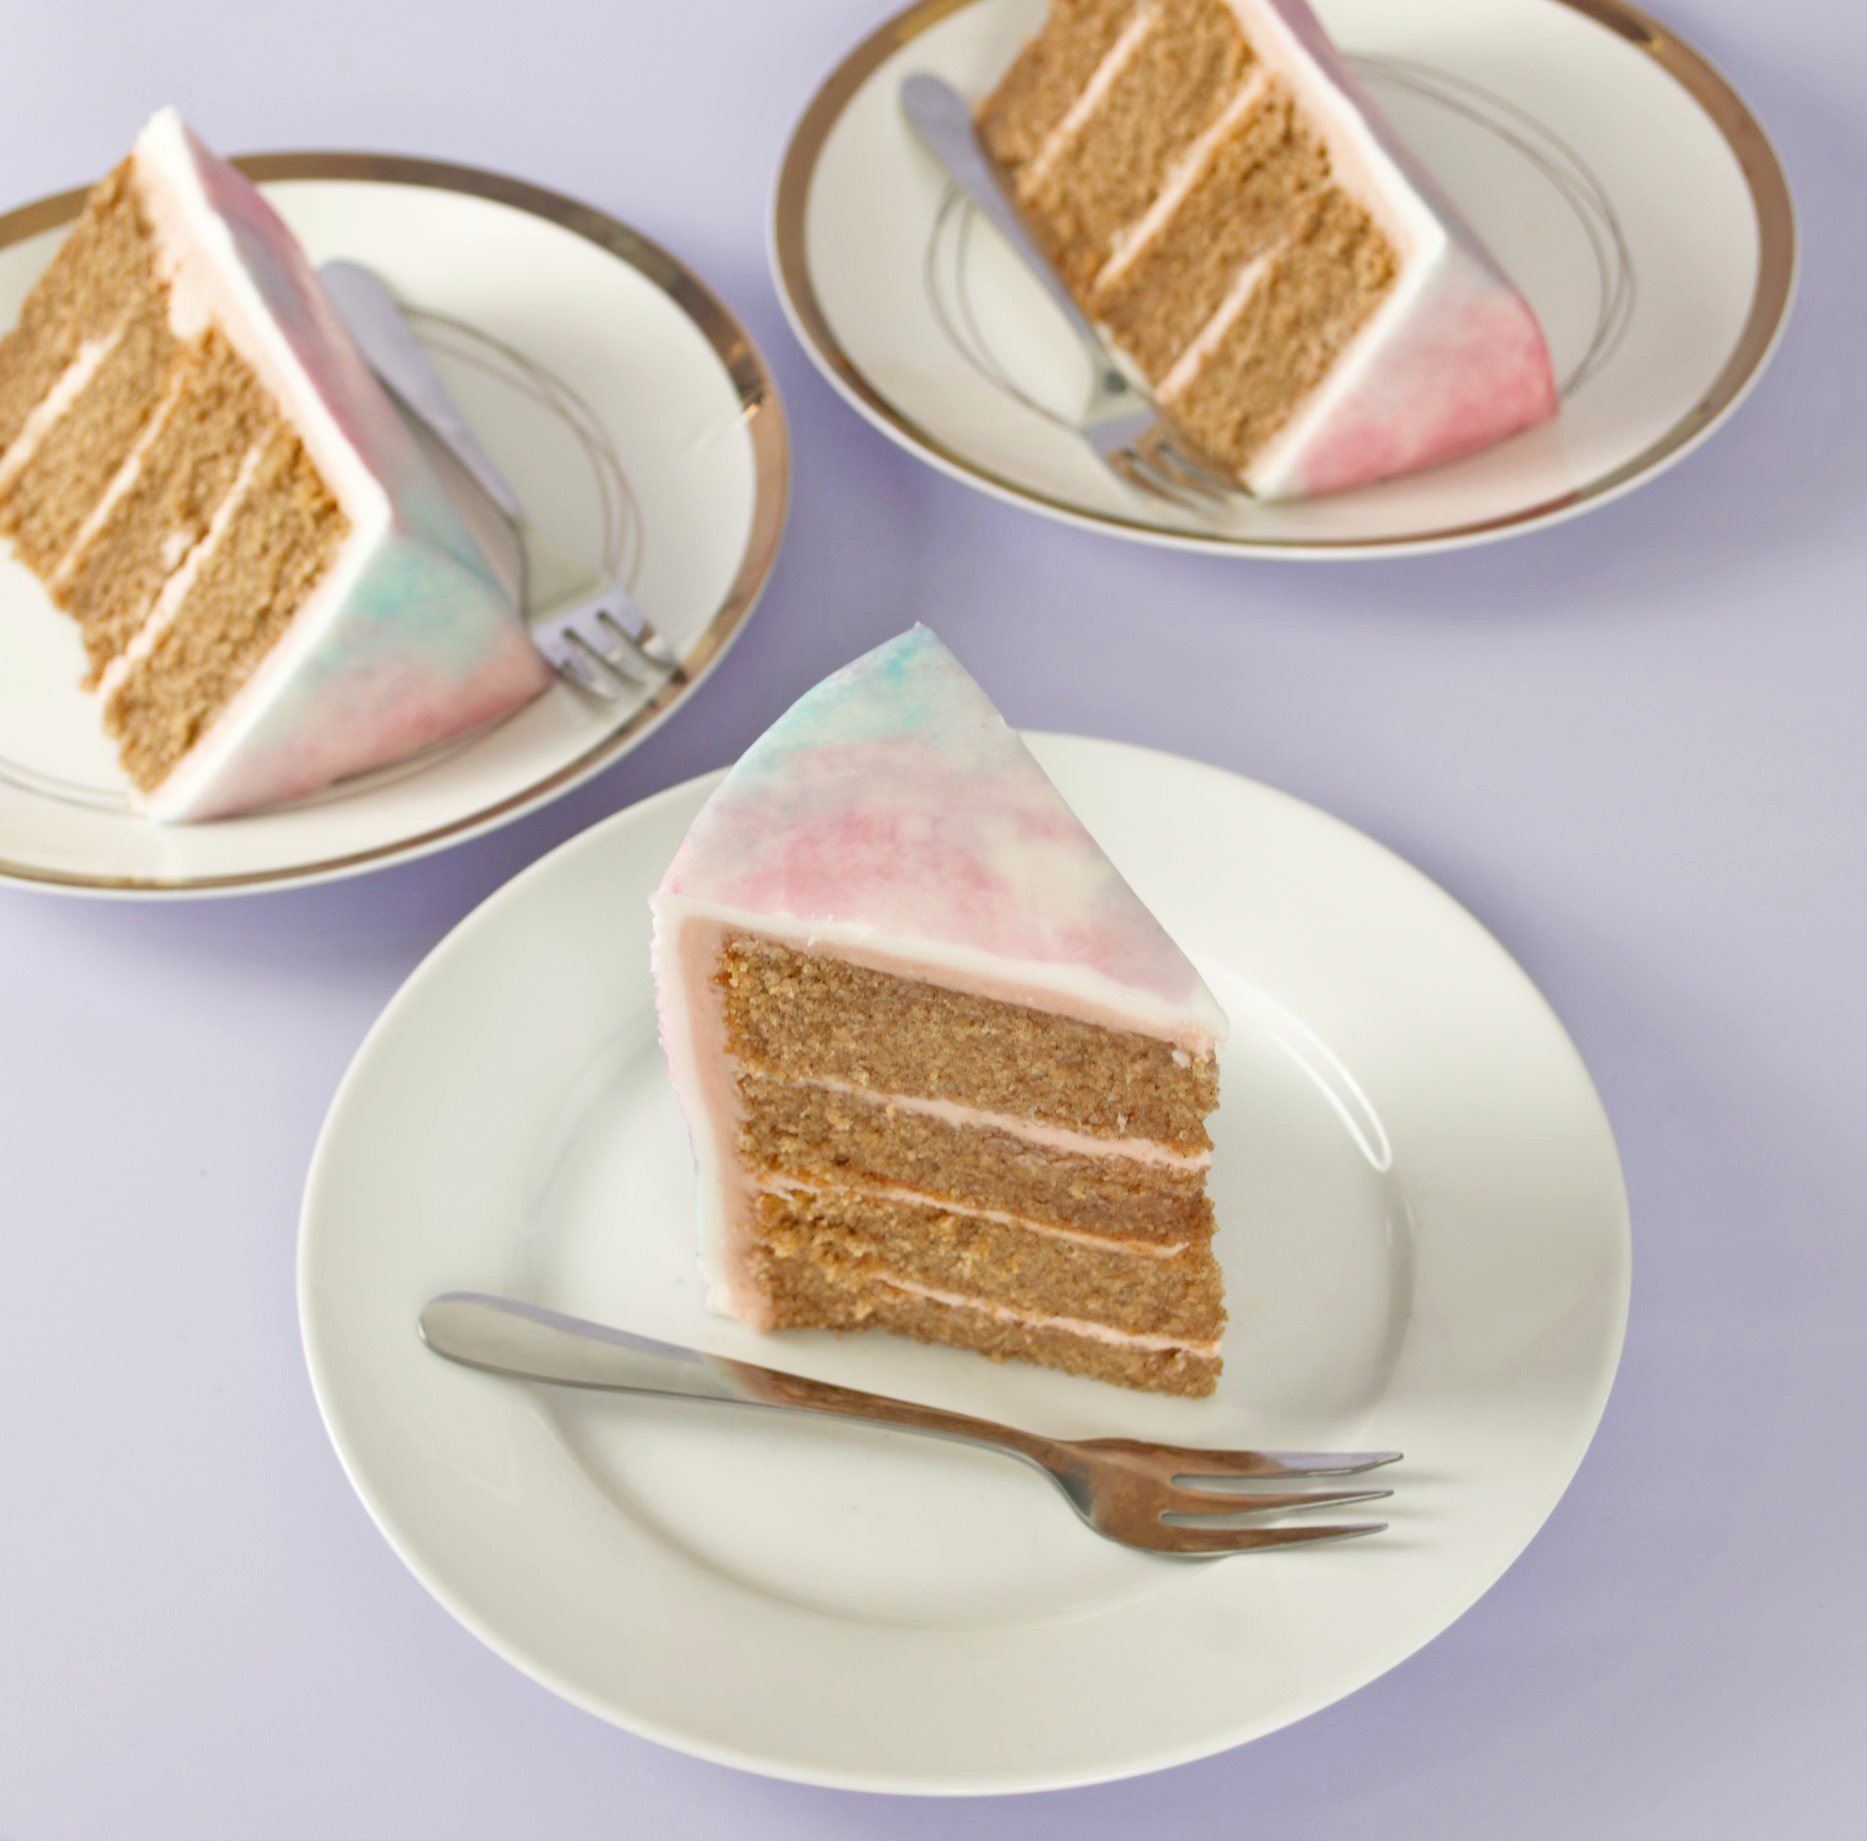
- Split the cake batter between two 6-inch round pans and bake for 40-45 minutes or until a skewer comes out clean. When baked, leave to cool before cutting each in half to create two layers per cake. Cover these layers in cling-film and place in the freezer for 1-2 hours
- When the cakes have chilled, whisk together 13oz butter and 26oz icing sugar. Slowly add a little lemon juice until the frosting is firm but spreadable. Using a palette knife, spread the frosting across the sides of the bowl until the air bubbles have gone and the buttercream is smooth. Use this to build the cake, a layer of frosting between each sponge. Place the cake in the fridge to chill for 30 minutes.
- Once it’s chilled, apply a thin layer of frosting to the outside of the cake to pick up the crumbs. Smooth it down and return it to the fridge for 15 minutes. Apply another layer of buttercream, this time a little thicker. It’s crucial to spend some time here smoothing it out and sharpening the edges because this will be the base for the fondant. A smoother, sharper base makes for an easier job later. To help get a really smooth finish, place your palette knife or bench scraper in a bowl of hot water before you smooth the cake, then remove and wipe off the excess water. The heat in the scraper will make for easier smoothing. Return the cake to the fridge for 30 minutes.
- While the cake is chilling, knead a large knob of butter into 1kg of white fondant. Keep kneading the fondant for about 10 minutes until it’s smooth and easily workable. Measure the cake (height x2 and width) and roll the fondant until it’s at least 1 cm bigger all the way around than the cake measurements. The thinner the fondant the sharper the edges but the more difficult it will be to work with, I went about 3mm.
- Remove the cake from the fridge and mist with water that has been boiled and then cooled to help the fondant stick. Cover with fondant and smooth down the sides. These are the videos that I used, I really recommend them if you haven’t done this before, CakesByLynz and Rosie’s Dessert Spot. Allow the fondant to dry overnight before painting, otherwise the paint will create little pockmarks in the cake.
- The next day, prepare two small plates with 1tsp of vodka or cake decorators alcohol and a small blob of food colouring gel. One with pink, one with blue. Try to get the gel right on the edge so it’s not mixing with the vodka. Using a clean (never before used) sponge dab into the vodka, squeeze off the excess and rub over a small section of fondant. Next, dip the sponge into the colour, careful to lift only a tiny amount and rub over the same section of fondant. When the colour is evenly spread, use a dabbing motion to add a little texture. You can darken the colour by repeating this step with more food colouring and building up layers. Repeat this time with a fresh sponge in the opposite colour. To blend the join between the two colours, dampen the opposite side of your sponge with a little vodka, squeeze out the excess and rub the line that joins them until they’re blended together. Repeat until the cake is completely covered and leave to dry for 1-2 hours or until you can touch the colour without it rubbing off.
- While you’re waiting for the paint to dry, Google image search ‘waterlily’ on a laptop or tablet. Find a shape that you like and resize it to fit the front of your cake. Wipe down your laptop with an antibac wipe and place a piece of parchment over the front. Using a clean pencil, trace the outline of the waterlily onto the parchment. Lean quite heavily to get a good coating of graphite on the paper. When the cake is dry, line up the parchment to the front of the cake and place it pencil side down, securing with a tailor’s pin or acupuncture pin. Now draw back over the lines this time with a blunt pencil. The pressure will transfer the graphite on the other side onto the cake but be careful not to push too hard and make indents in the icing. Once every line has been drawn over at least twice, remove the parchment. You should see a perfect outline of a waterlily.
- Using black food colouring gel diluted with a few drops of water, paint over the pencil lines. To create the shading, I loaded my paintbrush with just vodka and gently pulled colour from the outline to the centre of each petal. Leave to dry for 1-2 hours and you’re done!
How you feeling? Pretty accomplished right?! I told you cakes could be good for the old self-esteem.
I’ll see you next week for my take on St Paddy’s Day and a little rant about my time in Canada where I had to constantly tell people it is Paddy with double ‘D’ and not bleeding Patty. You won’t believe how many told me I was wrong, fecking eejits.
Sharing at...


